LEFT HAND NON-RATCHETING
Page 6B-20 90-855347R1 JANUARY 1999
DISASSEMBLY
1. Remove (and discard) shift shaft bushing oil seal by prying it out or driving it out with
a punch and hammer.
CLEANING/INSPECTION - BEARING CARRIER
IMPORTANT: It is recommended that all seals and O-rings be replaced (as a normal
repair procedure) to assure effective repair.
CAUTION
DO NOT spin bearings dry with compressed air, as this could cause bearing to
score.
1. Clean bearing carrier with solvent and dry with compressed air.
2. Bearing carrier propeller shaft needle bearing condition is determined by propeller
shaft bearing surface condition. (See “Propeller Shaft Inspection.”)
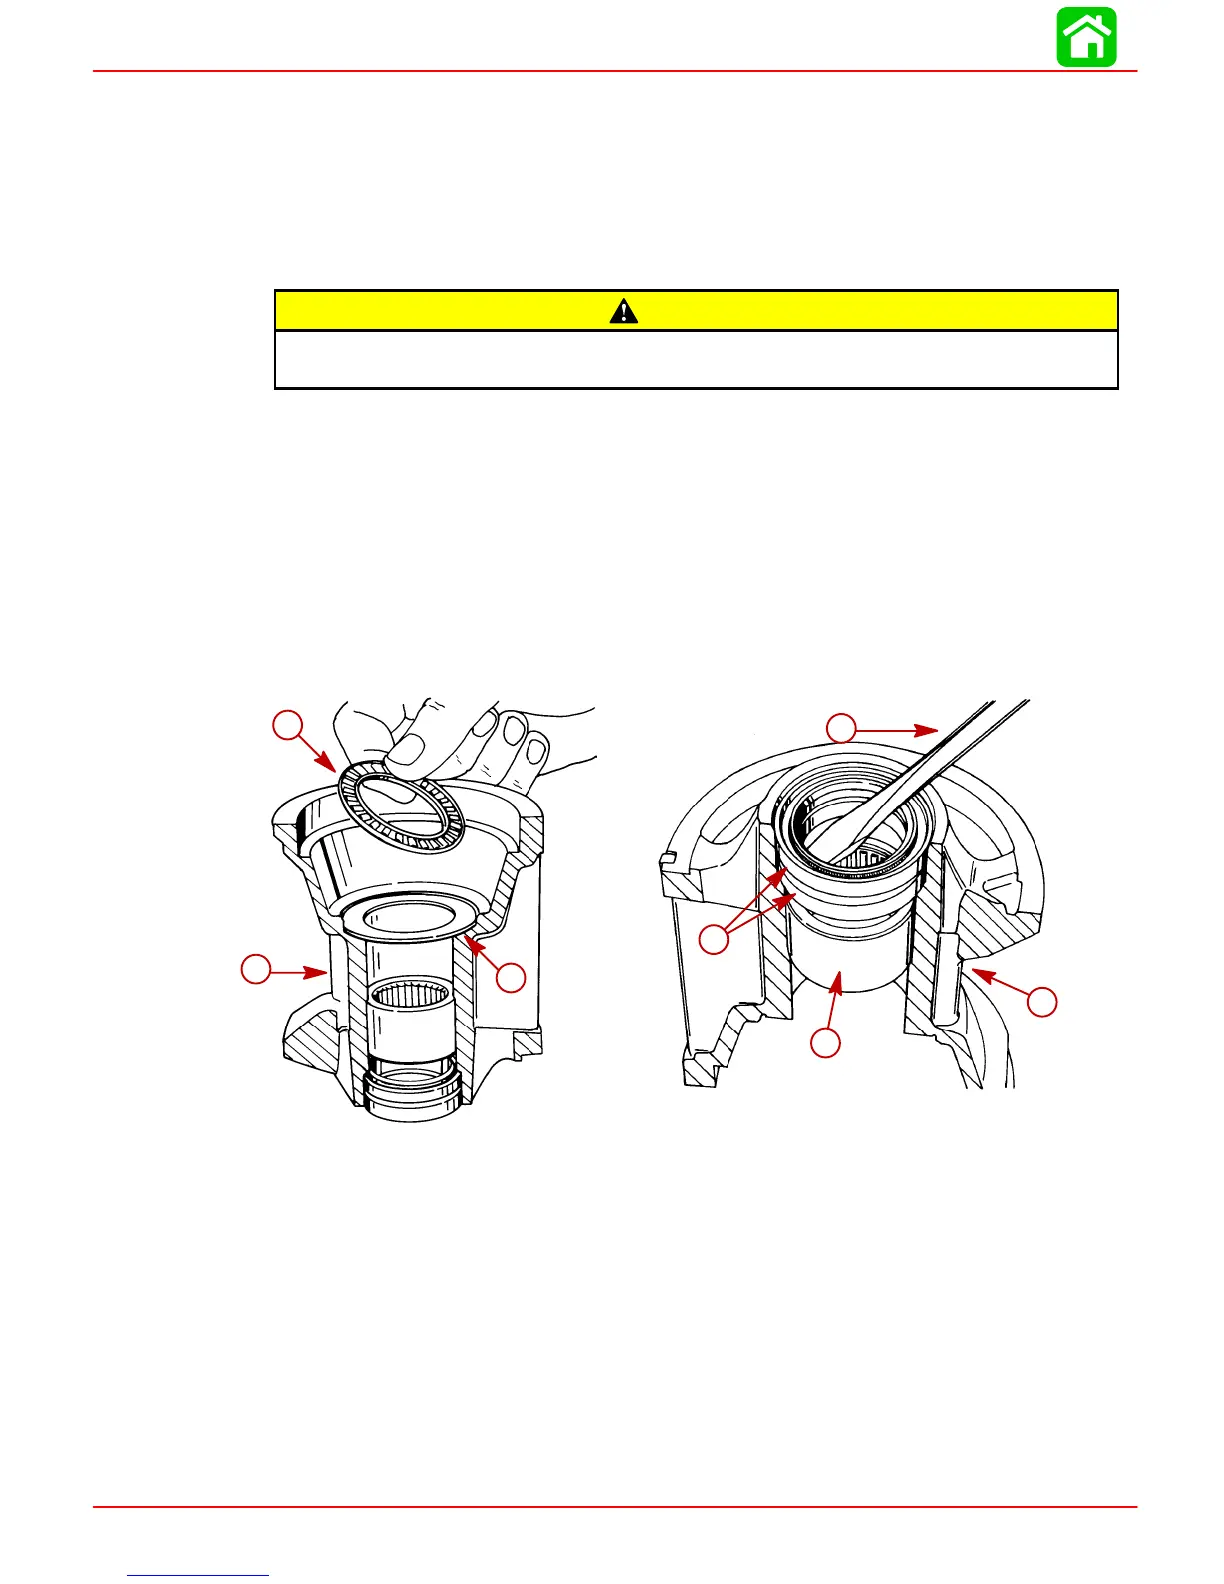
DISASSEMBLY- BEARING CARRIER
1. Remove thrust bearing and thrust washer from bearing carrier.
2. If thrust bearing, thrust washer or thrust bearing surface on propeller shaft shows
signs of rust, pitting or blueing from lack of lubricant, component(s) should be dis-
carded.
3. Remove bearing carrier oil seals.
51878
51886
d
e
f
g
a
b
c
a-Thrust Bearing
b-Thrust Washer
c-Bearing Carrier
d-Pry Bar
e-Oil Seals
f-Bearing Carrier
g-Bearing Carrier Needle Bearing
NOTE: Do not remove bearing carrier needle bearing unless replacement is needed.
 Loading...


