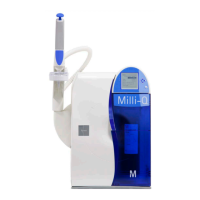
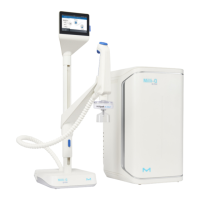
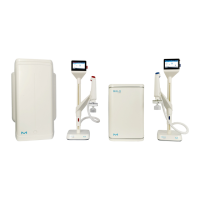
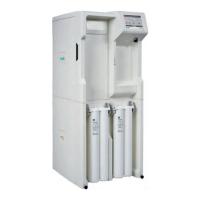
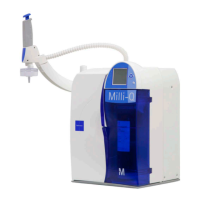
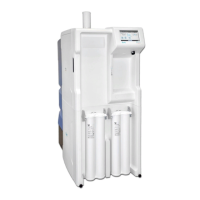
20 Milli-Q® Direct 8/16 System
Installation
Overview
This chapter explains how to install the System.
This chapter contains the following topics:
Alarms generated during installation
Tubing, cables and power cord
Installing the Progard® Cartridge
Installing the Q-Pak® Pack
Rinsing the RO Cartridges
Registering UV Lamp timers
Registering PERFORM RO CL2 CLEANING message timer
Registering EXAMINE INLET STRAINER message timer
Calibrating the Flow rate
Performing a TOC Curve Check
The steps shown below outline the sequence and major actions of a System installation.
Please refer to this list throughout the installation.
Put POD Arm onto POD Mast
Put Point Of Delivery onto POD Arm
Install tubing, termination plug and power cord
Power on the System, check date and time
Install, and flush the Progard® Cartridge
Flush and rinse the RO Cartridge(s)
Flush and rinse the Q-Pak® Pack
Install and Register the POD Pak
Register the UV Lamp timers
Register the PERFORM RO CL2 CLEANING message timer
Register the EXAMINE INLET STRAINER message timer
Calibrate the Product Water flow rate
Perform a TOC Curve Check