Disassemble the Assemblies Repair and Disassembly
6 - 32 046-006272-00 A7™ Service Manual
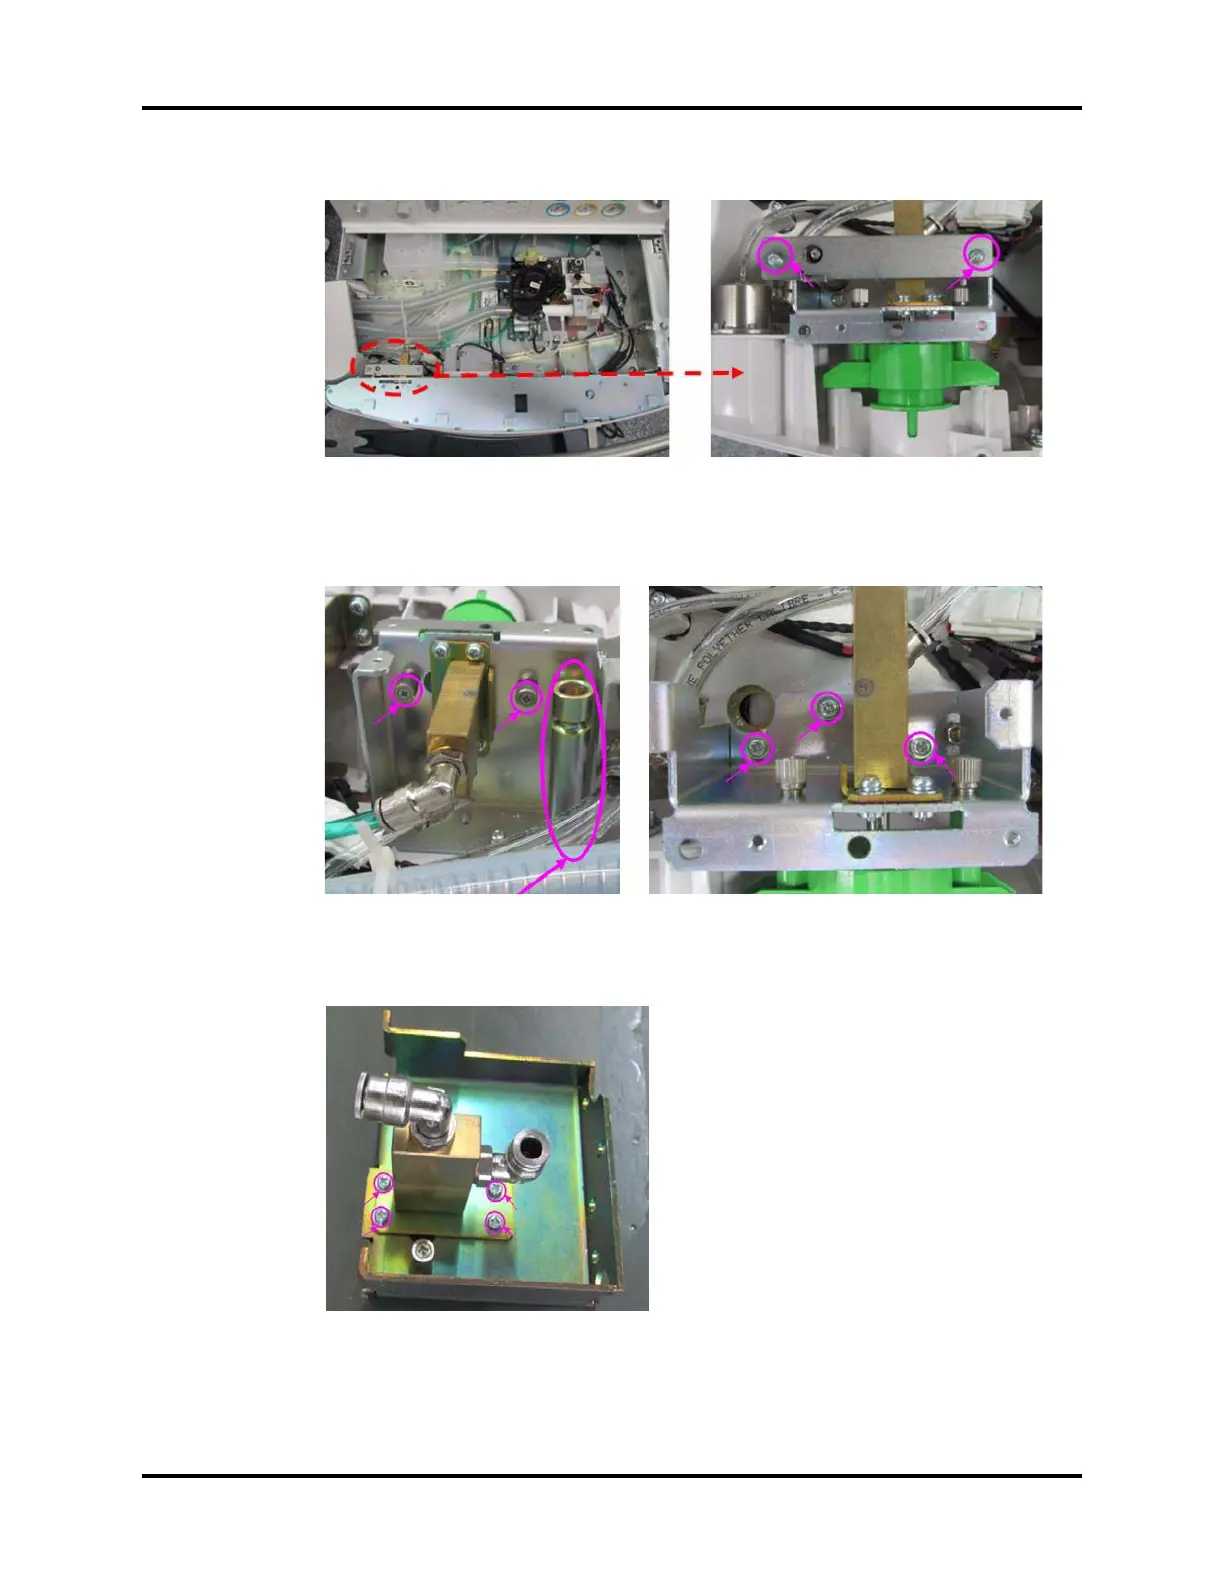
4. Unscrew the two screws on the bracket and remove it.
FIGURE 6-62
5. Remove the metal post on the right side of the O2 flush assembly.
6. Unscrew the five screws around the O2 flush assembly to remove it.
FIGURE 6-63
7. Unscrew the four screws around the O2 flush assembly to remove the assembly from the
manifold.
FIGURE 6-64
8. Unscrew the two screws around the O2 flush button to remove the button from the machine. If
neccessory, clean the O2 flush button with a soft, lint-free cloth. The recommended cleaning