6878215A01
2-22 Standard Configurations Radio Mounting
Figure 2-25. Transmission Hump Trunnion Mounting
Figure 2-26. Below Dash Trunnion Mounting
7. Secure the radio with two screws provided (Item 1 in Table 2-6). The torque down force for
0371859H01 should be between 50in-lbf to 52in-lbf.
8. For screw 0305760W02, the wing screw torque tool (HLN6970_) is designed to securely
tighten the trunnion wing screws while installing the radio. The tool can also be used to
loosen the wing screws. Detailed instructions are included in the tool packaging.
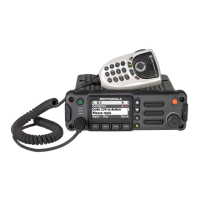
NOTE: This configuration shows the O5 control head. The TIB is used for O3 control head for the
same configuration.
Tabs
Threaded Hole
for Screw
Groove
Plastic
Guides
1
3
2
1

 Loading...


