6878215A01
3-2 Universal Relay Controller Installation Universal Relay Controller Mounting
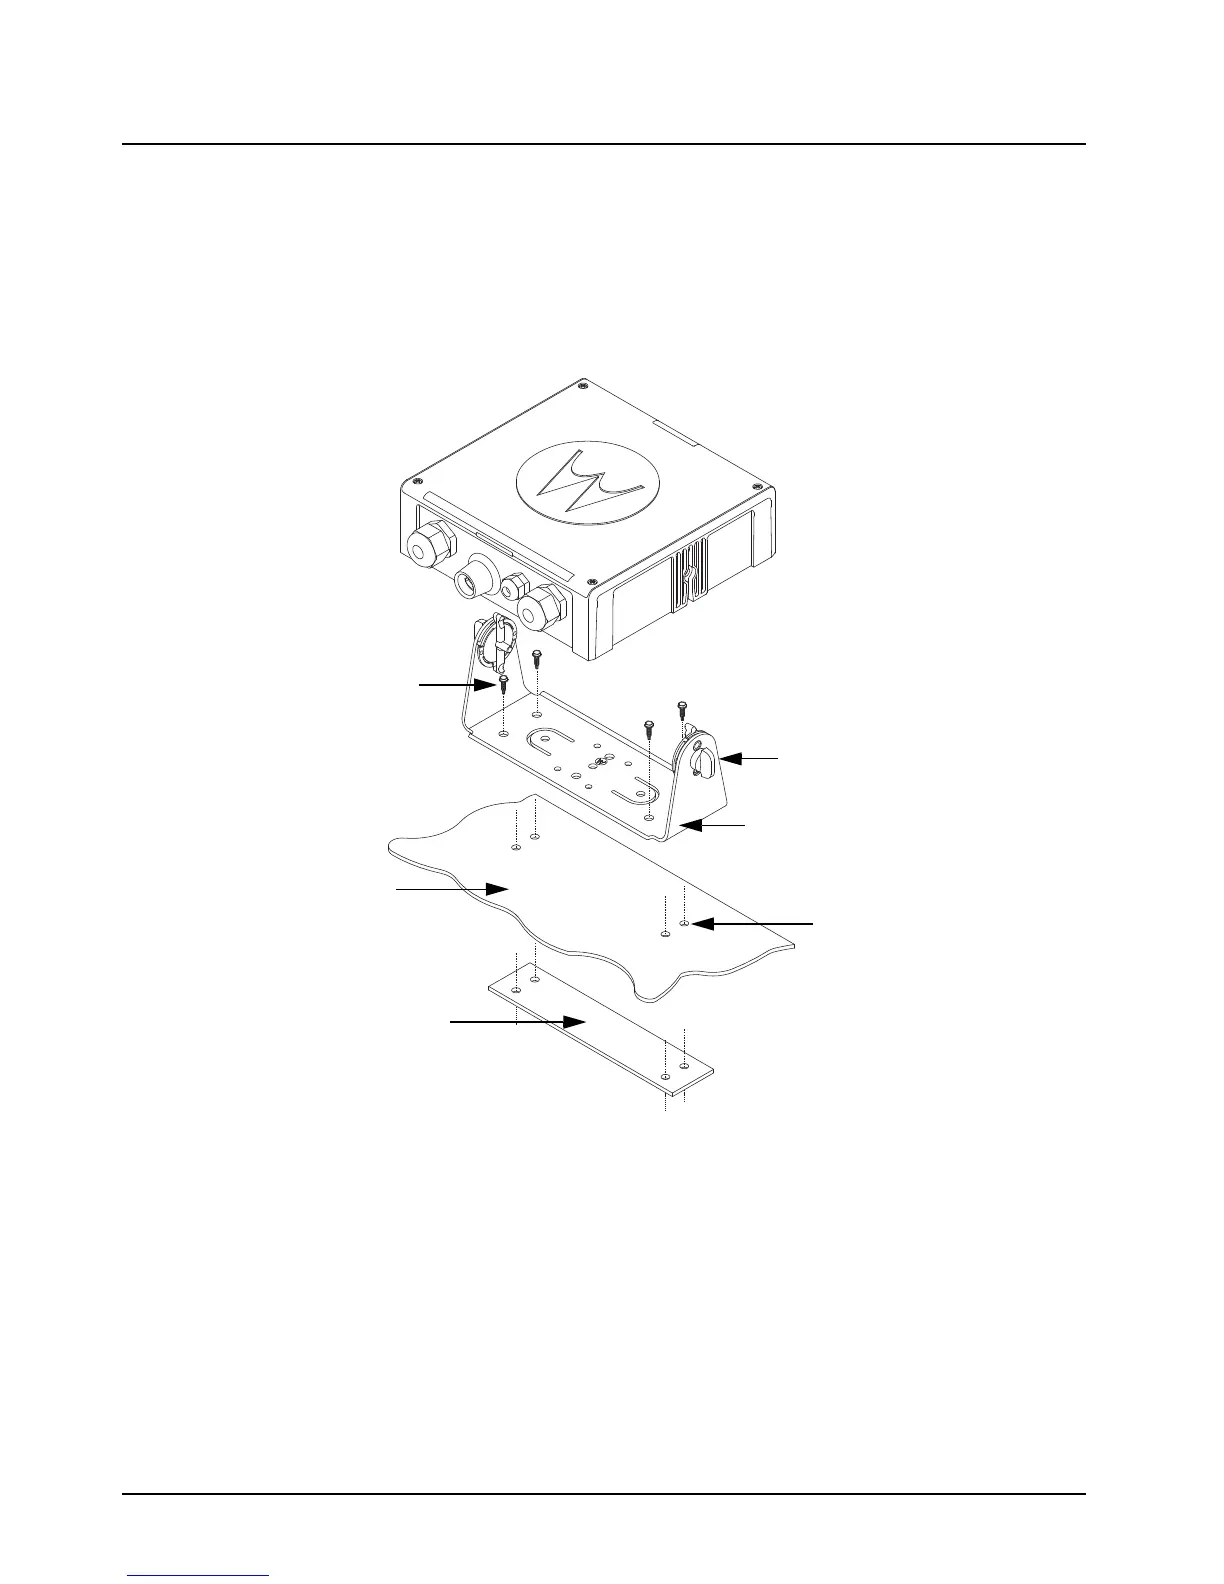
Install the URC as follows:
1. Use the URC trunnion as a template to mark the mounting holes;
drill 5/32" holes. If mounting on a plastic surface, use a metal backing plate.
2. Attach the trunnion bracket using all four 10 – 16" x 5/8" self-tapping screws provided.
3. Temporarily install the URC (adjust for proper viewing angle) and fasten it to the trunnion with
two wing screws. Test the installation to ensure that the unit is securely locked in place.
Figure 3-2. Universal Relay Controller Installation Exploded View
ADJUST THE UNIVERSAL RELAY
CONTROLLER TO DESIRED
ANGLE AND SECURE WITH WING
SCREWS
USE FOUR MOUNTING SCREWS
ON ALL INSTALLATIONS
TRUNNION
DRILL FOUR 5/32'' HOLES
IN MOUNTING SURFACE
MOUNTING SURFACE
IMPORTANT
USE A METAL BACKING PLATE
(NOT SUPPLIED) IF MOUNTING
TRUNNION ON PLASTIC OR
UNSTABLE SURFACE

 Loading...


