4. If parameters are spread over several pages, use the Page buttons (the two arrow buttons
left of the displays) to show the page containing the desired parameter.
→ Now the parameter appears along the bottom of the displays and you can adjust it via one
of the Knobs 1–8 underneath.
Assign the Parameter to a Macro Control
Once the desired parameter appears on the displays, do the following to assign it to a Macro:
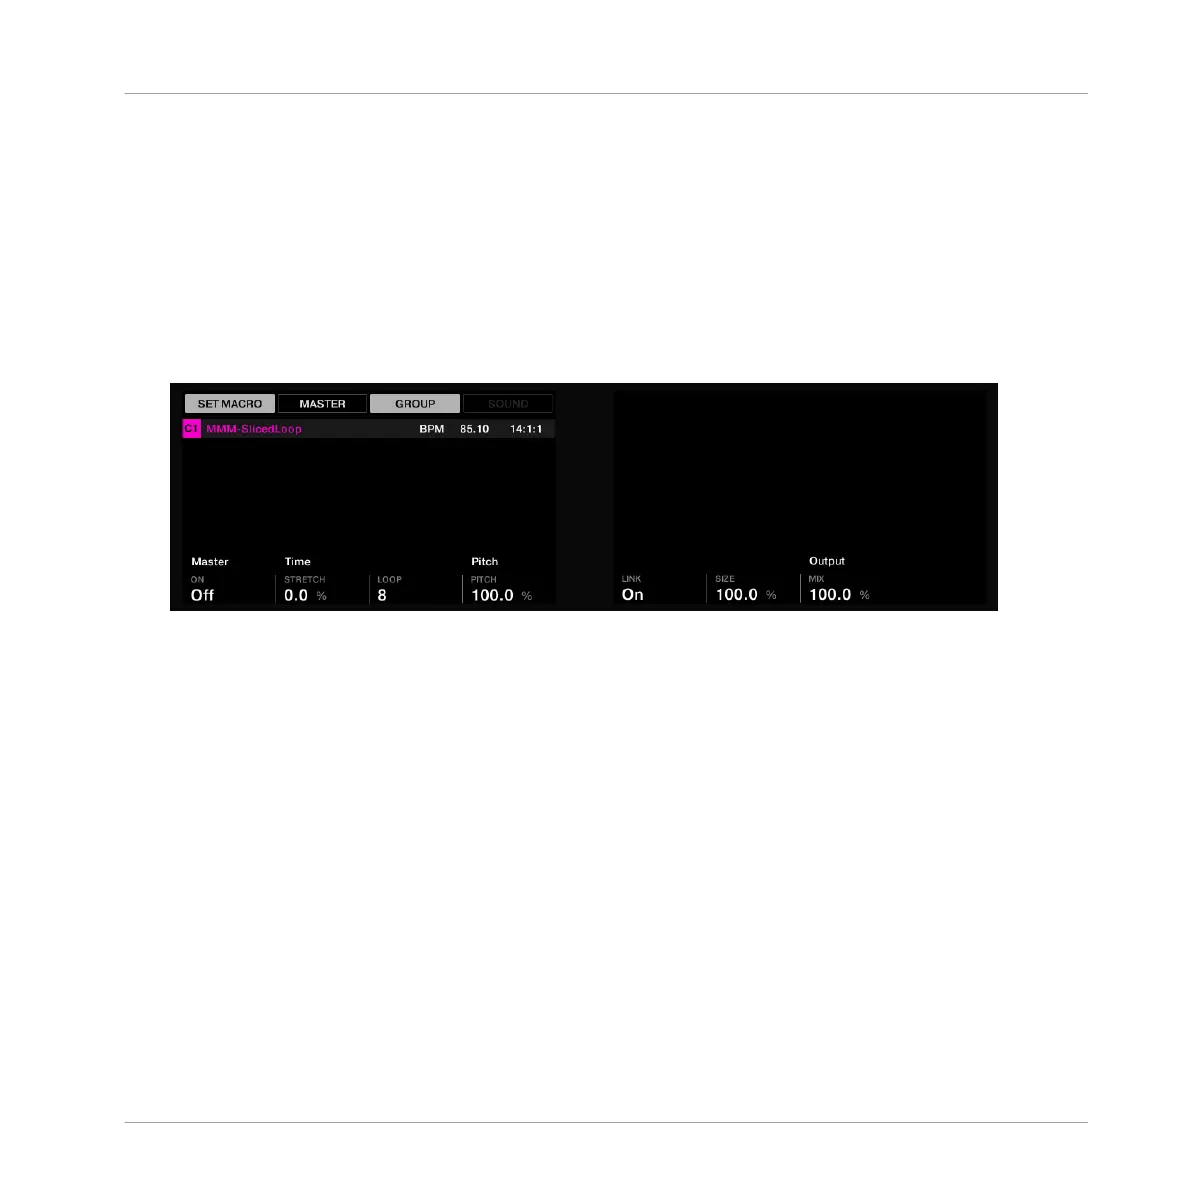
1. Press SHIFT + MACRO (Set) to enter Set Macro mode.
2. By default, the Macro Control will be created in the channel containing the parameter.
But you can also create the Macro Control in any of its parent channels: In this case,
press Button 2 (MASTER), Button 3 (GROUP) or Button 4 (SOUND) to select the channel
in which you want to have the Macro Control. For example, for a parameter in a Group,
Button 3 (GROUP) is enabled by default; you can press Button 2 (MASTER) to create the
Macro Control in the Master channel instead — but you cannot create that Macro Control
at the Sound level, therefore Button 4 (SOUND) is off and inactive.
3. Touch the Knob underneath each parameter you want to assign.
→ A little rotary knob icon appears next to the parameter name, and the parameter is as-
signed to the next free Macro Control of the selected channel.
Using Advanced Features
Using Macro Controls
MASCHINE - Getting Started - 157