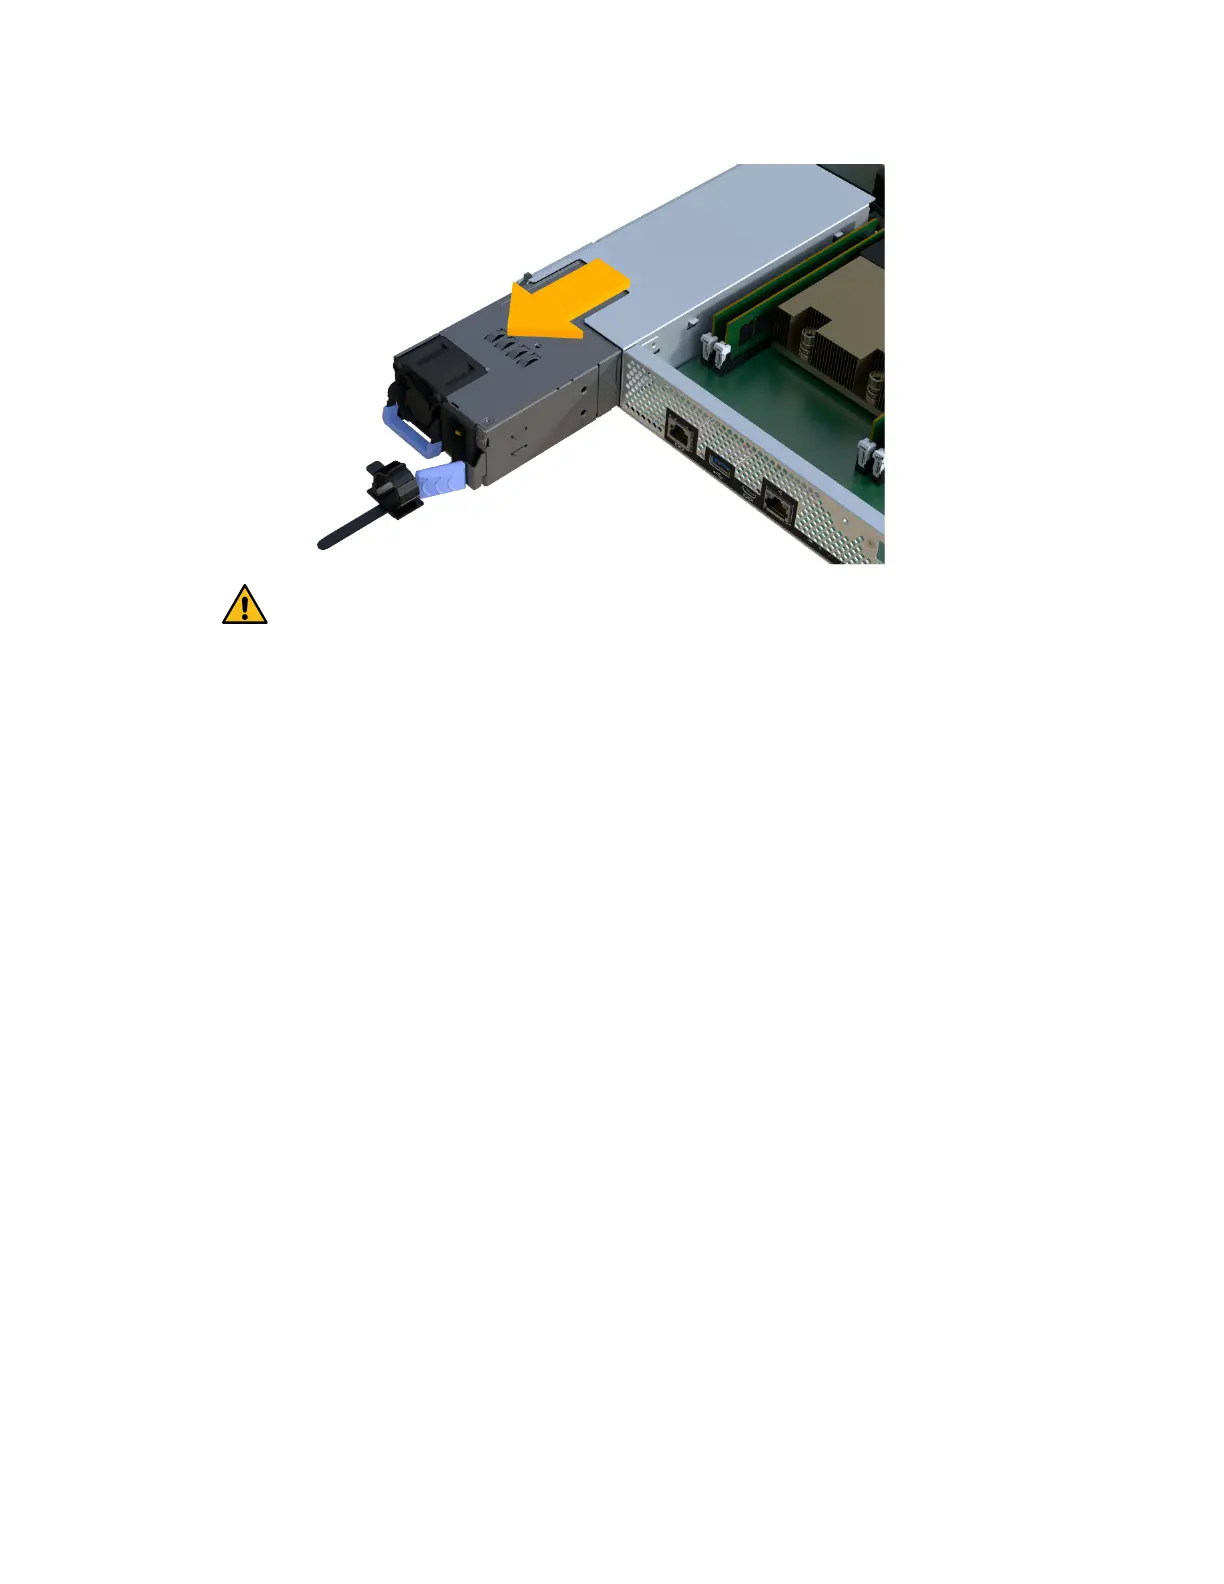
Attention: When removing a power supply, always
use two hands to support its weight.
After you finish
Go to
Remove DIMMs
.
Remove DIMMs
Remove the DIMMs so you can install them in the new controller. To remove the DIMMs you
push apart the ejector tabs and gently lift the DIMM out by its edges.
Before you begin
• You have an ESD wristband, or you have taken other antistatic precautions.
Steps
1. Locate the DIMMs on your controller.
2. Note the orientation of the DIMM in the socket so that you can insert the replacement DIMM
in the proper orientation.
Note: A notch at the bottom of the DIMM helps you align the DIMM during installation.
3. Slowly push apart on the two DIMM ejector tabs on either side of the DIMM to eject the
DIMM from its slot, and then slide it out of the slot.
Note: Carefully hold the DIMM by the edges to avoid pressure on the components on the
DIMM circuit board.
Maintaining EF300 and EF600 Hardware 21
Controllers
 Loading...


