GS716Tv2 and GS724Tv3 Software Administration Manual
Maintenance 7-5
v1.0, July 2009
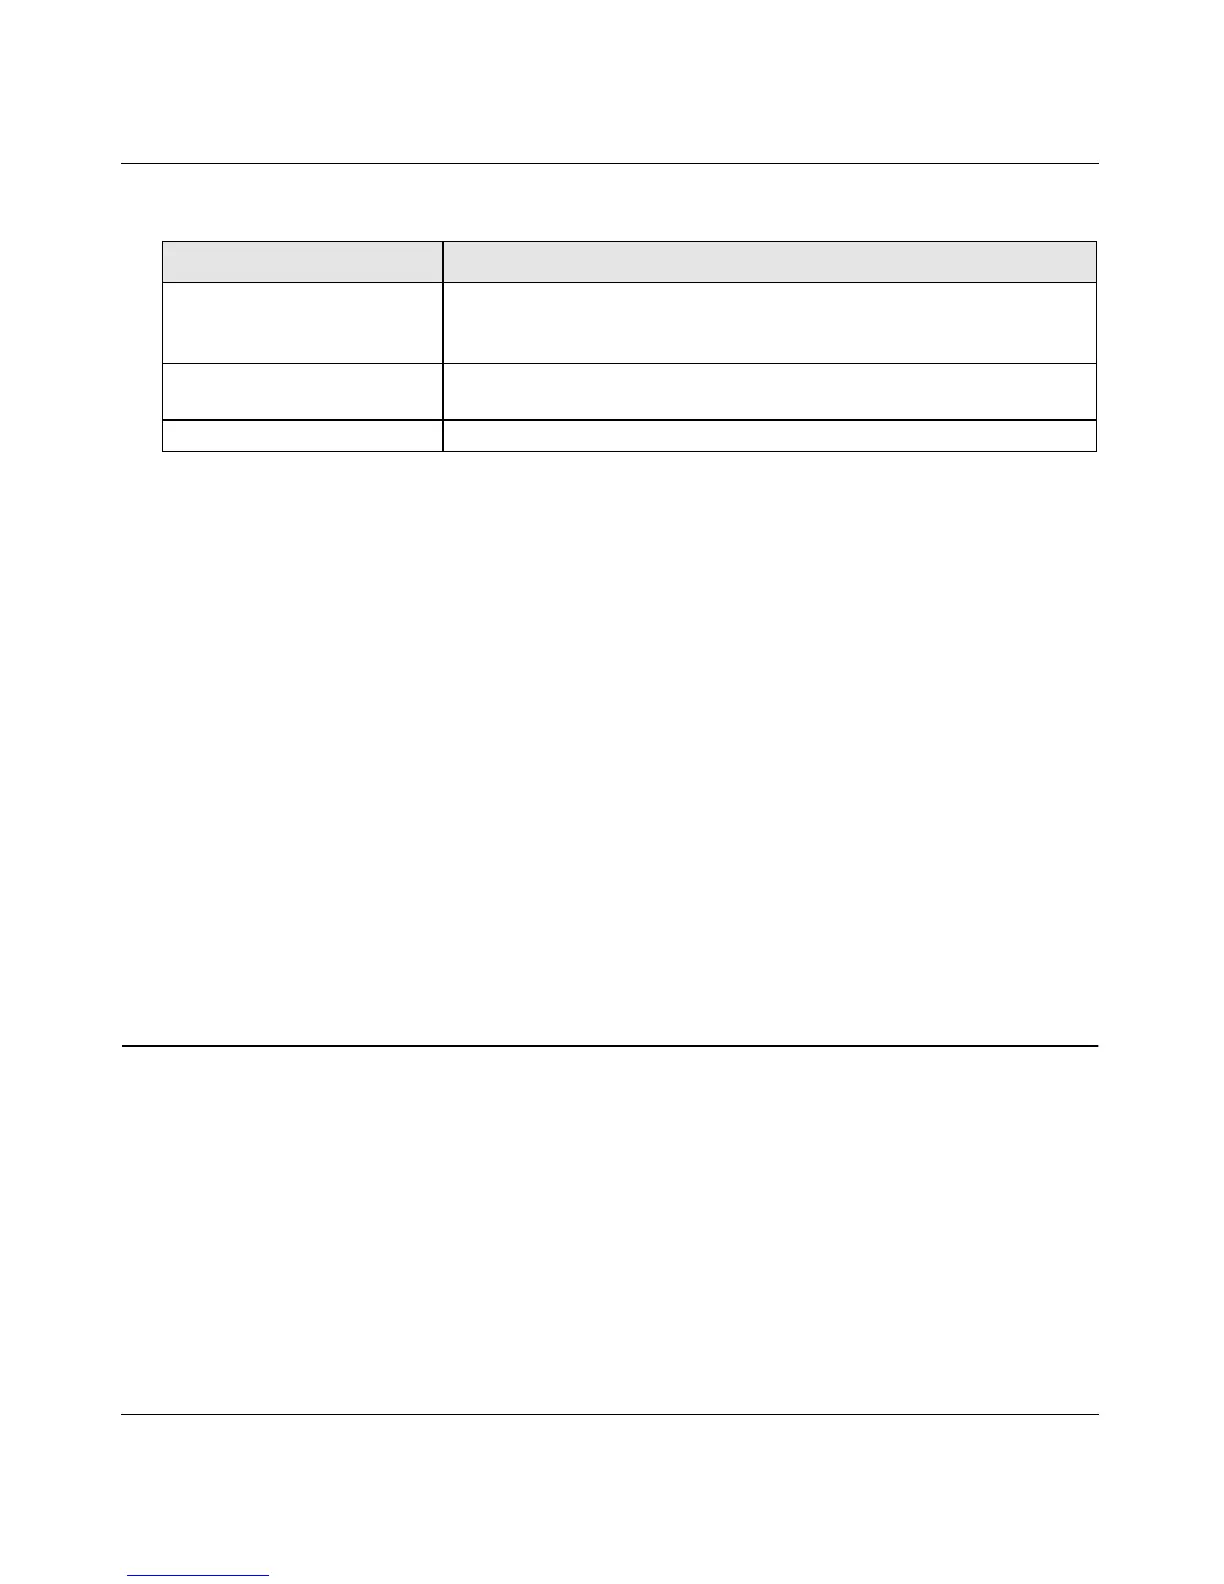
The last row of the table is used to display information about the progress of the file transfer.
The page will refresh automatically until the file transfer completes.
Uploading Files
Use the following procedures to upload a file from the switch to a TFTP server.
1. From the File Type field, select the type of file to copy from the switch to the TFTP server.
2. If you are uploading a GS716T/GS724T image (Code), select the image on the switch to
upload. If you are uploading another type of file, the Image Name field is not available.
3. Complete the Server Address Type, Server IP Address, and Transfer File Name (full path
without TFTP server IP address) fields.
4. Click the Start File Transfer check box, and then click Apply.
5. Click Cancel to cancel the operation on the screen and reset the data on the screen to the latest
value of the switch.
Download File To Switch
The switch supports system file downloads from a remote system to the switch by using either
TFTP or HTTP.
The Download menu contains links to the following options:
• “TFTP File Download” on page 7-6
• “HTTP File Download” on page 7-8
Transfer File Path Enter the path on the TFTP server where you want to put the file. You
may enter up to 32 characters. A file name with a space is not accepted.
The factory default is blank.
Transfer File Name Enter a destination file name for the file to upload. You may enter up to
32 characters. The factory default is blank.
Start File Transfer To initiate the file upload, check this box before clicking Apply.
Table 7-1. Upload File from Switch Fields (continued)
Field Description

 Loading...