5-16Service ManualXYAA6336
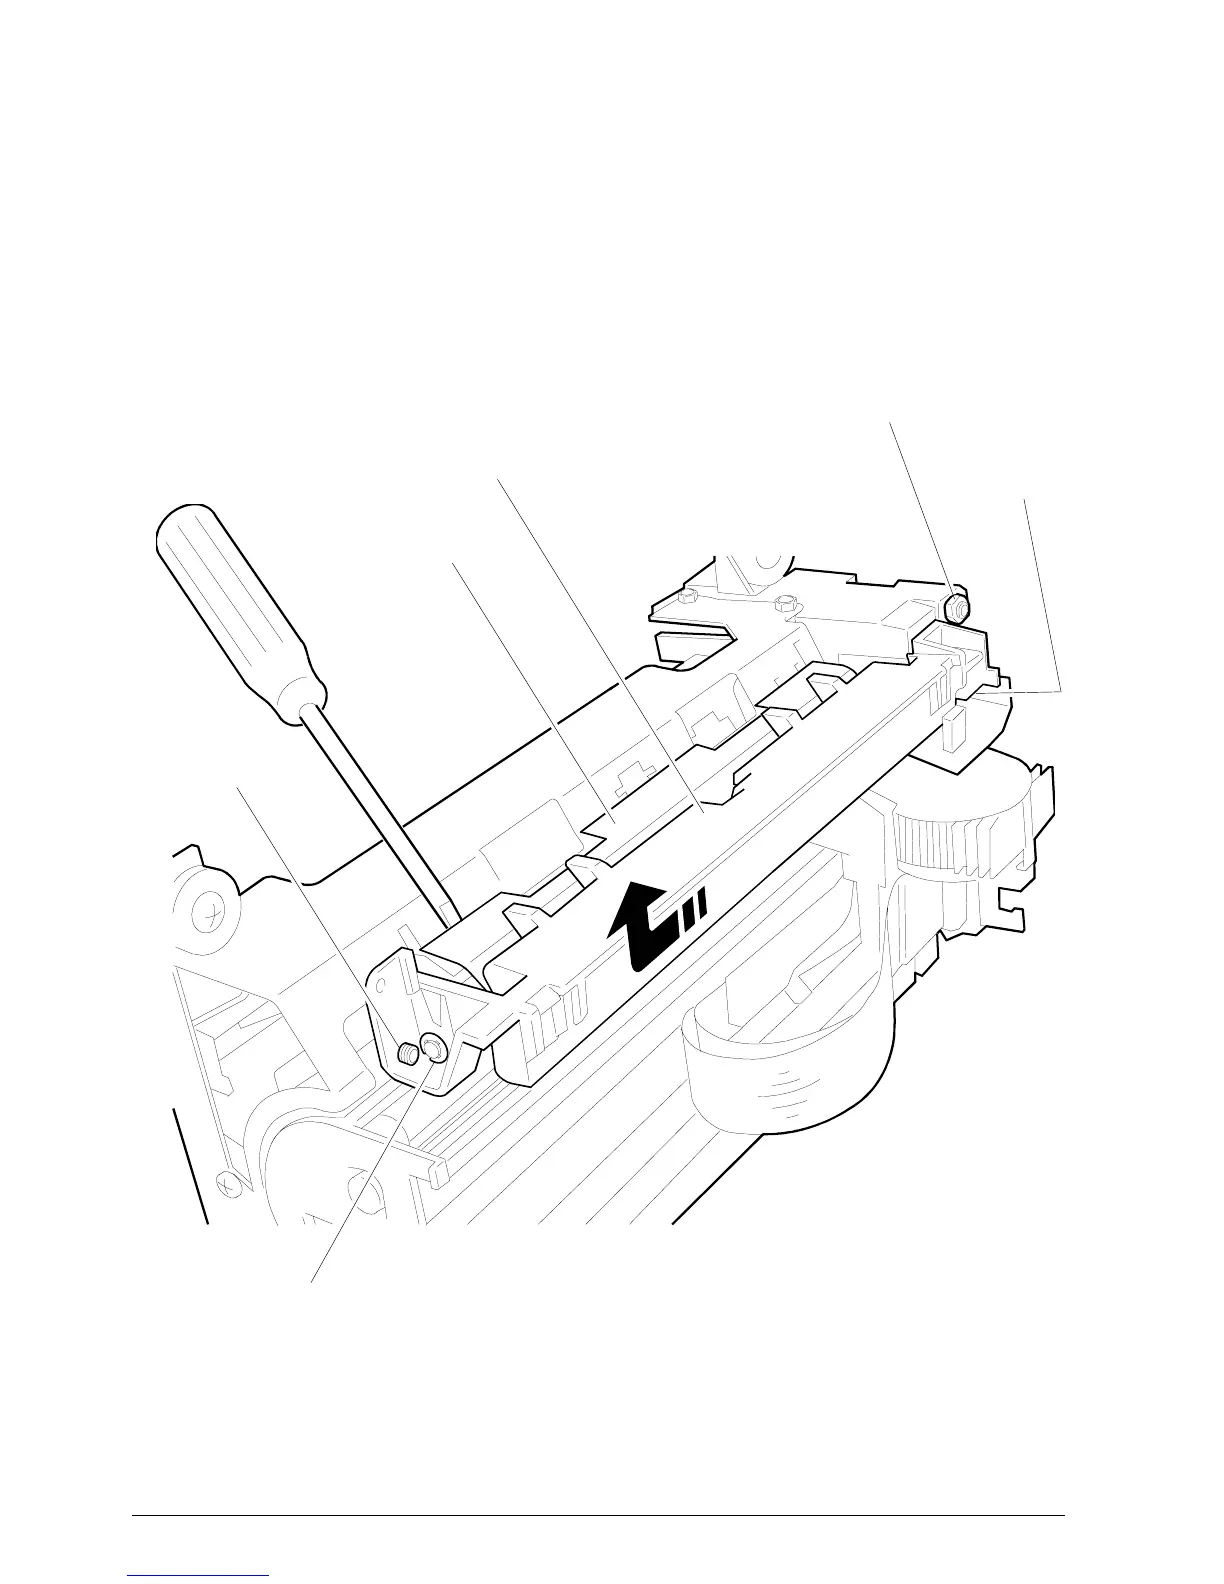
SCREW A
SCREW B
Figure 5-17
SCREW C
BRACKET
PLATE
PLATEN
5.8 REMOVING THE PLATEN
• Remove the case (Section 5.2).
• Remove the print assembly (Section 5.4).
• Extract the plate by sliding it from the front (head
side).
PROCEED VERY CAREFULLY.
• Remove the bracket and unscrew screws A, B, C.
You can remove the platen in the direction of the
arrow shown in the figure.
• To reassemble the platen follow its disassembly
procedure in reverse order and align as shown in
the figure.
Note: After replacing the head readjust the parallelism
and the distance between the print head and
platen (Section 6.2).