3-3 Maintenance after Network Configuration
3-3-2 Editing the FINS Local Network Tables
Reading Routing Tables through the Network
1. Click the Network Tab in the workspace on the left side of the Window.
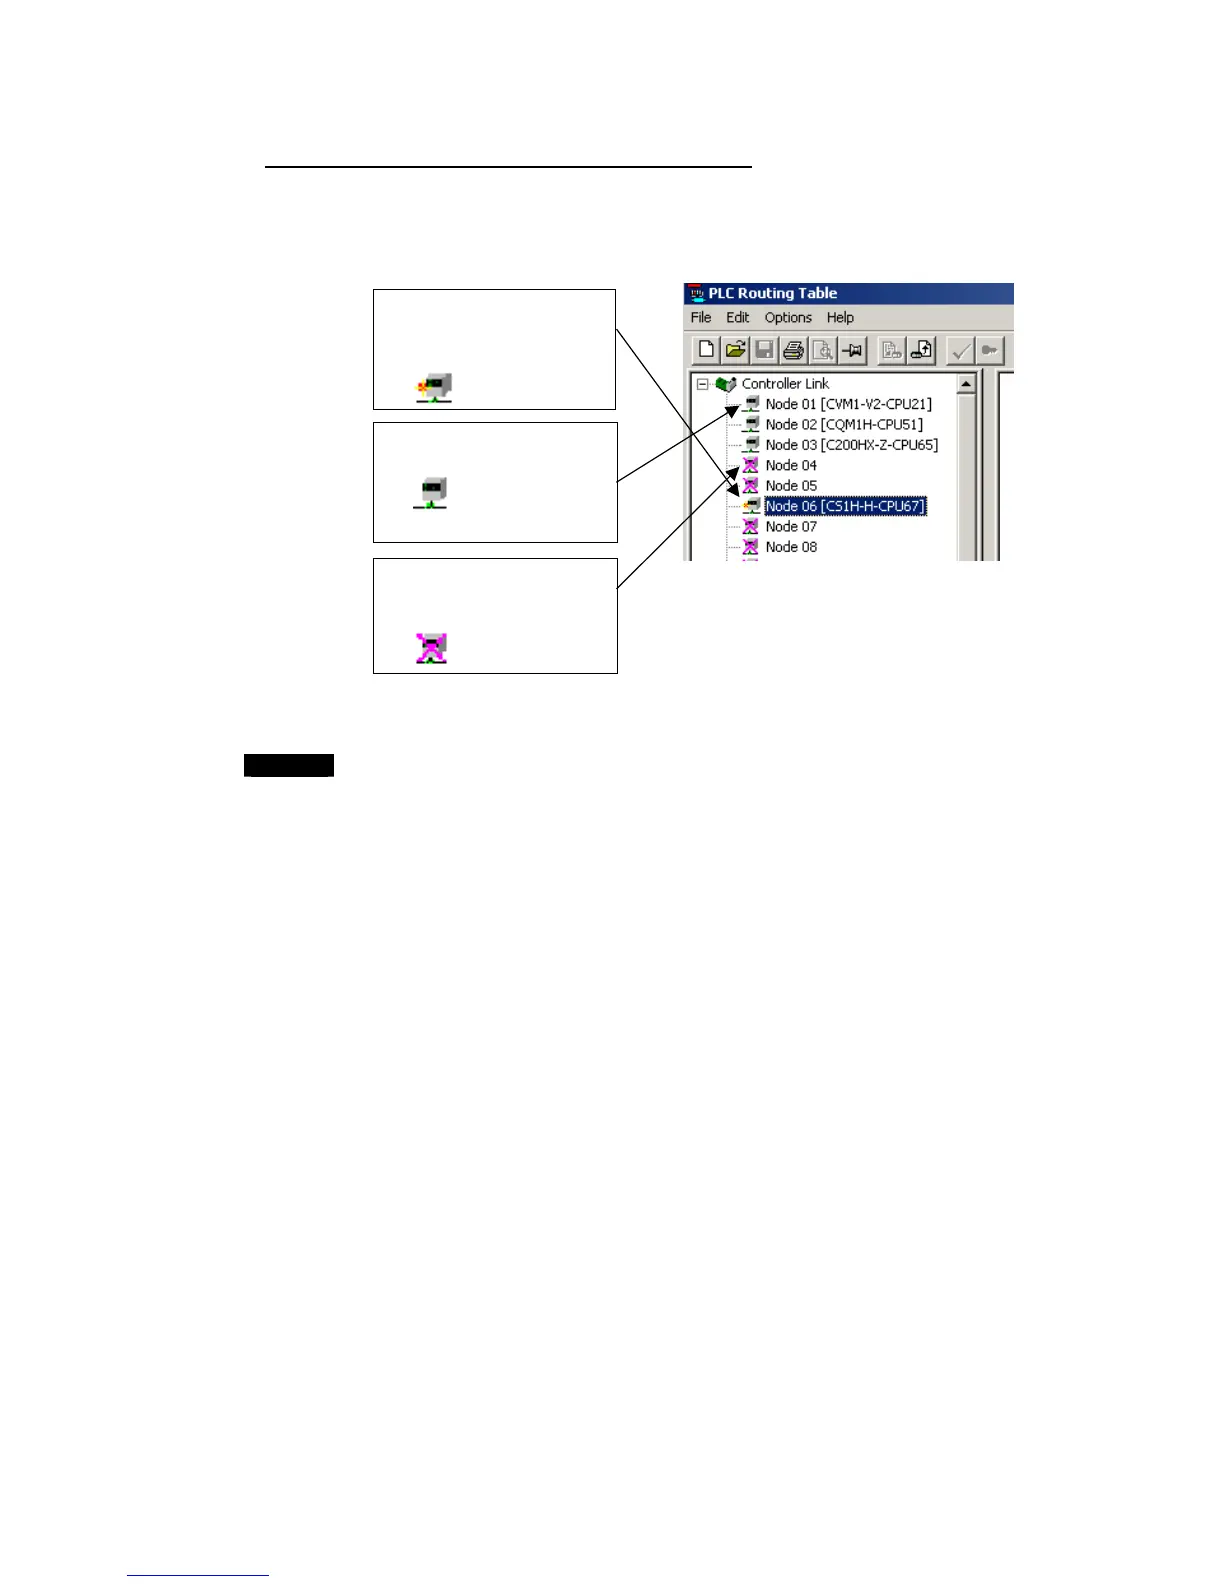
2. When each node (in the same network) is specified, the node's icon will indicate the
present connection status between the CX-Integrator and that PLC, as shown in the
following diagram.
Indicates that the node is set in
the routing tables, but does not
actually exist in the PLC
network.
Indicates that the node is in the
routing tables and actually exists
in the PLC network.
Indicates that the node is in the
routing tables and is currently
directly connected to the
CX-Integrator.
3. Select Options – Transfer from PLC.
The routing tables will be read through the network from each PLC and displayed.
Note
Before executing Option Menu operations such as transferring, deleting, or verifying
a node's routing tables, check the node's connection status by clicking the Network
Tab and checking the node's icon in the project workspace. When the CX-Integrator
is connected to a PLC on an Ethernet network, it may not be possible to read the
routing tables from nodes other than the connected PLC. In this case, directly
connect the CX-Integrator to the PLC to read and edit the local routing table.
3-27
 Loading...