2-4 Switching the Target PLC
2-4-1 Overview
2-4 Switching the Target PLC
2-4-1 Overview
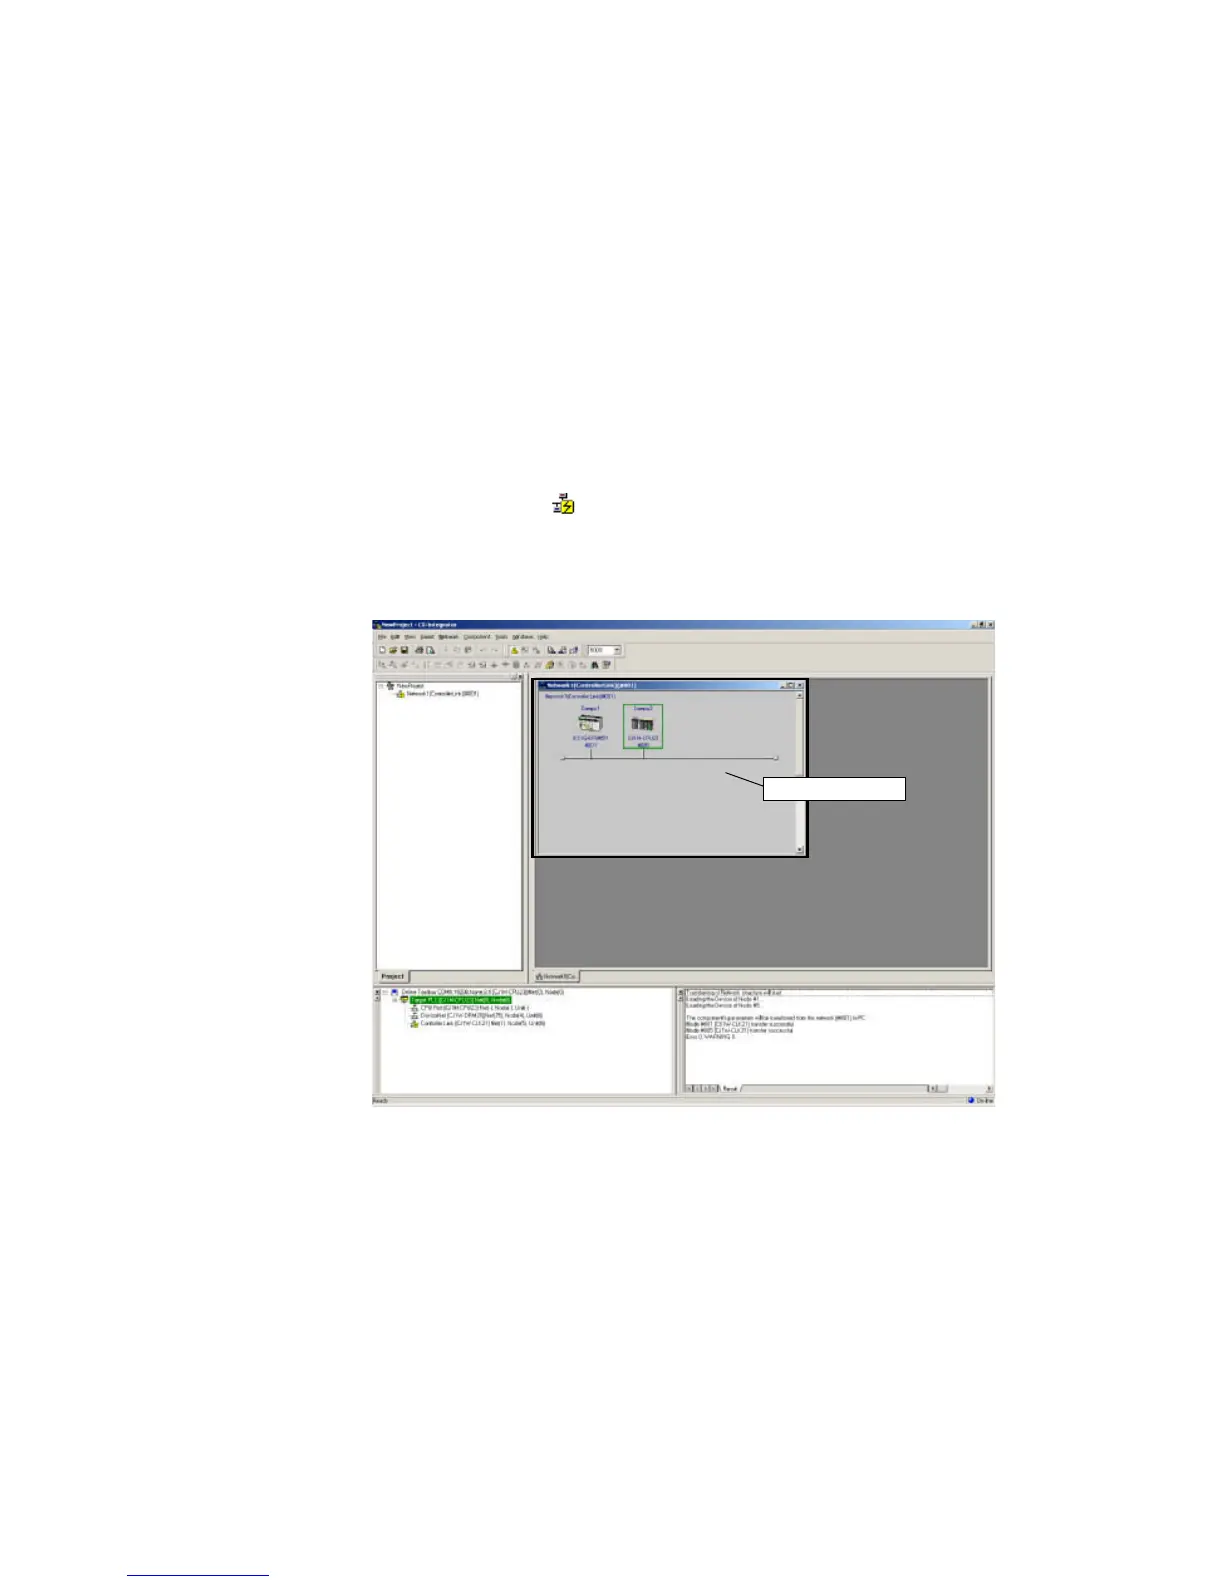
When an online connection is made from the CX-Integrator to the relay PLC, initially
the same PLC will be both the relay PLC and the target PLC and the Communications
Units and ports of the relay PLC will be displayed in the Online Connection Information
Window.
From there, the network configuration can be uploaded and other PLC on a network
specified to make it the target PLC.
2-4-2 Procedure
1. Right-click a Communications Unit or port connected of the relay PLC and select
Connect to enable accessing the Communications Unit or port. (If the network has
been uploaded but a network address is not displayed (Net(-) displayed), it will be
necessary to select the desired network in the Workspace Window, right-click, and
select Connect.) The
icon will be displayed to indicate the selected
Communications Unit or port can be accessed.
2. Right-click the Communications Unit/port again and select Transfer [Network to
PC] to upload the network configuration.
The network configuration will be displayed in the Network Configuration Window.
Network Structure Window
2-27
 Loading...