4-3 Manually Setting Data Links
4-3-11 Transferring the Data Link Table
8. Check the difference to be sure they are appropriate and then click the OK Button.
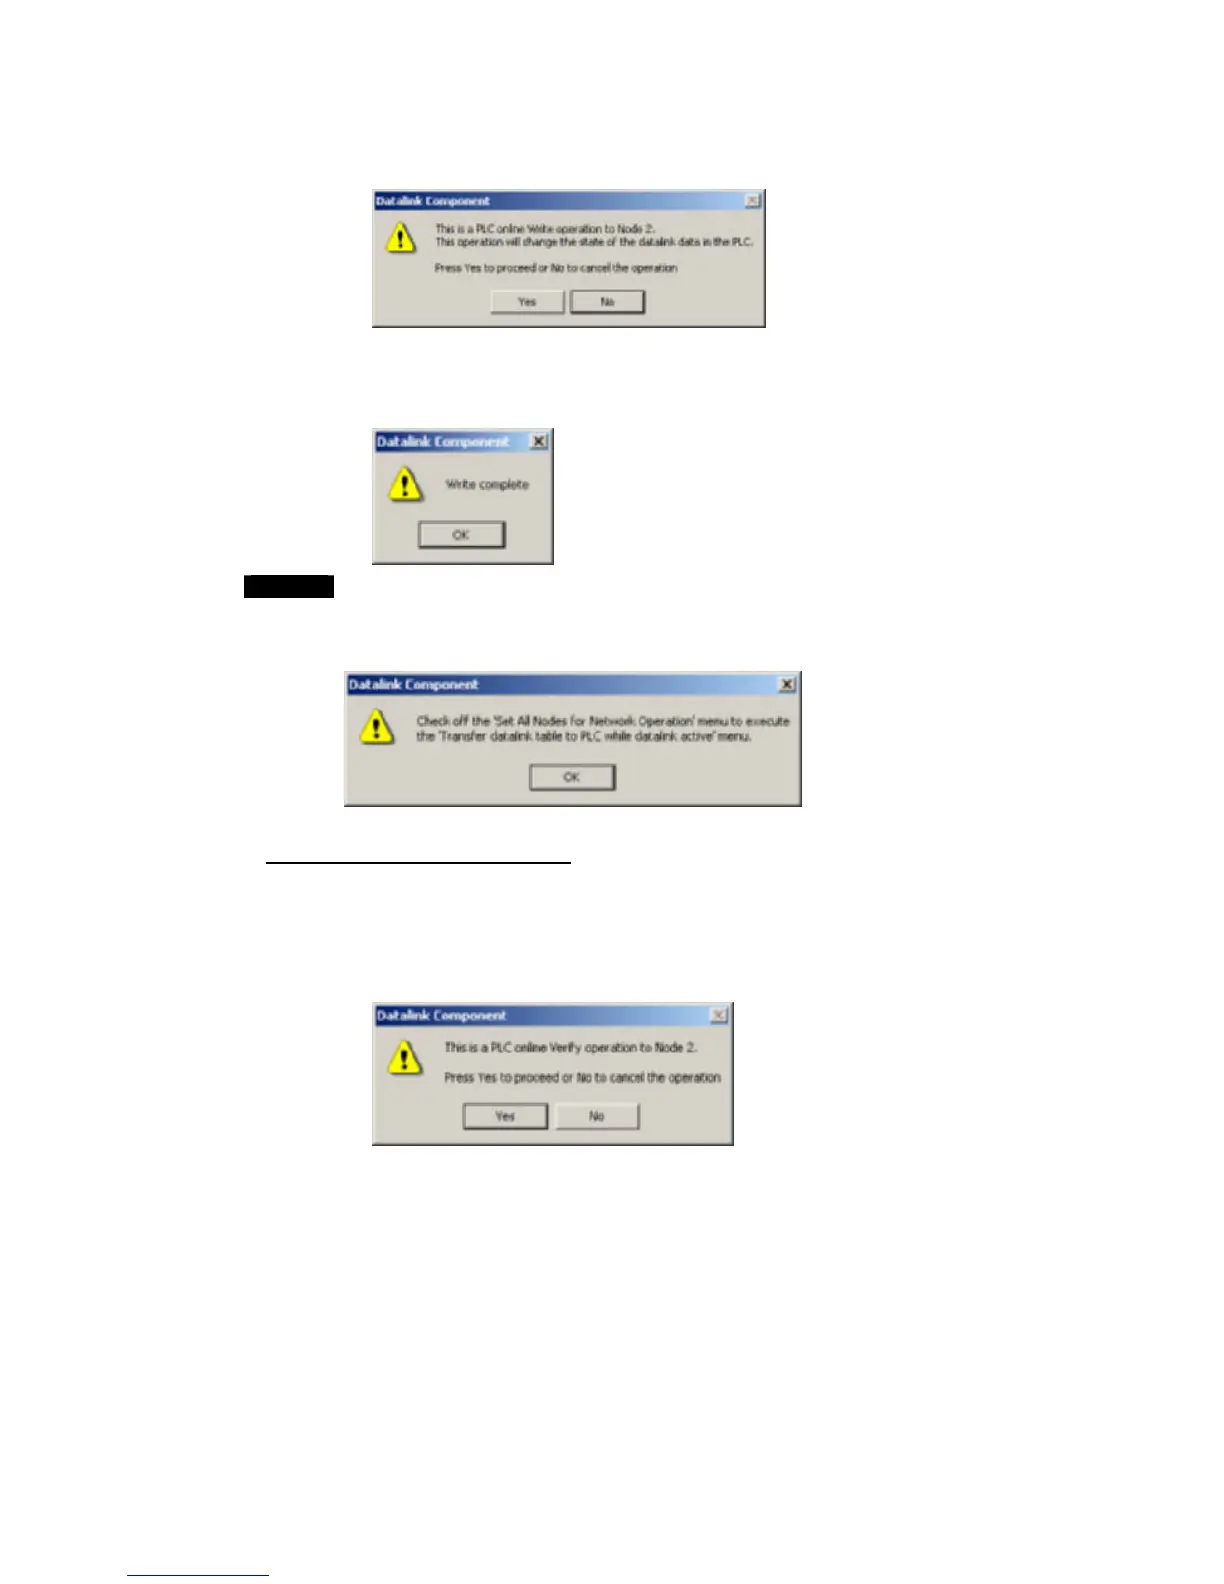
A dialog box will be display to confirm data link table transfer.
9. Click the Yes Button. The data link tables will be transferred.
If the
No Button is clicked, the transfer will be canceled. (The data link tables
currently running will not be changed.
The following dialog box will be displayed if the transfer is completed normally.
Note
Transfer the data link tables for only one node at a time when the data links are
running.
If Online - Transfer to PLC has been selected, the following dialog box will be
displayed. Clear the selection and repeat the procedure.
Comparing Data Link Tables
1. In the node list in the Data Link Component, select the node address of the PLC for
which data link tables are to be compared with those in the computer.
2. Be sure that
Online - Set All Nodes for Network Operation is not selected.
3. Select
Online - Verify Node.
The following dialog box will be displayed.
4. Click the Yes Button.
A message will appear to tell you if there are any differences between the two sets
of data link table.
5. If differences are found and the
OK Button is clicked, the Verification Result Dialog
Box will be displayed.
4-37
 Loading...