Adjusting the Images That Were Taken
70
FQ2 User’s Manual
Setting Filter Items
[Image] − [Image adjustment]
Setting the Image to Filter (Source Image)
You must set the image to which the filter is to be applied.
[Image] − [Image adjustment] − [Add filter] − (Filter item to select)
1 Press [ ] − [Source image] on the right of the display.
2 Set the source image to [Camera] or [Prev.].
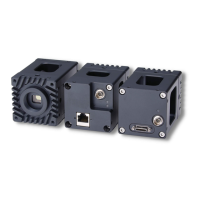
Background Suppression Extracts a specific range of brightness to increase the image contrast and suppress the unnecessary
background.
Example: Increasing Contrast
Any areas that are outside of the specified range of brightness are removed as the background.
Also, the brightness within the specified range is converted to 255 levels to enhance the contrast.
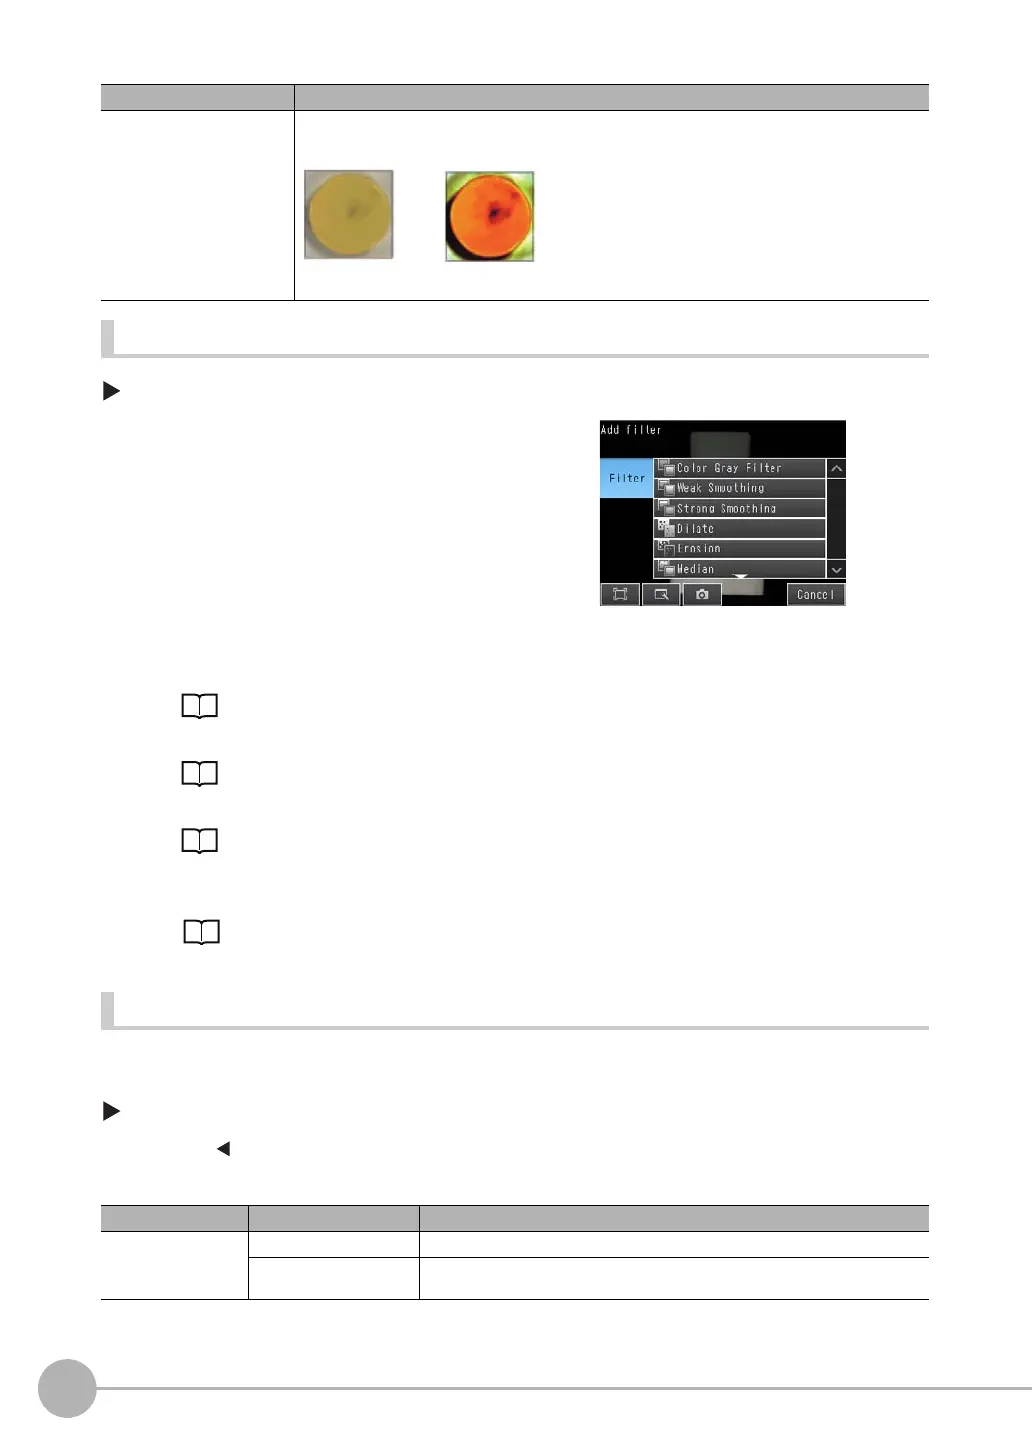
1 Press an unused number and then press [Add filter].
2 Press the filter item to use.
3 Make any detailed settings as required for the filter.
Refer to the detailed settings for each of the following fil-
ter items.
4 Press [OK].
5 Press [Back].
6 Make any the following settings as required for each
filter item.
• Setting the Source Image for Filtering
p. 70
• Setting the Region to Filter
p. 71
• Setting the Filter Type (for Color Gray Filter Only)
p. 71
• Setting the Brightness Range to Extract (for Back-
ground Suppression Item Only)
p. 72
Parameter Setting Description
Source image Camera (camera image) The filter is applied to the image that is taken by the Camera.
Prev. (previous image) The filter is applied to the image that resulted from the previous filter items or posi-
tion compensation items in the processing order.
Selected filter item Description