Servicing Oracle Database Appliance X3-2/X4-2/X5-2 FRUs
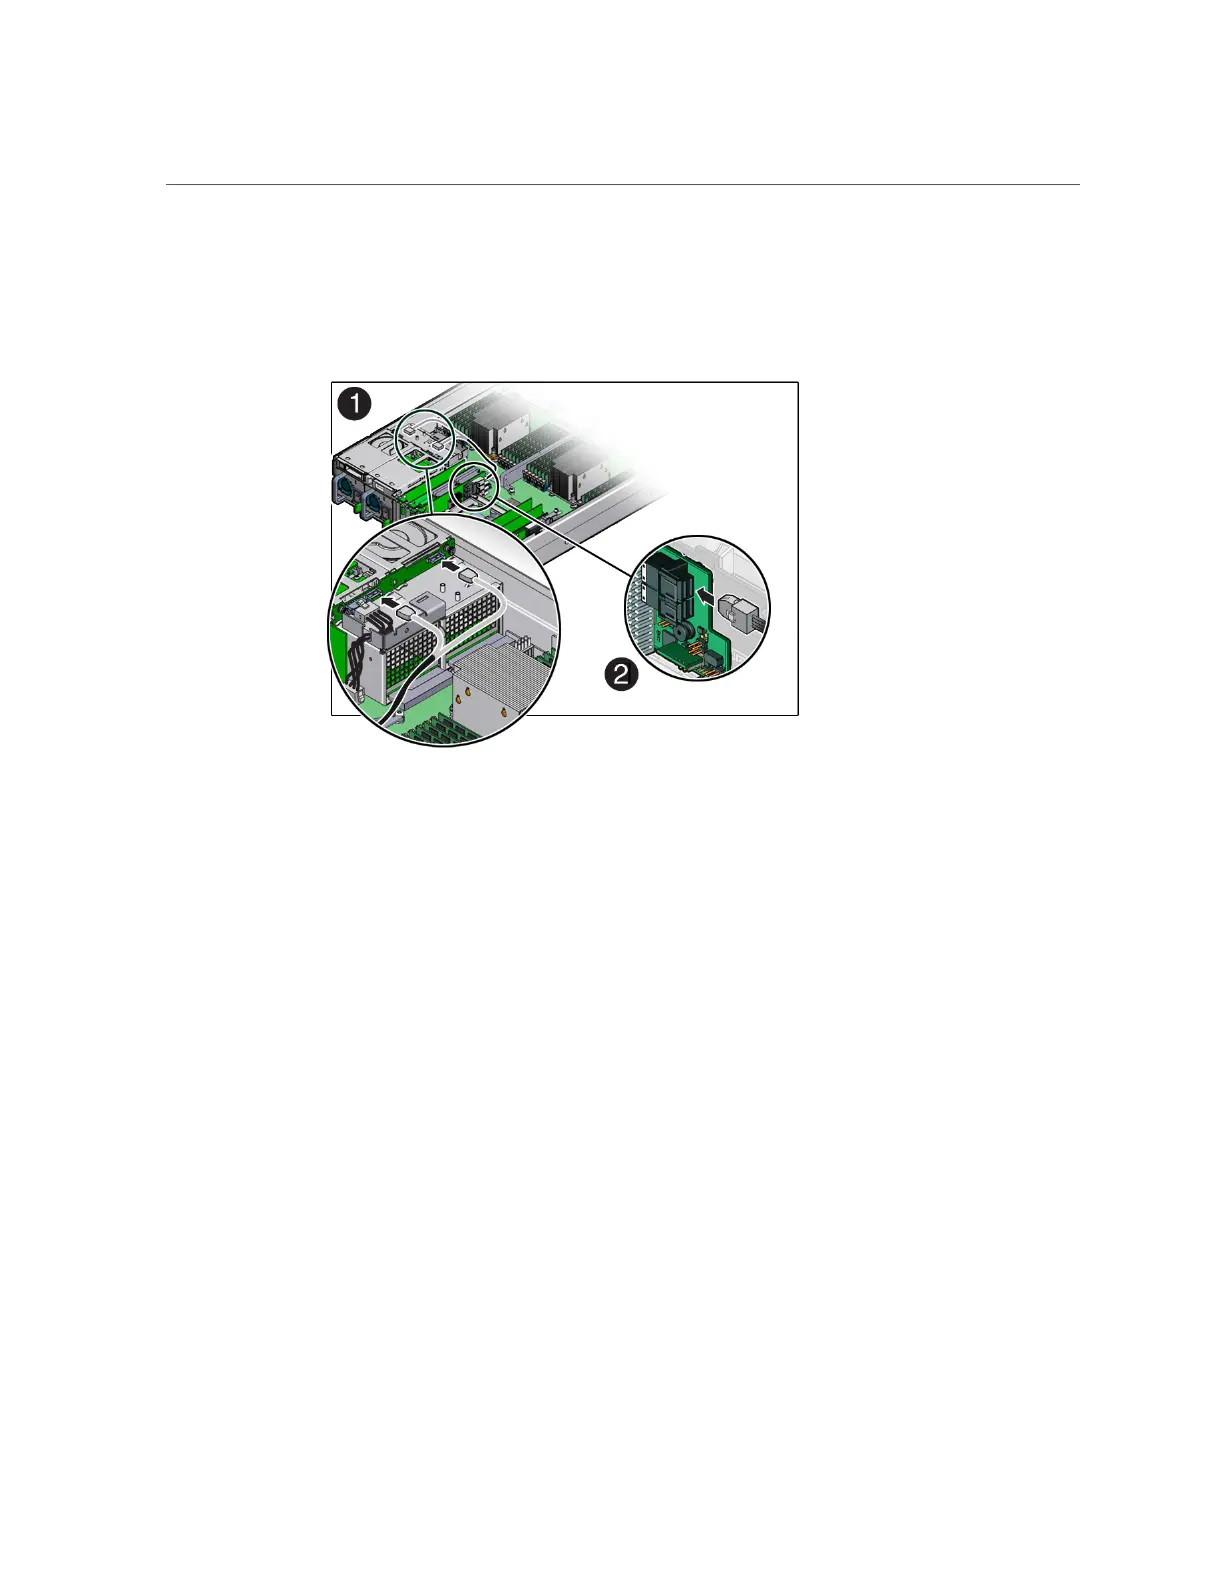
4.
Install the replacement SAS cable to the rear disk drive backplane [1] and the
SAS card [2].
5.
Lower the air baffle to the installed position.
6.
Return the server to operation.
a.
Install the server top cover.
b.
Return the server to the normal rack position.
c.
Reconnect the power cords to the power supplies and power on the server.
Servicing Oracle Database Appliance X3-2/X4-2/X5-2 FRUs
This section describes how to service server node FRUs for Oracle Database Appliance X3-2/
X4-2/X5-2.
If you have Oracle Database Appliance X7-2 series, go to “Servicing Oracle Database
Appliance X7-2 Series FRUs” on page 107. If you have Oracle Database Appliance X6-2
118 Oracle Database Appliance Service Manual • November 2017

 Loading...


