Install Boot Disk Backplane
a.
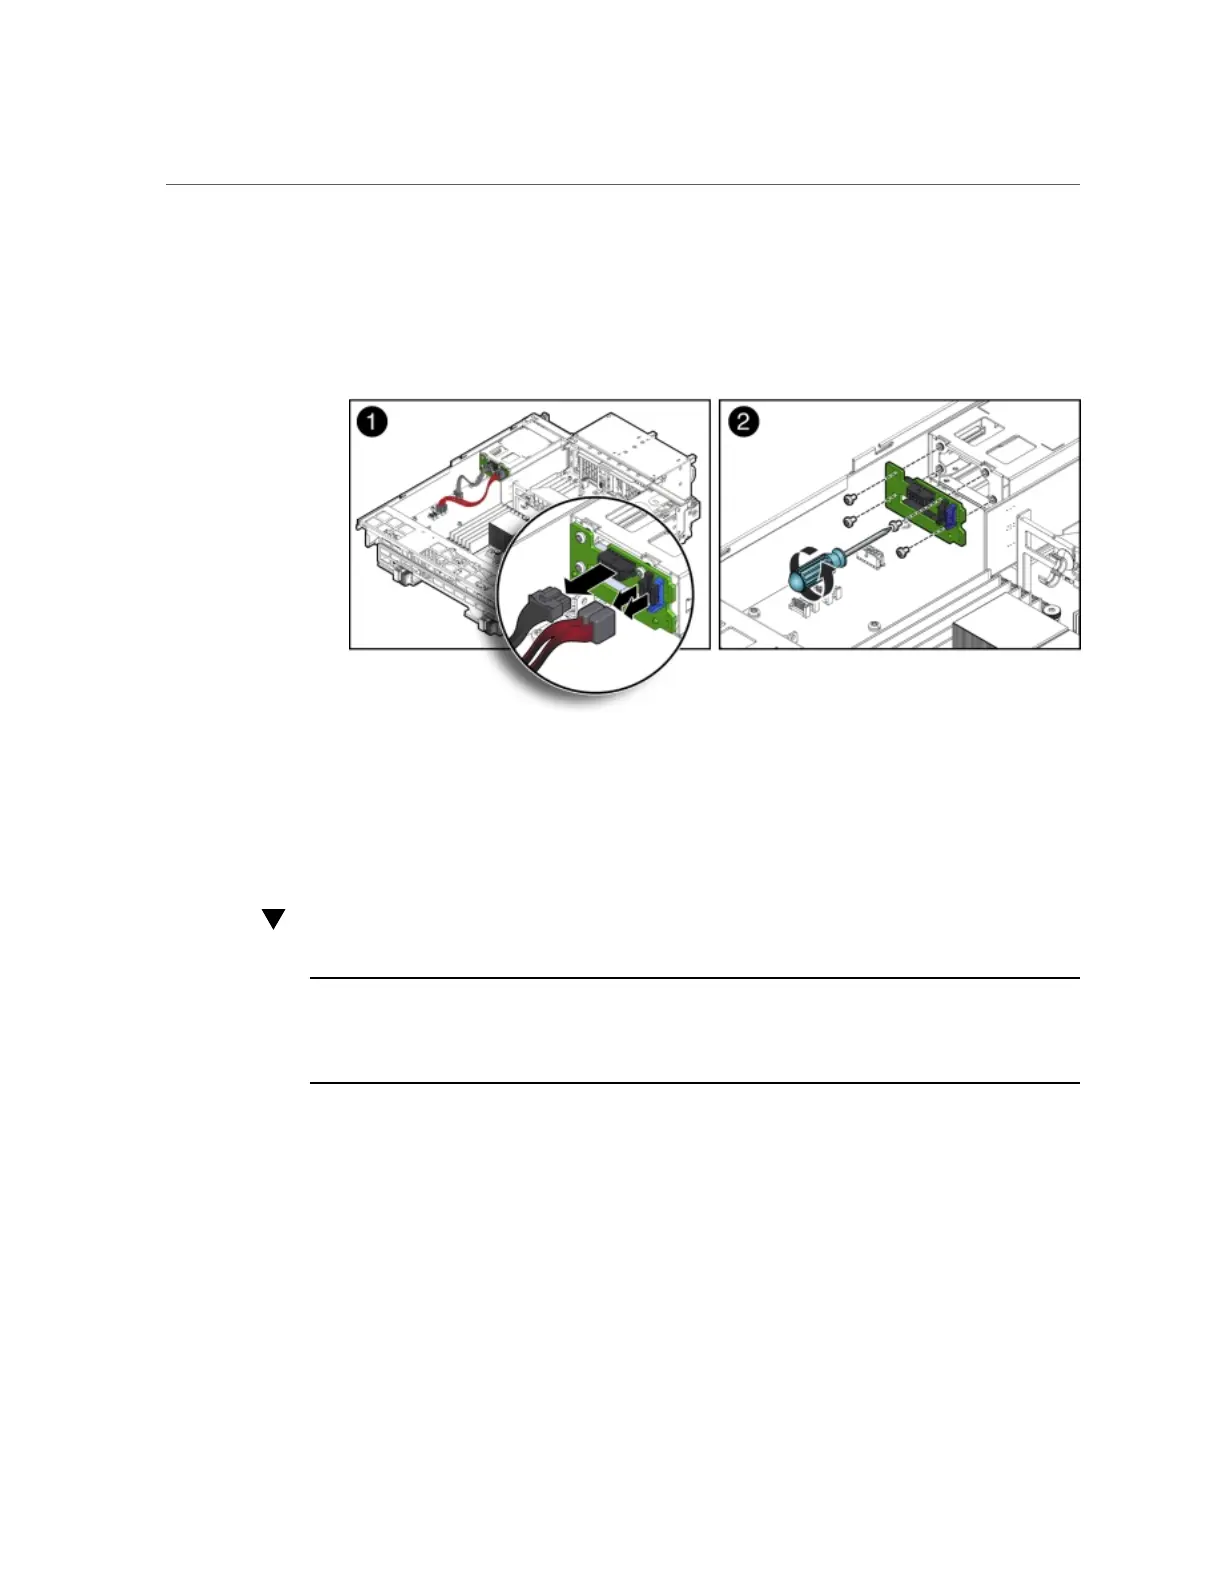
Disconnect the power and data cables [1].
b.
Remove the four Phillips screws that secure the boot disk backplane to the
rear-mounted disk drives assembly and remove the backplane [2].
4.
Place the boot disk backplane on an antistatic mat.
Install Boot Disk Backplane
Note - Information in this appendix does NOT apply to Oracle Database Appliance X3-
2, Oracle Database Appliance X4-2, Oracle Database Appliance X5-2 or Oracle Database
Appliance X6 series. Refer to the preceding chapters in this document for information on
servicing those systems.
This section describes installing the boot disk backplane in Oracle Database Appliance Version
1.
1.
Install the boot disk backplane.
a.
Position the boot disk backplane on the rear-mounted disk drives assembly
and install and tighten the four Phillips screws to secure the backplane [2].
206 Oracle Database Appliance Service Manual • November 2017

 Loading...


