Adding Optional Oracle Database Appliance X6-2-HA Storage Shelf Drives (CRU)
1.
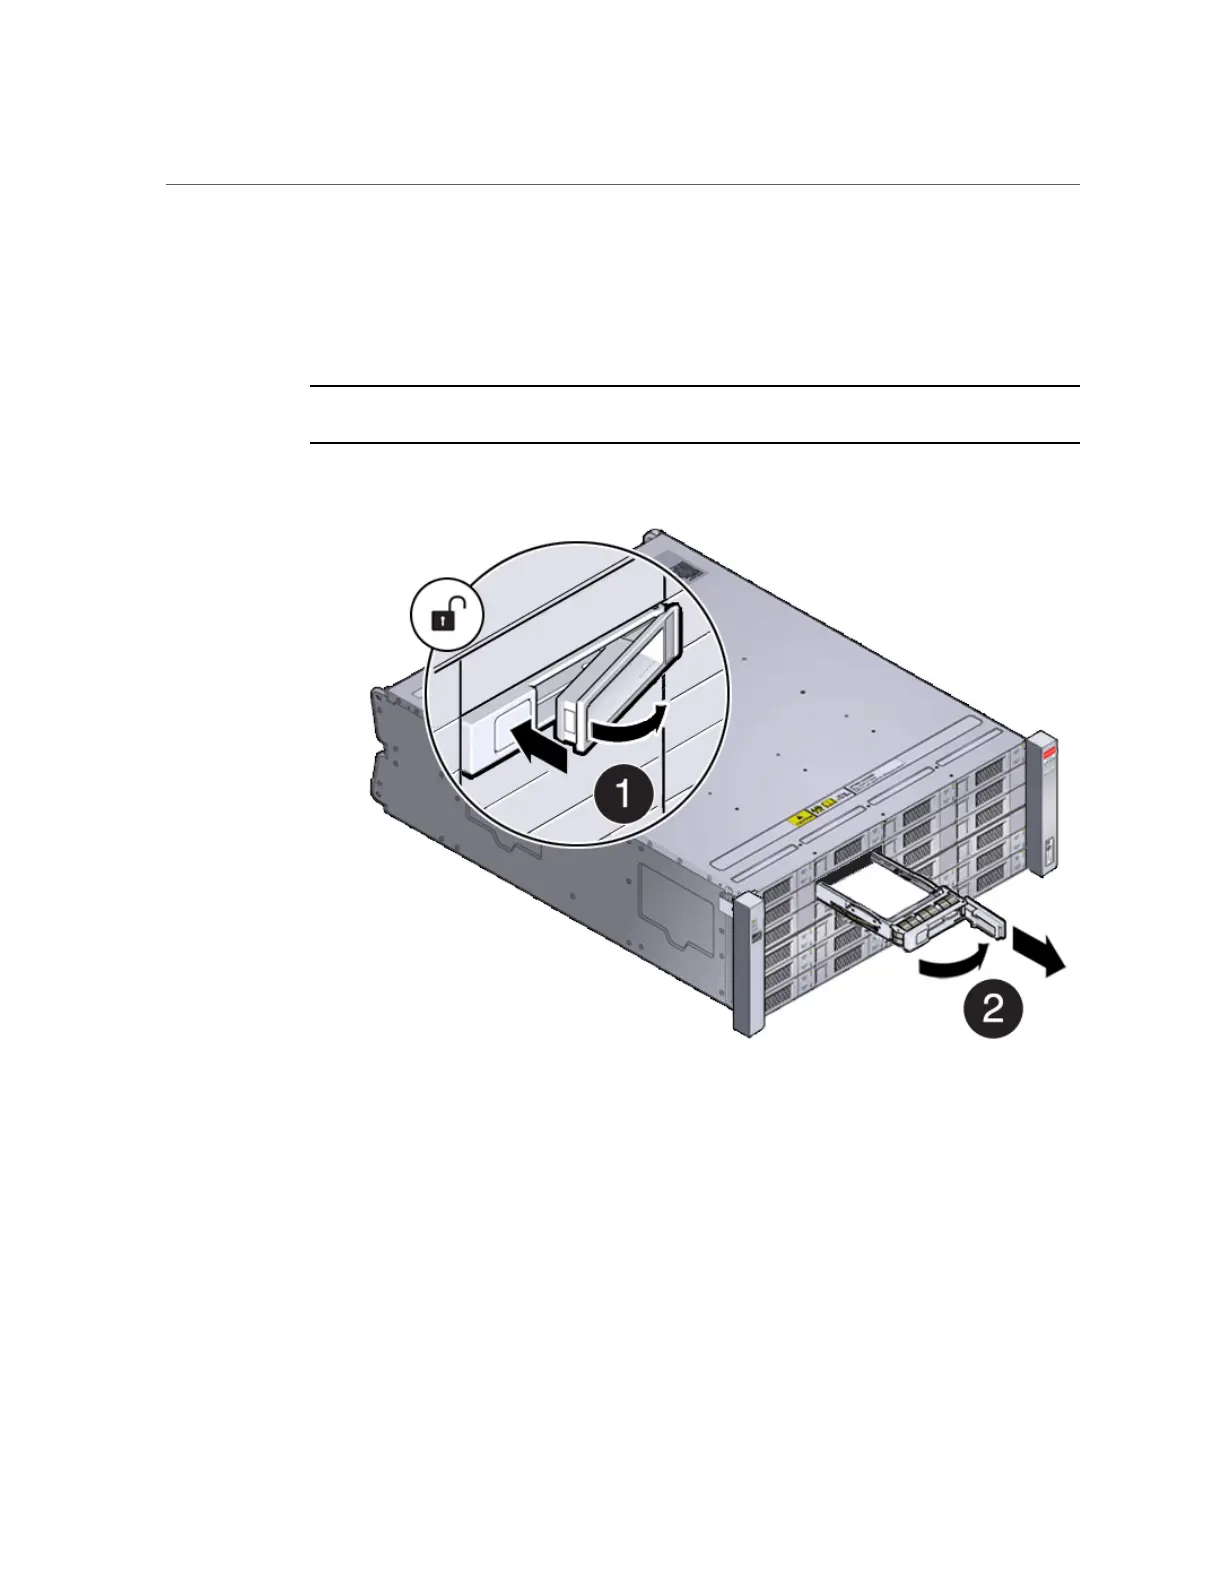
To install the new drives into the storage shelf, do the following:
a.
Remove one of the drive filler panels from slots 10-19 by pressing its release
button [1] and removing it from the drive slot [2].
Note - Replace filler panels with drives one at a time to ensure proper storage shelf chassis
cooling.
b.
Open the drive lever of the new drive by pressing the release button on the
drive.
c.
Slide the new drive into the drive slot [1] until it engages with the backplane
connector. Then close the lever to fully seat the drive and lock it into place
[2].
84 Oracle Database Appliance Service Manual • November 2017

 Loading...


