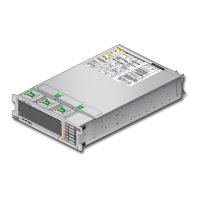
Install the Motherboard
Install each memory riser on the side where it had been located. See “Install a
DIMM” on page 96.
Always install a transceiver in a PCIe card after installing the card in the server.
14.
Install all PCIe cards.
Place each PCIe card in the slot where it had been located.
See “Install a PCIe Card or Filler” on page 110.
15.
Install the airflow cover.
See “Install and Close the Airflow Cover” on page 155.
16.
Attach the top cover.
See “Replace the Top Cover” on page 157.
17.
Return the server to the normal operating position.
See “Return the Server to the Normal Operating Position” on page 158.
18.
Reconnect the power cords to the power supplies.
See “Attach Power Cords” on page 159.
19.
Prior to powering on the server, connect a terminal or a terminal emulator (PC or
workstation) to the SP through the SER MGT port.
The SP detects the host firmware on the replacement motherboard is not compatible with the
existing SP firmware, further action will be suspended and the following message will be
displayed:
Unrecognized Chassis: This module is installed in an unknown or
unsupported chassis. You must upgrade the firmware to a newer
version that supports this chassis.
Note - Whenever you replace the motherboard or the SPM, update the firmware on the server so
the portions of firmware in the two components remain consistent.
20.
Prepare to download the system firmware.
If necessary, configure the server's NET MGT port so that it can access the network. Log in to
the SP through the NET MGT port.
Refer to the Oracle ILOM documentation for network configuration instructions.
21.
Download the system firmware.
Servicing the Motherboard 141
 Loading...
