8
Making image adjustments for the selected remote camera (continued)
Selecting the color bars
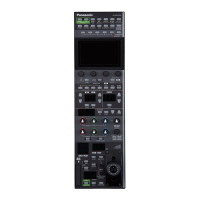
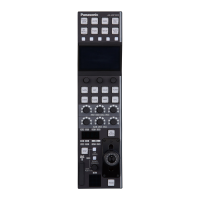
Press the BARS button to output color bar signals from the remote
camera
Button indicator off : Outputs the signal for the images shot by the
camera
Button indicator on : Outputs the color bar signal
Setting the detail
The image detail (image sharpness) can be adjusted
1 Press the DETAIL button
The current detail setting appears
DETAIL : On
LEVEL : LOW
F1 dial
F2 dial
2 Turn the F1 dial and F2 dial to select settings
Adjusting the shutter speed
The shutter mode and shutter speed of a remote camera can be
selected
1 Press the MENU button to turn on its indicator
2 Open SHUTTER menu [21]
Setting the shutter mode
3 Turn the F1 dial to display the “1 SHUTTER” item
1.SHUT TER
Off
4 Turn the F2 dial to select the shutter mode, and then
press the F2 dial to confirm the selection
Off : Turns off the electronic shutter
Step : Operates the shutter at the shutter speed set in the
“2 SPEED” item
Synchro : Operates the shutter at the shutter speed set for the
remote camera
Set the shutter speed value for synchro mode in the OSD
menu of the remote camera
For details, refer to the Operating Instructions for the
remote camera
ELC : Controls the electronic shutter and automatically adjusts
the light quantity
The shutter mode settings differ depending on the remote camera
connected Check the Operating Instructions for the corresponding
model
Setting the shutter speed
When “Step” has been selected as the shutter mode, you can specify
the shutter speed
5 Turn the F1 dial to display the “2 SPEED” item
2.SPEE D
1/100
6 Turn the F2 dial to adjust the shutter speed
The shutter speed settings differ depending on the remote camera
connected Check the Operating Instructions for the corresponding
model
For a remote camera connected via a serial connection, when
you change the camera group once and then return to the original
camera group, the shutter speed is set to “1/100”
Note
 Loading...
