Chapter 6
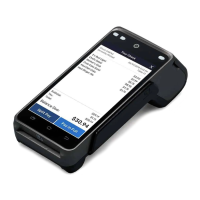
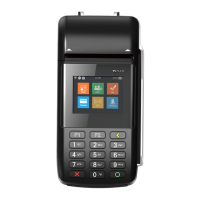
How to Setup the POS terminal
NOTE: This document is CONFIDENTIAL and must be used exclusively for the operation of PAX programs. It may not be
duplicated, published, or disclosed without prior written permission from PAX.
.
107
Current Report, Continued
Scroll through the EDC Type options then press
[ENTER] to select.
OR
Press the number corresponding with your
selection.
Scroll through the Card Type options then press
[ENTER] to select.
OR
Press the number corresponding with your
selection.
Scroll through the options then press [ENTER] to
select.
OR
Press the number corresponding with your
selection.
If a specific clerk/server is selected, terminal
prompts for clerk/server ID. Otherwise, skip to Step
5.
Enter clerk/server ID then press [ENTER].
If clerk/server mode is not enabled, By
Clerk/Server# will not be a choice.
Scroll through Sorting Options then press [ENTER]
to select.
OR
Press the number corresponding with your
selection.
Transaction types include All, Sale, Forced, Verify,
Return, Void Sale, Void return and Void Forced.
Scroll through the Transaction Type options then
press [ENTER] to select.
OR
Press the number corresponding with your
selection
SELECT PMT TYPE:
1. ALL
2. CREDIT
3. DEBIT
4. EBT
ENTER CARD TYPE:
1. ALL
2. Visa
3. MasterCard
4. AMEX
SORT METHOD:
1. By Trans #
2. By Card Type
(3. By Srvr/Clerk#)
SELECT TRAN. TYPE
1. ALL
2. SALE
3. FORCED
4. POSTAUTH
SELECT CLERK
1. ALL
2. Spec. Servr/Clerk
___________________
ENTER CLERK ID:
1
___________________