22
P
reparation
Note!
Notes!
Important!
What do you need?
4. Using the Phenom
The indications between brackets behind button and connector names refer to the items in
the overview illustrations on pages 10 - 17. E.g. (fig. 2,3) refers to item 3 in figure 2.
4.1 Waking-up the Phenom
After one hour of inactivity, the Phenom switches to standby. The POWER LED (1) lights up
orange. After 72 hours of inactivity, the Phenom switches to hibernate (power saving) mode.
The POWER LED (1) blinks orange (1 second on, 3 seconds off).
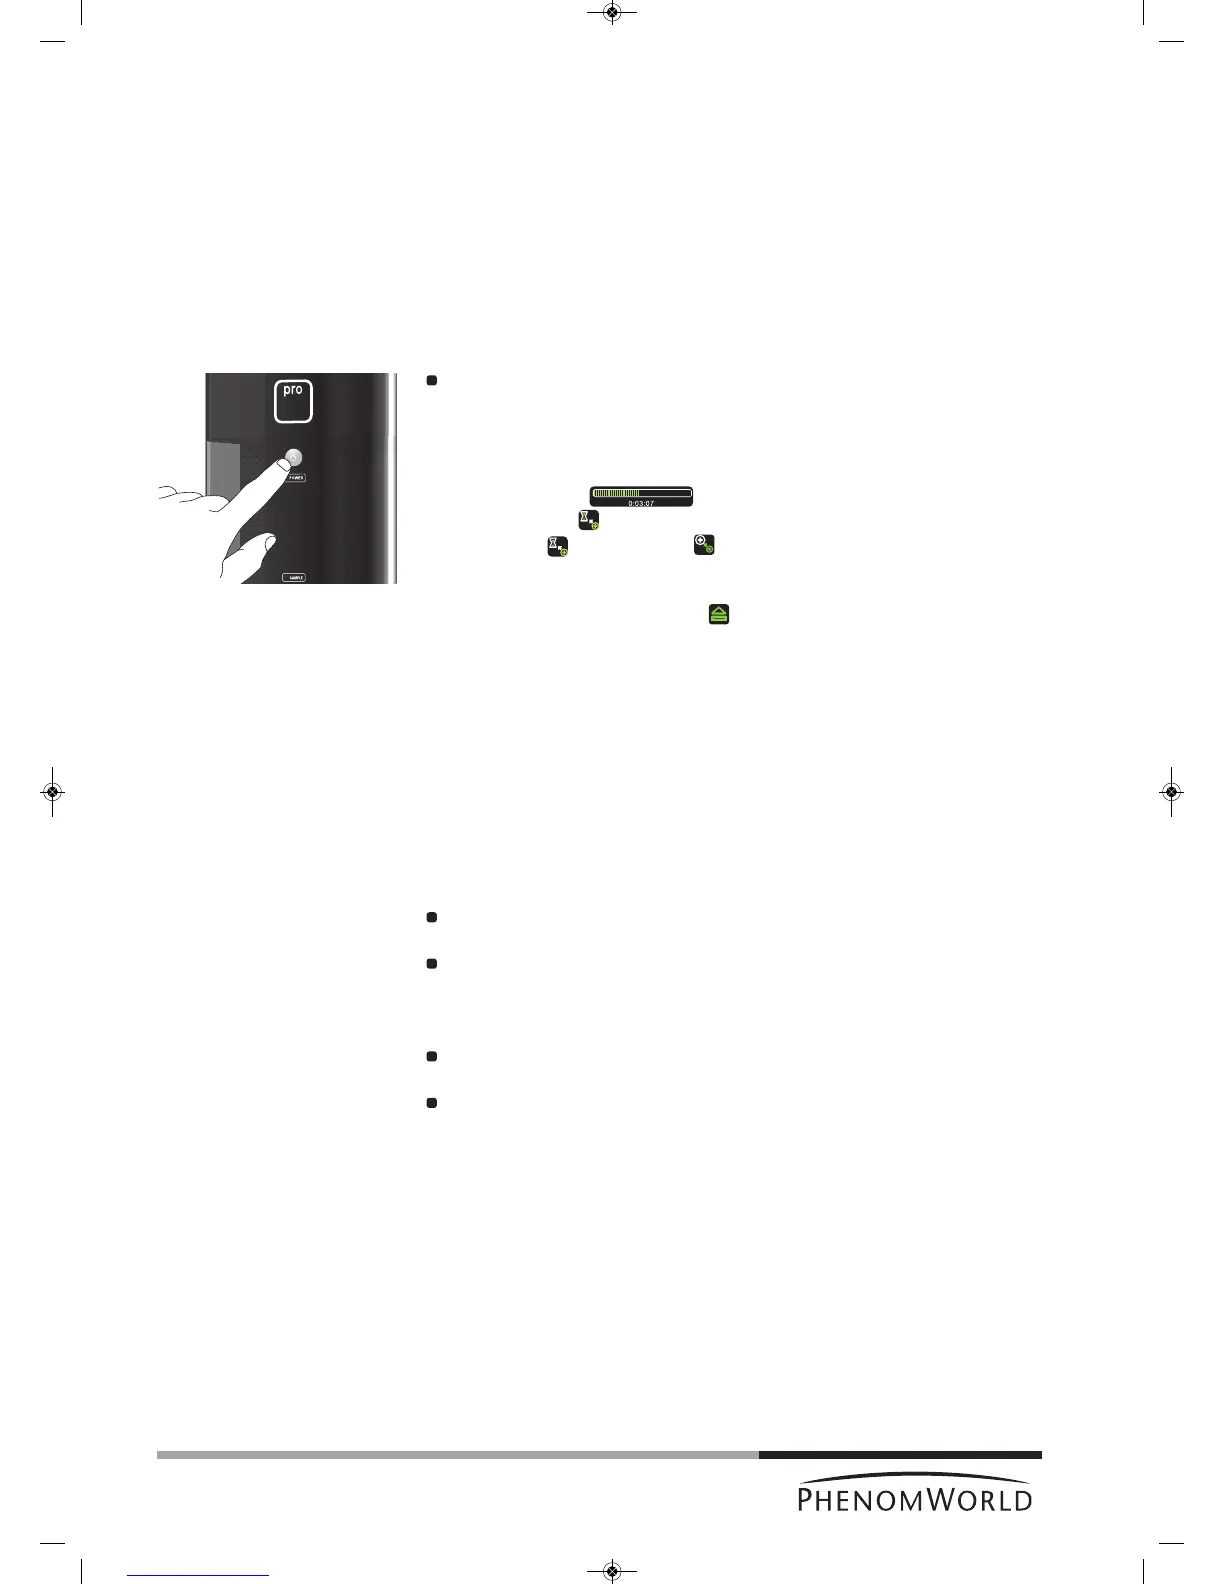
To wake up the Phenom from standby / hibernate mode:
Press the System control button y (fig. 1,1).
> The POWER LED (fig. 1,1) blinks green until the Phenom is completely activated
again. From standby mode this will take approximately 4 minutes; from hibernate
mode this will take approximately 6 minutes.
> The Phenom is immediately ready for optical imaging. Refer to 4.5 ‘Optical imaging’.
> A progress bar ( ) displays the remaining wake-up time.
> An hourglass ( ) indicates that the wake-up process is in progress.
W
hen the icon changes into , the Phenom is ready for electron imaging.
Refer to 4.6 ‘Electron imaging’.
– The Phenom is also activated when (fig. 3,9) on the IMAGE screen is touched
during sample loading. Refer to 4.3 ‘Loading samples’.
– When the message ‘Check connectivity settings’ appears in the status window
(fig. 3,7), you should check your connectivity settings. Press the check button (4) that
appears to continue. Also refer to chapter ‘Connectivity’ under 5.7 ‘Advanced settings’
and / or Phenom Remote Assistant (PRA) Operations Guide.
4.2 Preparing samples
This chapter is meant to give you better understanding of sample preparation before using
samples inside the Phenom. By following the guidelines below you can maximize sample
resolution and eliminate possible maintenance issues.
The Phenom can accommodate samples up to 25 mm (1") in diameter and
30 mm (1.1811") in height.
Never put wet samples in the Phenom. Wet samples will readily outgas under
vacuum. This can cause serious problems in your imaging capabilities and can cause
permanent damage to the Phenom. Make sure samples have been dried before
placing them into the machine.
Be absolutely sure there are no loose particles on the sample before loading it into
the Phenom by slightly flushing it with compressed air.
Always make sure the sample is firmly fastened to the sample stub. Moving a sample
from atmosphere to vacuum can cause loose sample material to become dislodged
from the stub. This debris can make its way up the SEM column and distort the
electron beam. The general sample preparation section hereafter explains how to
properly prepare samples for the Phenom. This will ensure higher quality imaging and
reduce maintenance issues.
For sample preparation you will need to have the following items available:
– sample stub (less than 25 mm (1") in diameter);
– stub gripping tweezers;
– standard tweezers;
– stub tray;
– toothpick (or other disposable pointed object);
– one of the following items: colloidal graphite, silver paint, or double sided carbon
adhesive pads;
– a can of compressed air.