P
reparation
Note!
CAUTION!
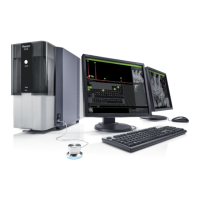
3. Installing the Phenom
The indications between brackets behind button and connector names refer to the items in
the overview illustrations on pages 10 - 17. E.g. (fig. 2,3) refers to item 3 in figure 2.
3.1 Requirements for positioning the Phenom
components
Place the Phenom, touch screen, pre-vacuum pump and power supply on a flat,
steady surface, out of direct sunlight and away from sources of excessive dust, dirt,
heat, water, moisture, vibration, and strong magnetic fields.
Place both the power supply and pre vacuum pump either on the floor or on the table
near to where the Phenom microscope is placed.
Make sure that the adapter 0 / I switch (fig. 1,14) switch is accessible at all times.
Make sure the Phenom power supply is switched off before making any connections.
Recommended table size is 120 x 75 cm (47" x 29.5") with a load rating of 100 kg
(220.5 lbs).
Allow sufficient cooling of the Phenom, power supply and pre-vacuum pump by
keeping all cooling vents clear of obstructions.
Make sure room temperature is between 15 °C and 30 °C
(59 °F and 86 °F) and that room humidity does not exceed 80% RH.
Position the touch screen in such a way that you avoid glare or reflections from
overhead lighting or outside sources of light.
Keep the screen clean and set brightness and contrast to a level that enables you to
see the screen clearly. For cleaning the screen, refer to 6. ‘Maintenance’ and for
setting brightness and contrast, use the and – / + buttons (fig. 1, 12) on the
monitor.
When positioning the Phenom always work with two persons, one at each end.
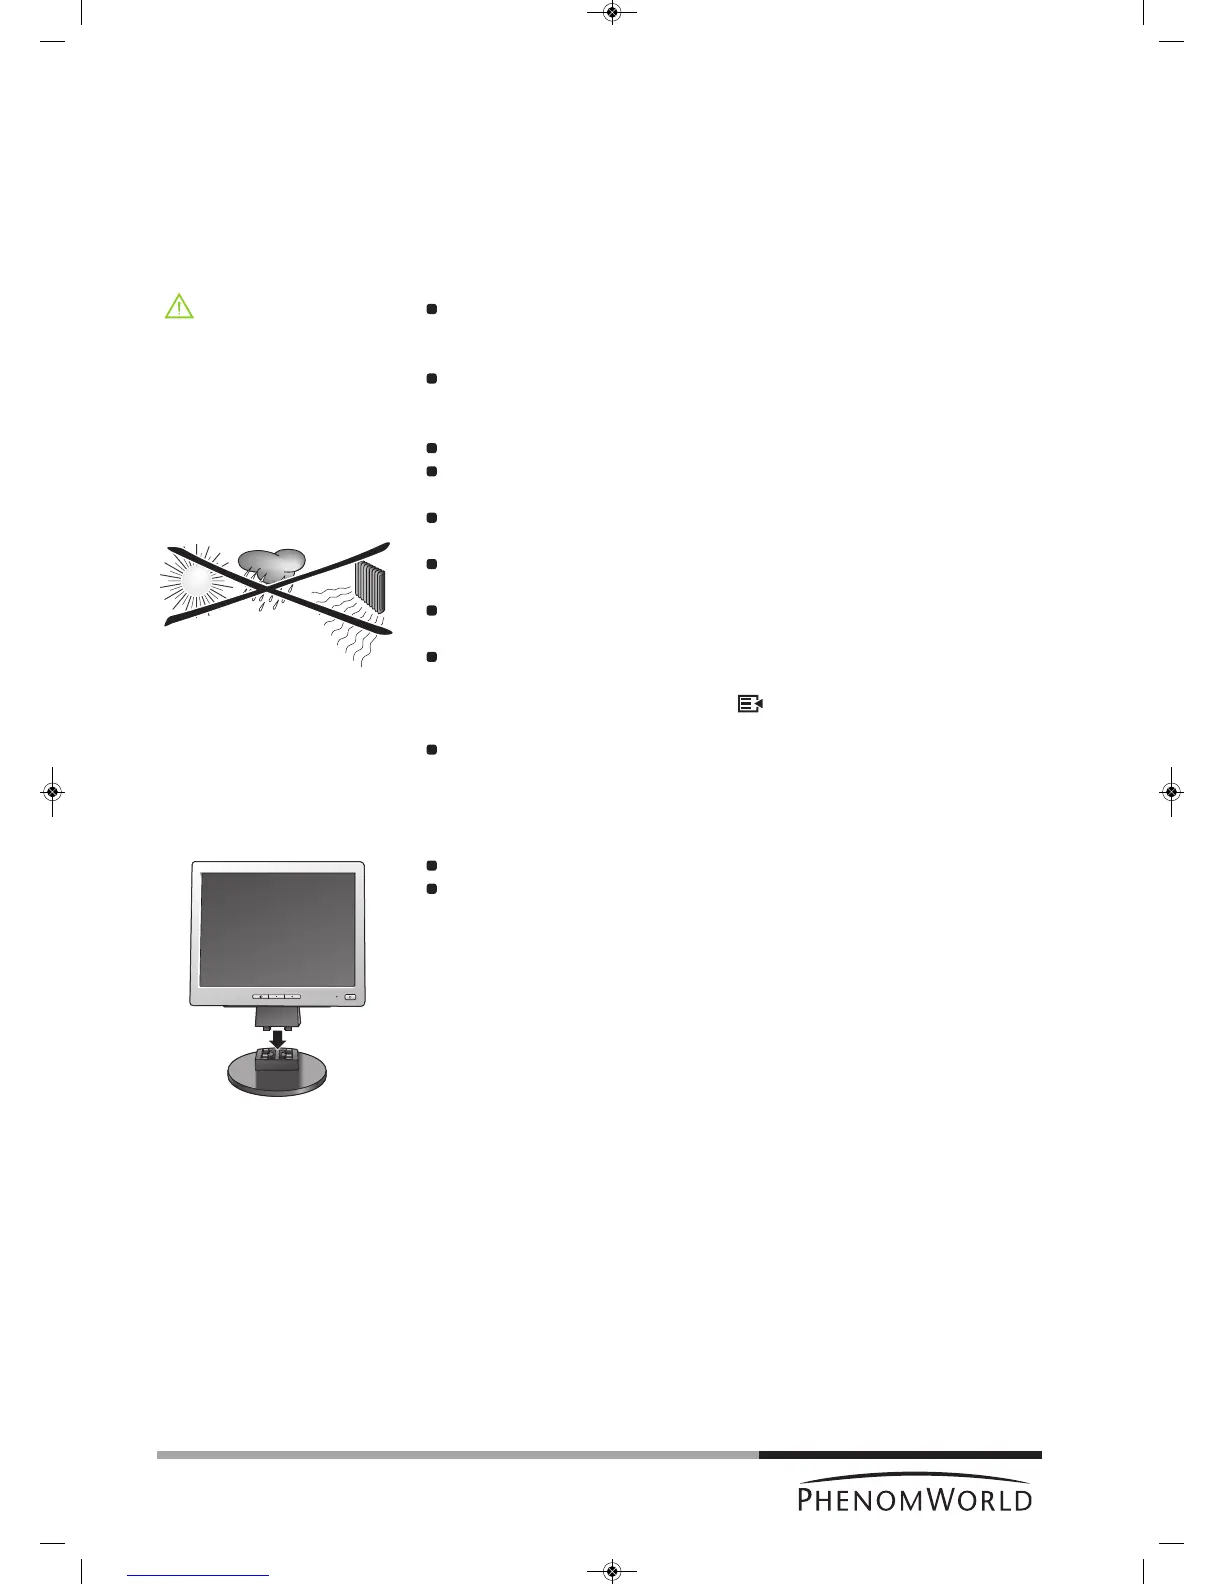
3.2 Assembling the flat panel touch screen
monitor
Place the monitor foot onto the desktop stand.
Position the monitor above the foot and align the connectors. Gently press until the
foot clicks into position.
18