32
4.6.5 Moving the sample
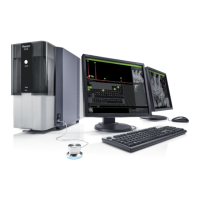
Touch a particular part of the sample on the main viewing window (fig. 3,1).
>
This part will be moved to the center of the field of view.
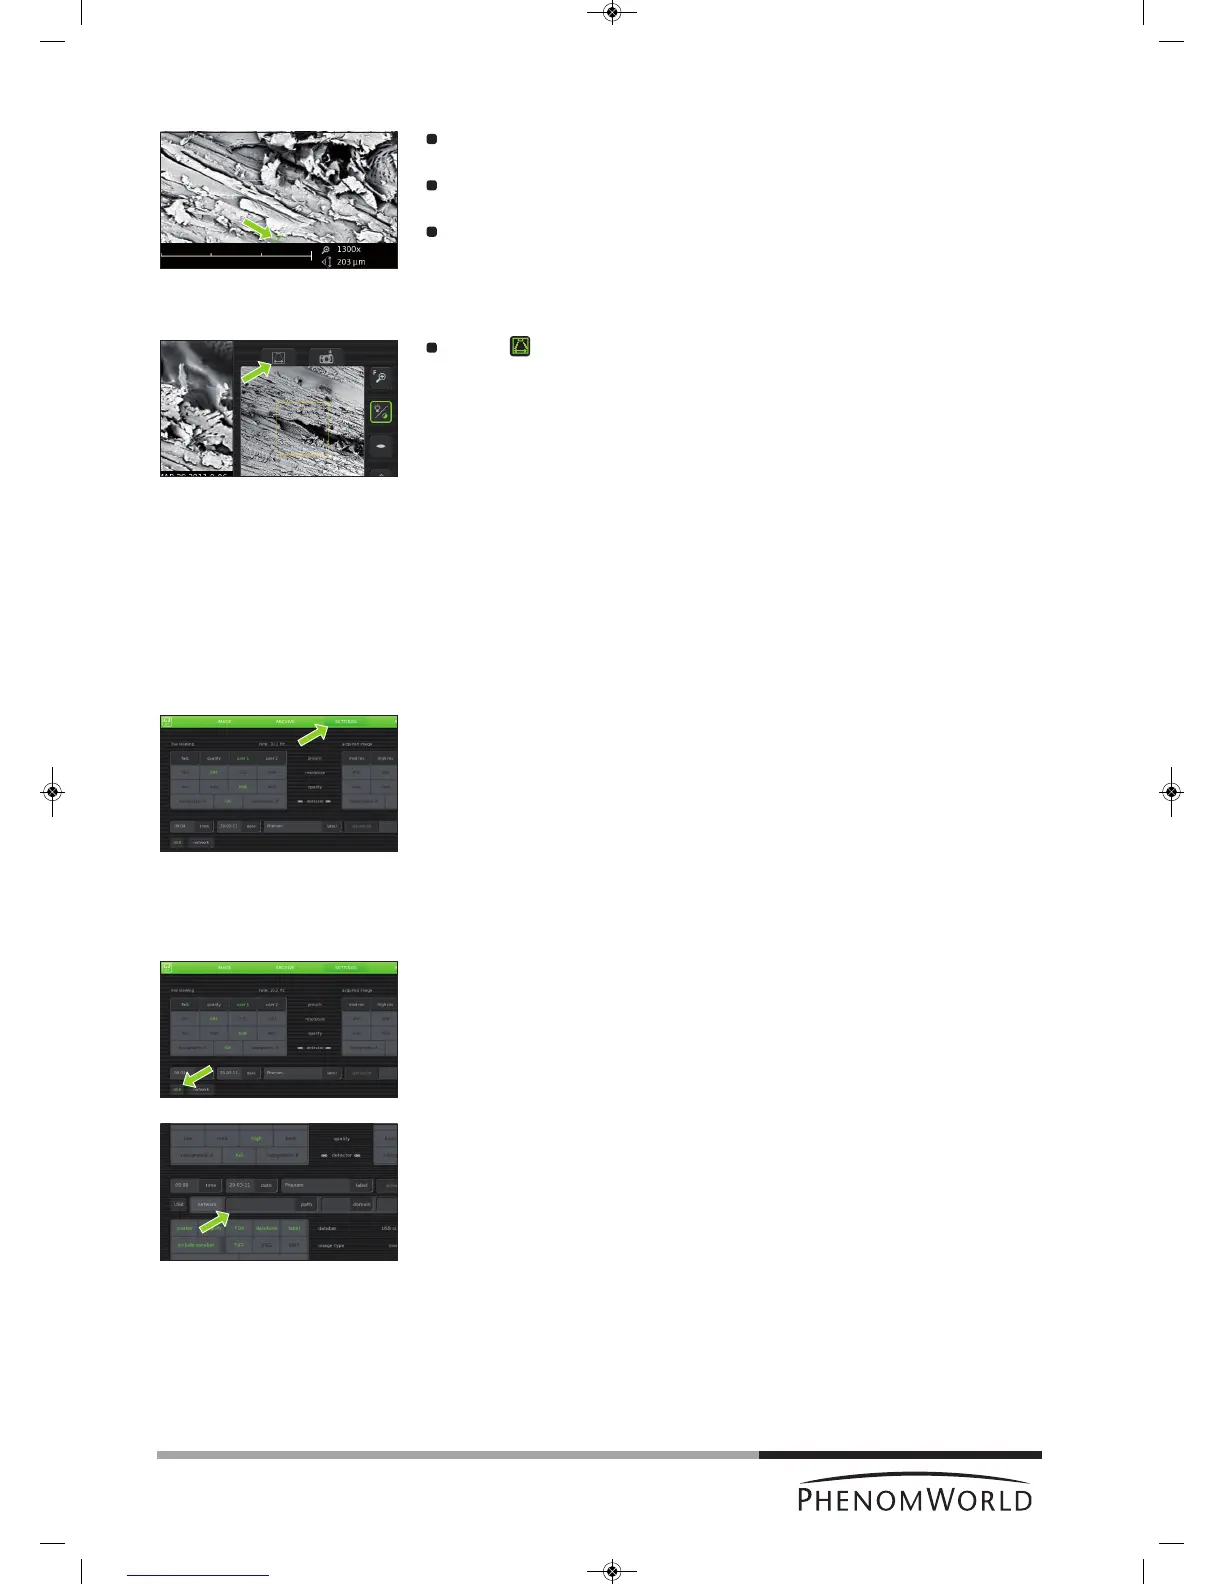
Touch one of the directional arrows (fig. 3,12).
> The sample moves in the direction of the arrow.
Touch a particular part of the sample on the electron overview window (fig. 3,3).
> This part will be moved to the center of the field of view.
If a sample has been moved outside of the original field of view, the electron overview
window (fig. 3,3) turns black.
Touch (fig. 3,6) to refresh the electron overview window (fig. 3,1).
4.6.6 Storing images
I
mages can be be stored on a USB 2.0 flash drive (USB Flash drive) as well as on a
(Windows) network share. For network configuration, refer to 5.7.4 ‘Routine pages’ -
‘Network’.
Selecting storage location
When a USB Flash drive is inserted into one of the Phenom USB ports (
fig. 1,7 / fig. 2,6
), the
USB Flash drive is automatically selected as storage location. To manually select a storage
location:
1 Touch SETTINGS in the screen selection bar.
> The Settings screen appears.
2 Touch USB.
> Images can now be stored on the USB 2.0 flash drive.
3 Touch Image in the screen selection bar to return to the Image screen.
OR:
1 Touch SETTINGS in the screen selection bar.
> The Settings screen appears.
2 Touch network.
> The path field appears on the screen, together with a keyboard.
3 Enter server name, share path, domain name, user name and password. Enter the
user name and password that you use to get access to Windows on your computer.
4 Confirm by pressing OK.
> If that fails (because you haven't filled in all fields, or something is wrong), a
message with the details of the problem will be displayed.
> Images can now be stored on the selected network share.
5 Touch IMAGE in the screen selection bar to return to the Image screen.