41
Notes!
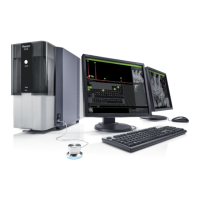
5.4.3 UI mode
Here you can select the desired User Interface mode. You can select whether the button
b
ar on the Image screen will be placed on the left or on the right side of the screen.
Select the desired position by touching the lefthand button or the righthand button.
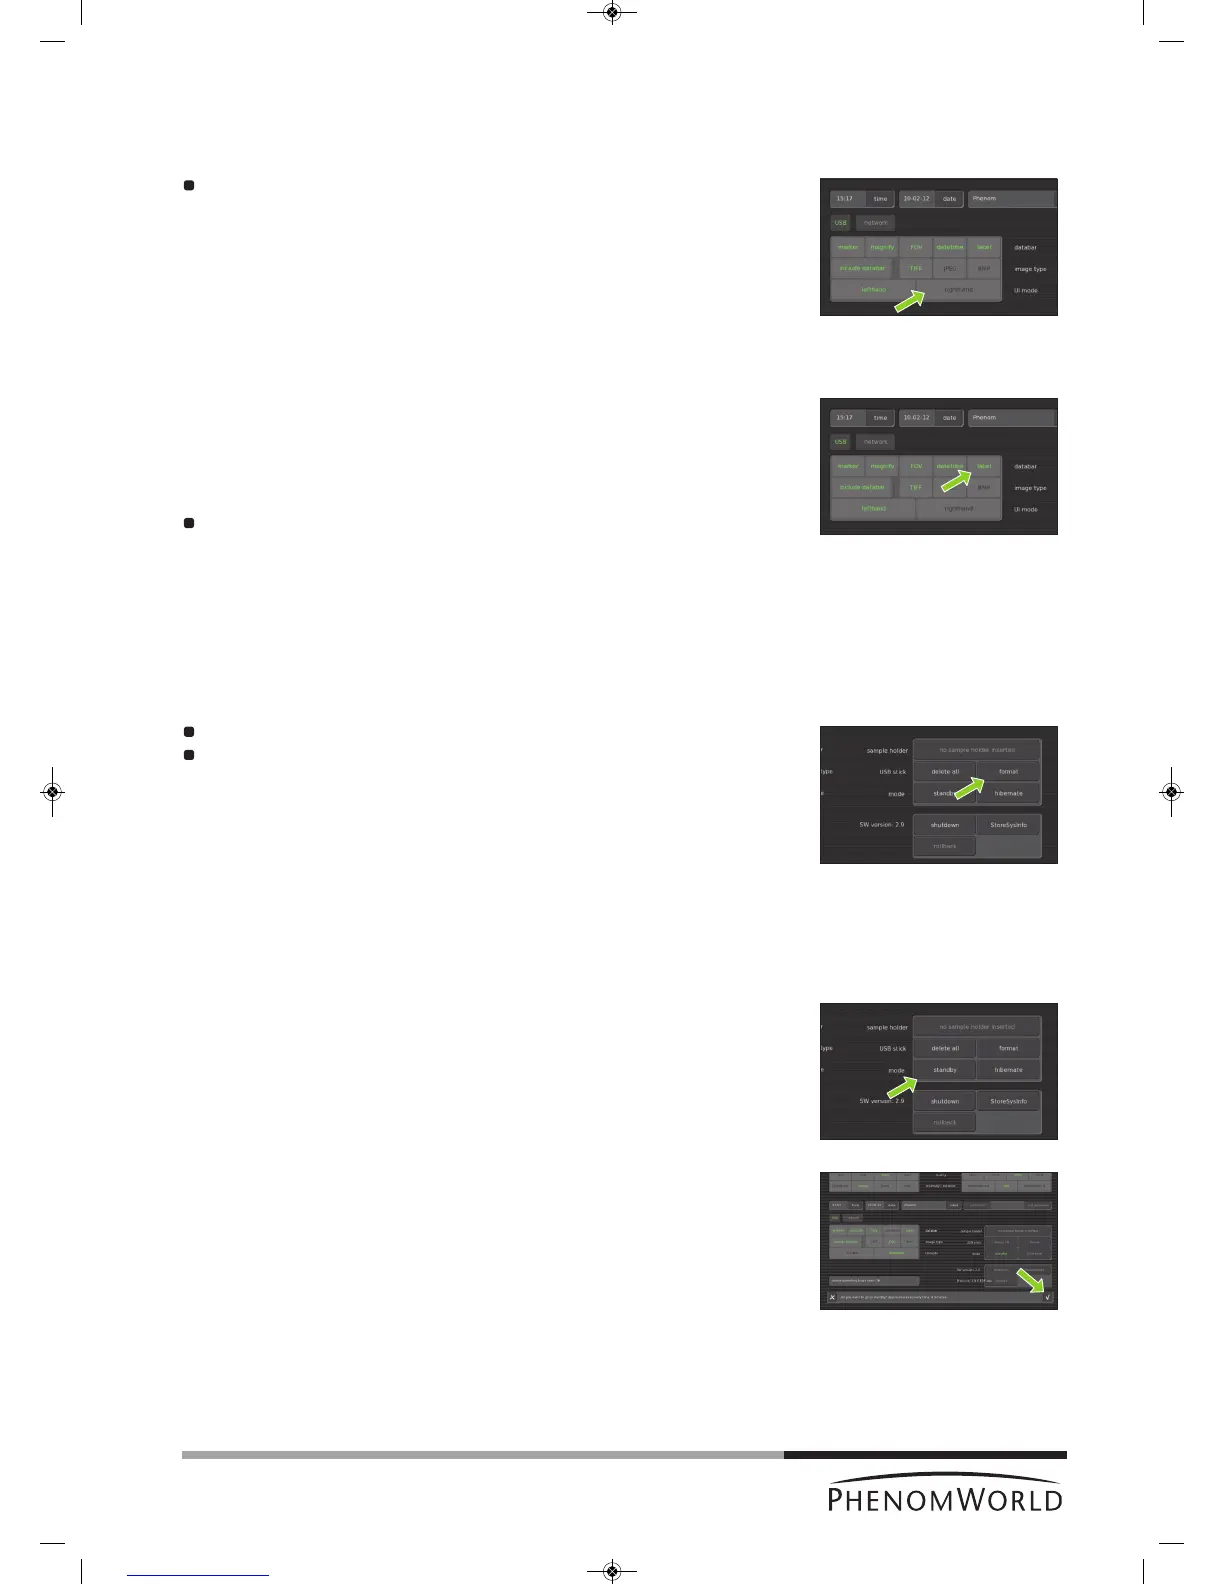
5.5 Label
Here you can enter a sample / file name.
1 Touch the label button.
> A keyboard appears on the screen.
2 Enter a sample name with a maximum of 15 characters.
> The image will be saved with the name created and a numerical file extension will
be added to subsequent images taken.
To erase the name, use the backspace button.
>
The name will be displayed left of the button and on the databar if the label function
is enabled. For this refer 5.4.1 ‘Databar’.
3 Touch OK to store the sample name or CANCEL to quit labeling.
5.6 USB stick / Mode
5.6.1 USB stick
Touch the delete all button if you wish to delete all images on the USB Flash drive.
Touch the format button if you wish to format the USB Flash drive.
5.6.2 Mode
To save the electron source and to reduce power consumption, the Phenom can be put into
standby or hibernate mode.
Standby
1 Touch the standby button to put the Phenom into standby mode.
> ‘Do you want to go to standby? Approximate recovery time: 4 minutes.’ appears on
the screen.
2 Touch ‘4’ to confirm or ‘8’ to cancel.
> The POWERLED (fig. 1,1) lights up orange. The Phenom is now in standby mode.
– If the Phenom is not used for one hour, it automatically enters standby mode.
– You can also press
y (fig. 1,1) on the Phenom to put the Phenom in standby mode.