37
4.10.2 Switching off the flat panel touch screen monitor
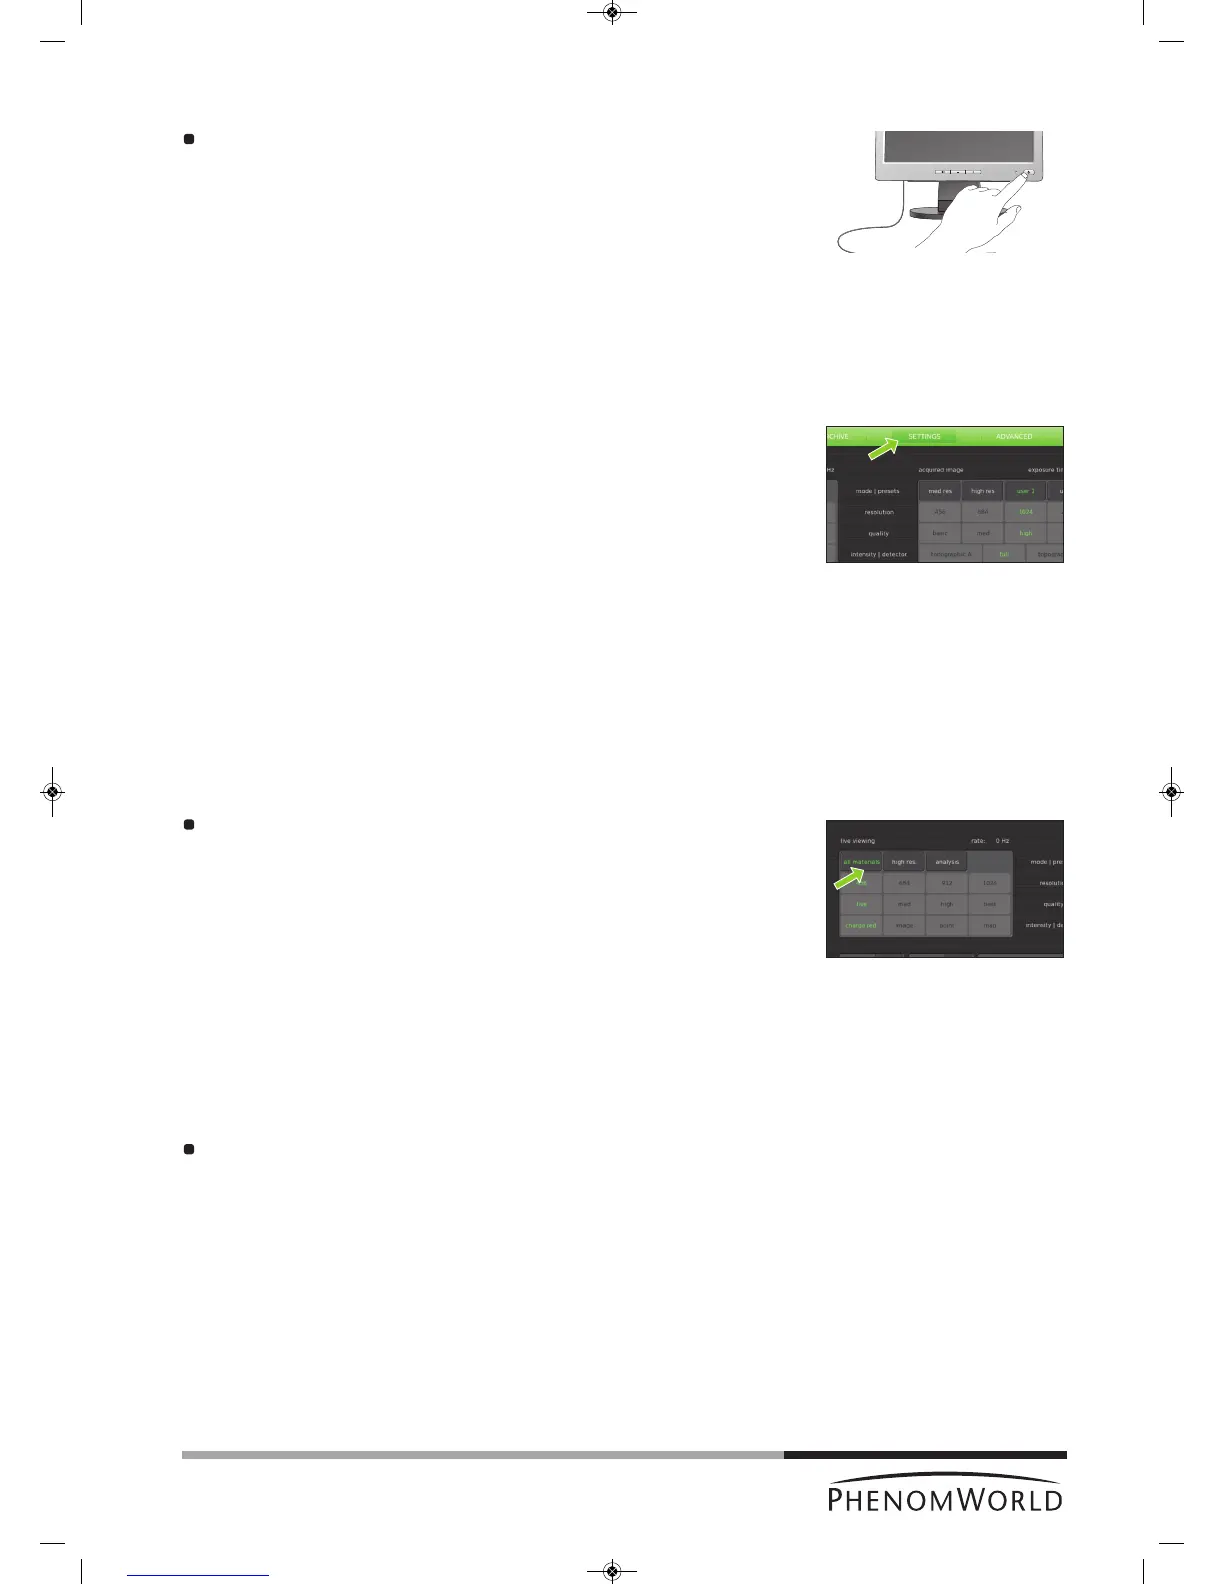
Press
y
(fig. 1,1) on the monitor.
> The power LED (fig. 1,1) goes out. The monitor is now switched off.
4
.10.3 Switching off the system completely
Only use this option if you have to transport the Phenom or if the Phenom or the
pre-vacuum pump requires repair.
For switching off the system completely, refer to 5.7.2 ‘Shutdown’.
5. Phenom settings
All Phenom settings are made on the Settings screen. The Settings screen can be
accessed by touching SETTINGS in the selection bar.
5.1 Live viewing settings
Here you can adjust and store viewing conditions for electron imaging.
5.1.1 Mode
All materials - selects the lowest acceleration voltage (5kV) with less beam penetration
which can be used to image all different type of materials.
High res. - selects medium acceleration voltage (10kV) which can be used for high
resolution imaging on hard materials.
Analysis - Selects high acceleration voltage (15Kv) for large beam penetration
typically used for EDS analysis.
Touch the button with the desired mode.
5.1.2 Resolution
Here you can select the desired pixel resolution. Pixel resolution is the number of pixels in
the image.
456 - 456 x 456 pixel resolution.
684 - 684 x 684 pixel resolution.
912 - 1024 x 1024 pixel resolution.
1024 - 2048 x 2048 pixel resolution.
Touch the button with the desired pixel resolution.