28
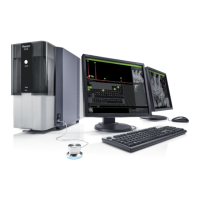
4.5.3 Adjusting magnification
(ProX / Pro)
Touch (fig. 3,4) to activate the magnification adjustment function.
> A magnification slider appears, showing the current magnification setting.
Rotate the rotary knob (fig. 1,9) to to adjust the magnification of the optical image.
>
The adjustment is made visible by the slider.
4.5.4 Moving the sample
Touch a particular part of the sample on the main viewing window (fig. 3,1).
>
This part will be moved to the center of the field of view.
Touch one of the directional arrows (fig. 3,12).
> The sample moves in the direction of the arrow.
Touch a particular part of the sample on the optical overview window (fig. 3,11).
> This part will be moved to the center of the field of view.
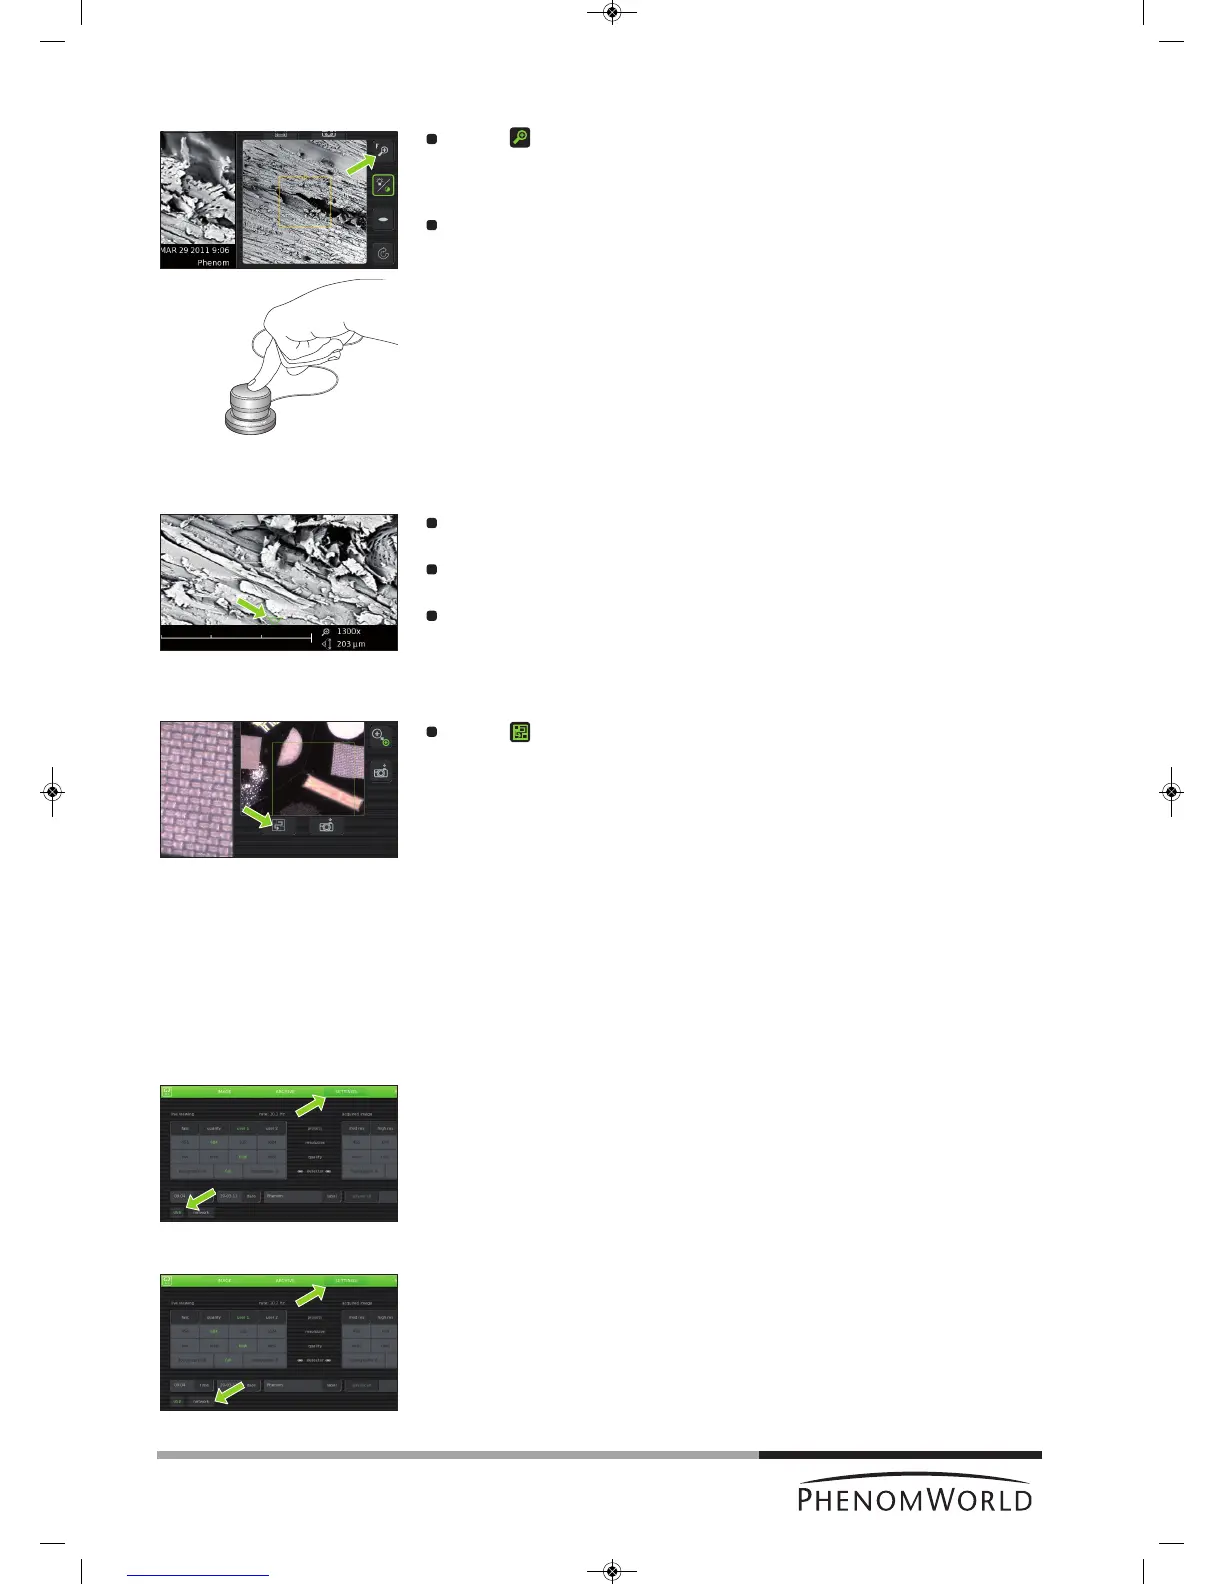
4.5.5 Sample overview
Touch (fig. 3,9).
> The sample holder will now be moved into different positions, each covering a part
of the holder. In each position the image is captured and shown in the optical
overview window (fig. 3,11) to produce an optical overview of the entire holder
content.
4.5.6 Storing images
Images can be be stored on a USB 2.0 flash drive (USB Flash drive) as well as on a
(Windows) network share. For network configuration, refer to 5.7.4 ‘Routine pages’ -
‘Network’.
Selecting storage location
When a USB Flash drive is inserted into one of the Phenom USB ports (fig. 1,7 / fig. 2,6), the
USB Flash drive is automatically selected as storage location. To manually select a storage
location:
1 Touch SETTINGS in the screen selection bar.
> The Settings screen appears.
2 Touch USB.
> Images will now be stored on the USB 2.0 flash drive.
OR:
1 Touch SETTINGS in the screen selection bar.
> The Settings screen appears.
2 Touch network.
> The path field appears on the screen, together with a keyboard.