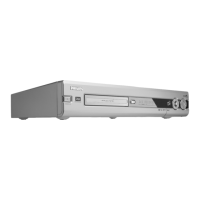
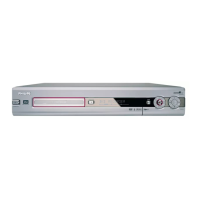
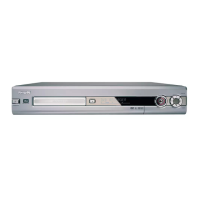
Directions For Use
EN 38 DVDR70 & DVDR75/0x13.
66
How to change or delete a programmed
recording (TIMER)
1 Switch on the TV set. If required, select the programme number for
the DVD recorder.
2 Press TIMER on the remote control.
The programming mode selected last is marked.
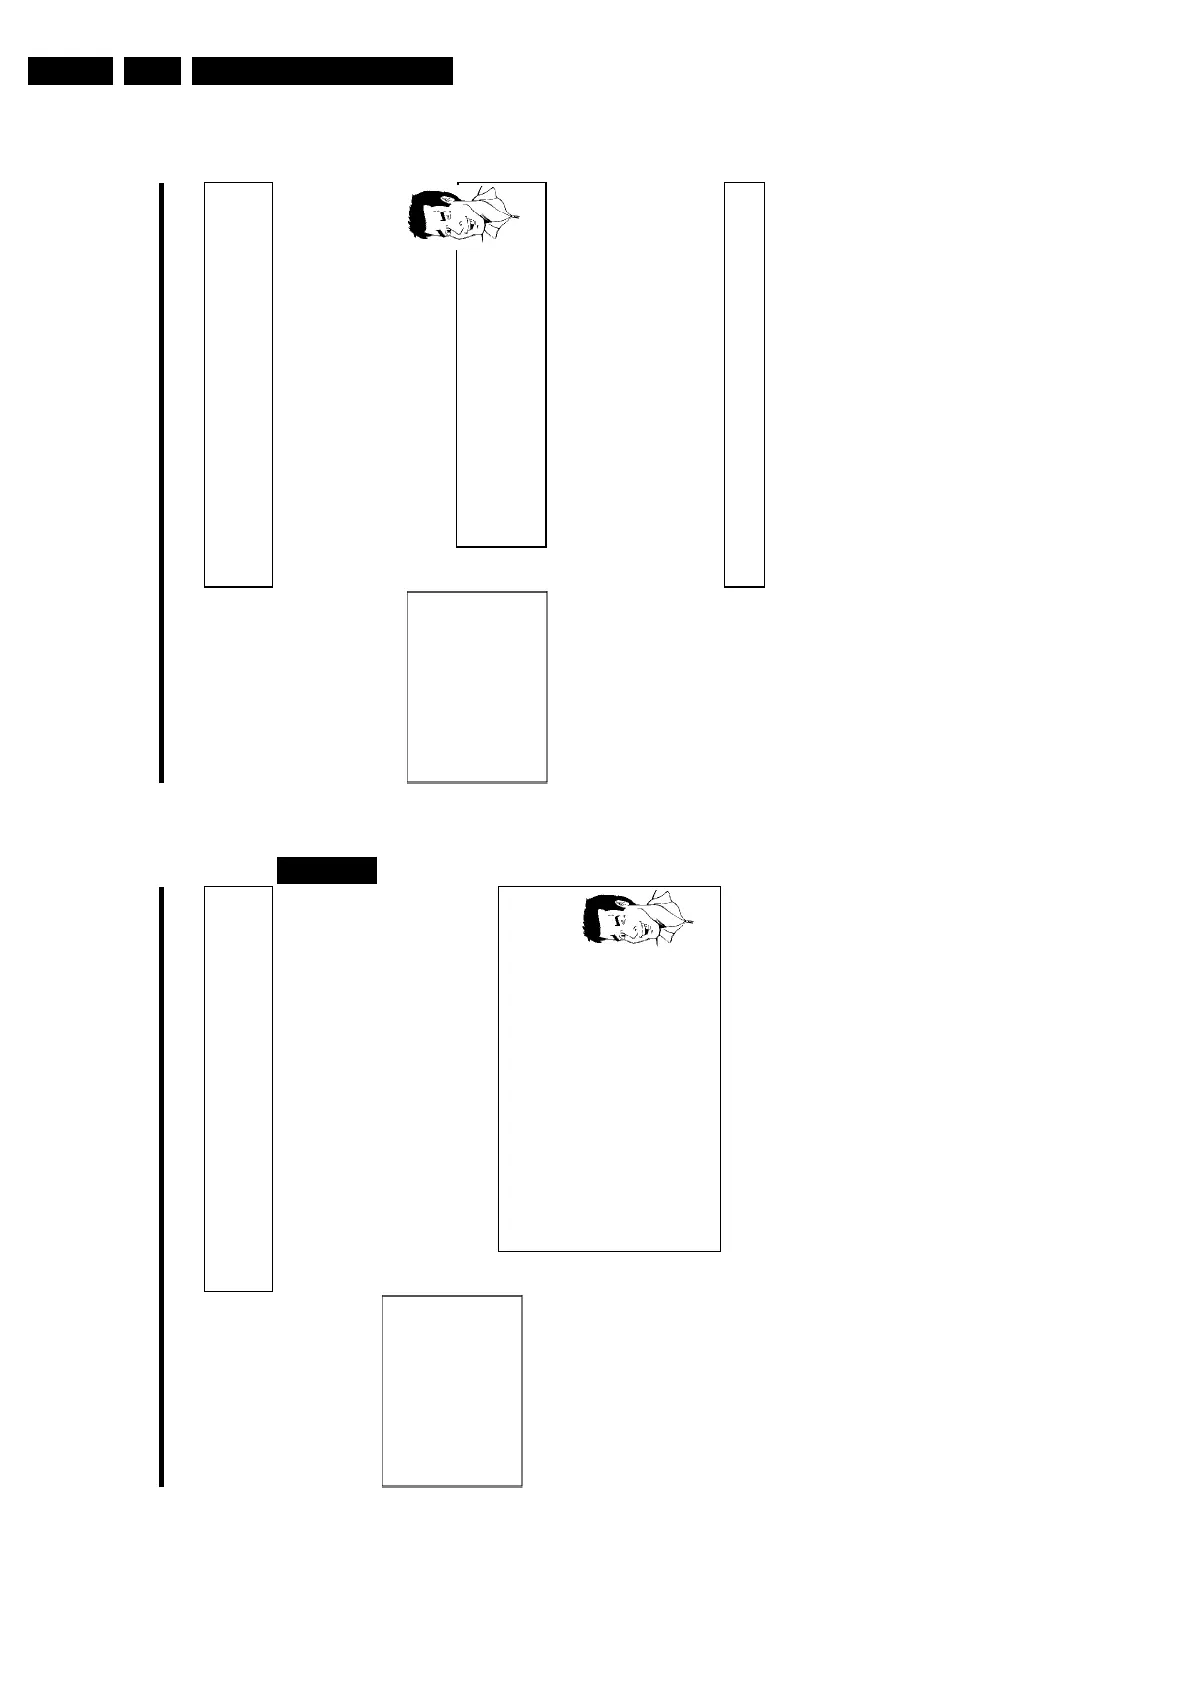
3 Select 'Timer List' using CH- B or CH+ A and confirm with C .
Timer
Timer List
Date
01
--
Prog.
BBC1
-----
Start
20:15
--:--
VPS
PDC
*
End
21:30
--:--
Rec
Mode
M2
--
Total record time: 01:15
To change
Press ›
To exit
Press TIMER
4 Select the programmed recording (TIMER) you want to check, change
or delete with CH- B or CH+ A .
Delete programmed recording
1
Press the CLEAR button.
2
Confirm with OK .'Timer Cleared' will briefly appear on the TV
screen.
'-- ---' appears rather than the displayed values
3
To end, press TIMER .
Tip
5 Press C .
Select the input field with D or C .
If required, change the information with CH+ A , CH- B or the
number buttons 0..9 .
6 Confirm with OK .
7 To end, press TIMER .
8 Switch off with STANDBY m .
'NexTView Link'
This DVD recorder is equipped with the 'NexTView Link' feature. If your television is also
equipped with this function, you can mark TV programmes on the television for programming.
These TV programmes will automatically be transmitted to a TIMER block on the DVD
recorder. If you clear the marking of the TV programme on the television, the corresponding
TIMER block on the DVD recorder will also be cleared.
For more information, read the instruction manual of your TV set.
Programming a recording (TIMER)
65
Programming recordings without the
ShowView
®
System
1 Switch on the TV set. If required, select the programme number for
the DVD recorder.
2 Press TIMER on the remote control.
The programming method selected last is marked.
Timer
Timer programming
Date
01
Prog.
BBC1
Start
20:15
VPS
PDC End
21:30
Rec
Mode
M1
Mo-Fr/Weekly
Press SELECT
To store
Press OK
3 Select line 'Timer programming' with CH- B or CH+ A . and
confirm with the C button.
The information will appear on the screen.
4 Select the input field with D or C .
5 Enter information with CH- B or CH+ A or with the number
buttons 0..9 .
Selecting daily/weekly recordings
In 'Date' use SELECT to select from the following options:
'Mo-Fr': Repeated daily recordings from Monday to Friday
'Mon': Repeated weekly recordings (every week on the same day, e.g.
Monday).
Programme numbers of the 'EXT1' and 'EXT2'scart socket
You can also programme recordings from external sources via scart socket
EXT 1 TO TV-I/O ('EXT1') or EXT 2 AUX-I/O ('EXT2').
'Switching on 'VPS/PDC' in the 'Start' input field
Select the 'Start' input field using TIMER . Using SELECT switch on
'VPS/PDC' ('*' lights up). If you press SELECT again, you will switch
'VPS/PDC' off ('*' goes out).
Changing the recording quality in input field 'End'
Select the 'End' input field using C .
Use SELECT to select the recording mode.
Tip
6 If all information is correct, press the OK button. The programming
information is stored in a TIMER block.
7 To end, press TIMER .
8 Insert a DVD (one without write protection).
The disk you have inserted will be checked.
9 Switch off with STANDBY m .
The programmed recording will only function properly if the DVD
recorder has been switched off using the STANDBY m button.
If any of the TIMER blocks are in use, 'TIMER' will light up on the recorder display.
ENGLISH
Programming a recording (TIMER)