Safety checks, maintenance and repair
Operating Manual PSEN sc ME 5.5 08-17
1005388-EN-01
| 108
} Exchange of the PSEN sc head takes place in a controlled and pollutant-free environ-
ment
– Temperature between 18 and 30° C
– Relative humidity < 80%
} Within a radius of 275° around the safety laser scanner an area of 2 m must remain free.
} Required tool:
– Hexagon socket torque wrench 2.5mm with long shaft
Procedure:
} Ensure that the font screen of the new PSEN sc is not damaged during installation.
} Do not touch the front screen.
} Use clean, thin gloves to install PSEN sc head.
} During installation, hold the PSEN sc head at the metal cover on the upper side of the
PSEN sc head.
1. Check the scope of delivery of the new PSEN sc head.
Content of the package:
1 new PSEN sc head
1 seal
4 M3 screws
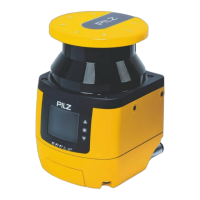
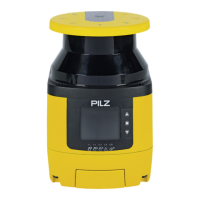
2. Loosen the four M3 screws at the PSENschead (see figure) and pull off the
PSENschead upwards. While doing so, do not damage the PSENschead by colli-
sions with other components.
3. Replace the old seal with the new seal. Ensure that the new seal is seated correctly in
the seal seat.
 Loading...