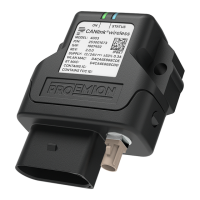
Device Manual CANlink wireless
Getting started
PROEMION GmbH | Phone: +49 661 9490-600 | Fax: +49 661 9490-666 | info@proemion.com | proemion.com | Version 1.0 38
© 2016RM MICHAELIDES● VX.X ● Device Manual CANlink 5000 series © 2016RM MICHAELIDES● VX.X ● Device Manual CANlink 5000 series © 2016 PROEMION GMBH > 1.0 EN > Device Manual CANlink wireless 3000 series
4.2.4 Power supply
The device is supplied with power via the CAN connector.
INFORMATION
If, for test purposes or for a firmware update, you connect the device to a PC via a
communication gateway (e.g. CANview USB), the power is supplied by the power supply
unit via the CAN cable M12 5-pin/D-Sub/Power terminal 15 ON. See chapter Software and
accessories.
4.2.5 Connecting the device with a PC via RS232
To connect the device with a PC for configuration purposes, you need the CAN cable M12 5-
pin/D-Sub/Power terminal 15 ON (part number 136 000 187), the power supply unit applicable
for your country, and the USB-RS232 converter cable, M12 5-pin, 1.8 m (part number 257 001
017) from the starter kit.
1. Install the USB driver pack and CANlink wireless Configurator from the PROEMION
Tools CD onto the PC. See chapter Installing software.
2. Connect the device with the CAN cable M12 5-pin/D-Sub/Power terminal 15 ON to
the power grid using the country-specific power supply unit from the starter kit.
3. Connect the device to the PC with the USB-RS232 converter cable, M12-5-pin,
1.8 m.
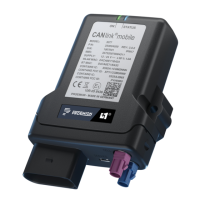
Connecting the CANlink wireless 3002 to the PC