Configuring the MVI56-PDPMV1 Module MVI56-PDPMV1 ♦ ControlLogix Platform
User Manual PROFIBUS DPV1 Master
Page 88 of 251 ProSoft Technology, Inc.
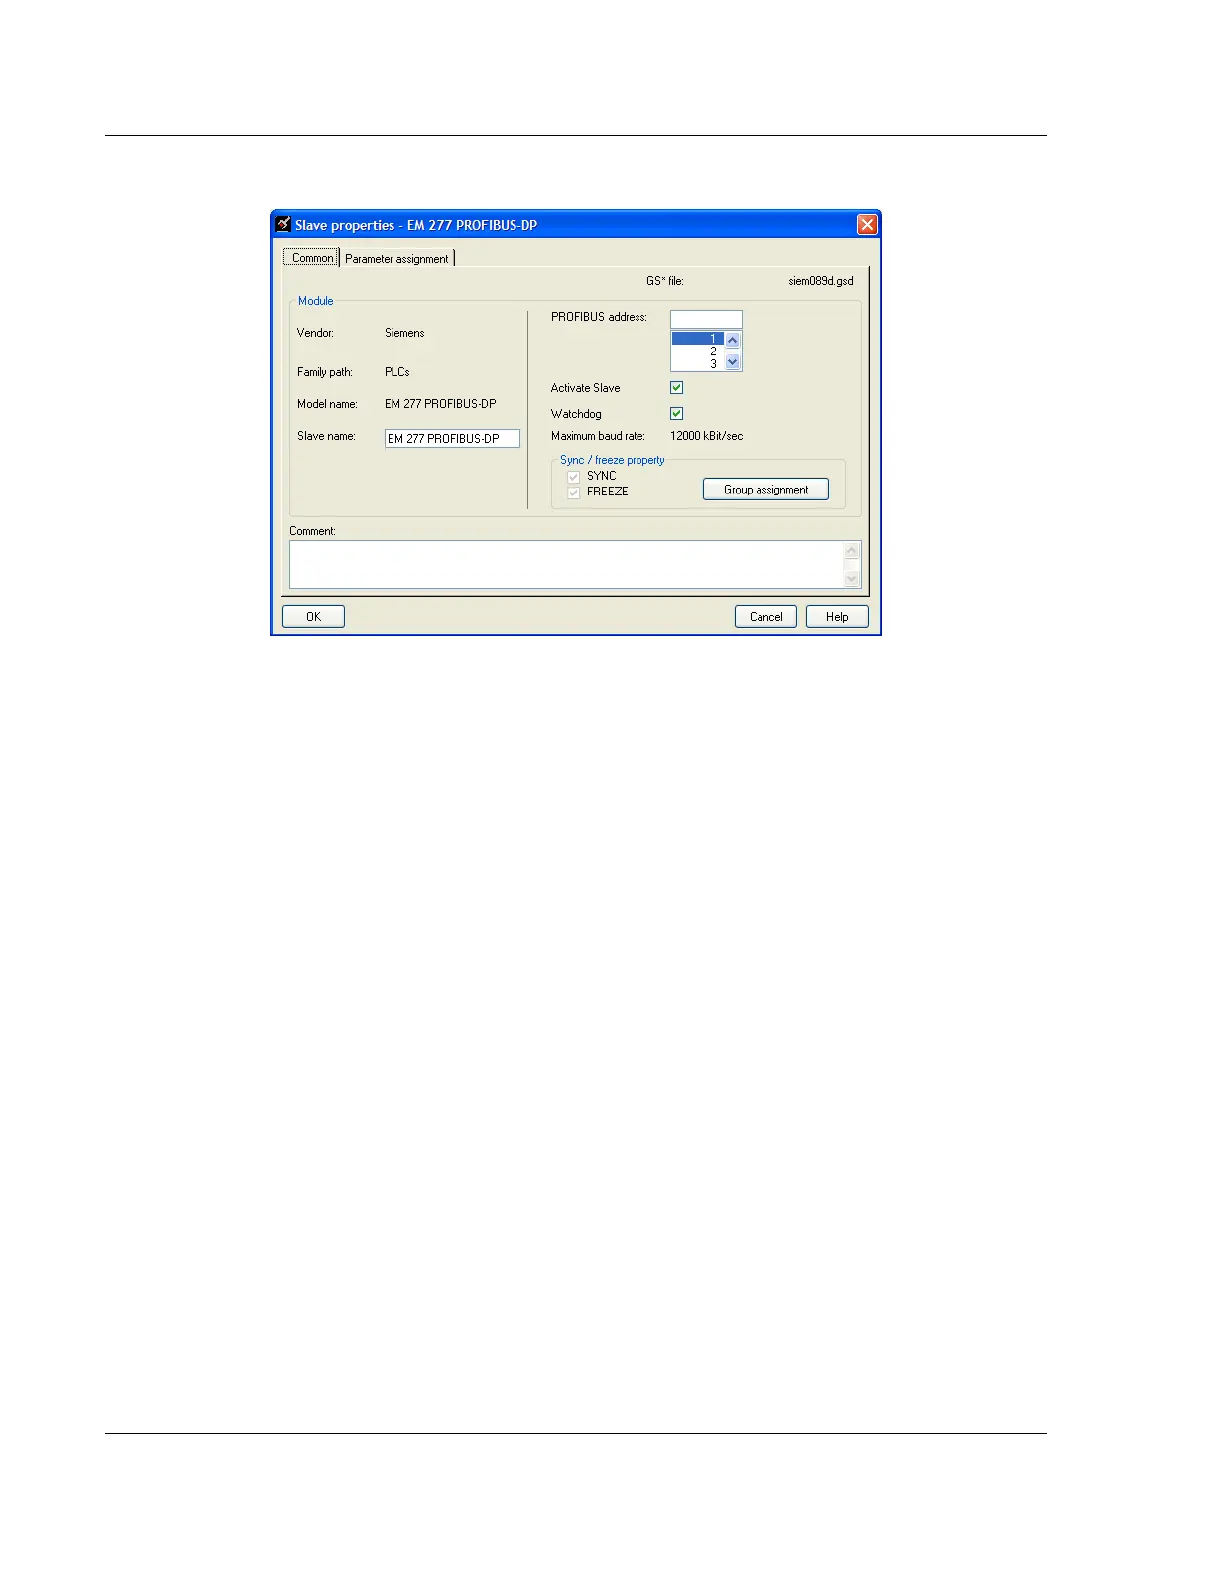
6 Double-click the SLAVE icon to view the Slave Properties.
PCB automatically assigns a PROFIBUS address to each new slave. The
address assignment begins at address 3, and is incremented by 1 for each
new slave added to the network. You can change the address in the
Common tab of the Slave Properties dialog box. PCB will not allow you to
assign a PROFIBUS address that is already in use by another device on this
network.
Leave the remaining settings unchanged for now, and click OK to close the
Slave Properties dialog box.
7 Repeat steps 2 through 6 for all slaves you intend to place on the network.
8 When you are finished adding slaves, open the PROJECT menu and choose
EXIT. Click YES to save the project and return to the PROFIBUS Master
Setup dialog box.
 Loading...