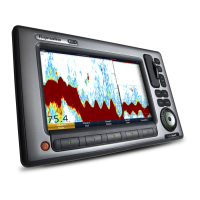
Screen item Description
1 Depth reading — your current depth displayed. The
size and position of this digit can be changed, using
the Fishnder Display Setup menu.
2 Depth lines — horizontal dashed lines drawn at
regular intervals to indicate the depth from the surface.
These lines can be switched on or off using the
Fishnder Display Setup menu.
3
Horizontal VRM marker — indicates the depth of a
target.
Screen item Description
4 Depth Target ID — depths are displayed against
recognized targets. The sensitivity of these IDs is
directly linked to the Fish Alarm sensitivity; the greater
the sh alarm sensitivity, the greater the number of
labelled returns. These targets are switched on or off
using the Fishnder Display Setup menu.
5
Vertical VRM marker — indicates the distance behind
your vessel.
6 Depth markers — these numbers indicate the depth.
Measuring depth and distance with VRM
You can use a Variable Range Marker (VRM) to determine an
object’s depth and distance behind your vessel. These markers
consist of a horizontal (depth) line and a vertical (distance) line,
each of which are marked with the appropriate measurement and
are controlled individually.
From the main shnder screen:
1. Press the PRESENTATION softkey.
2. Press the SCROLL softkey to pause the display. This may make
it easier to position the VRM over the desired object.
3. Press the VRM softkey to open the VRM toolbar.
4. Press the VRM softkey again until the ON option is selected.
5. Measure the depth or distance:
• Press the VRM RANGE softkey to measure distance, or
• Press the VRM DEPTH softkey to measure depth.
6. Use the rotary control or touchscreen to measure the distance
or depth to your target.
7. Press the OK button to save the position.
Note: The VRMs used in the shnder application are unrelated
to the VRMs used in the radar application.
Using the shnder
181

 Loading...


