11A-133
TOP AND FRONT OF ENGINE
Camshaft: Removal - Refitting
F9Q
11A
-the cylinder head joint face.
a parts always to be replaced: Camshaft seal on ti-
ming end (10,02,02,02).
parts always to be replaced: Camshaft timing
sprocket bolt (10,02,02,16).
a
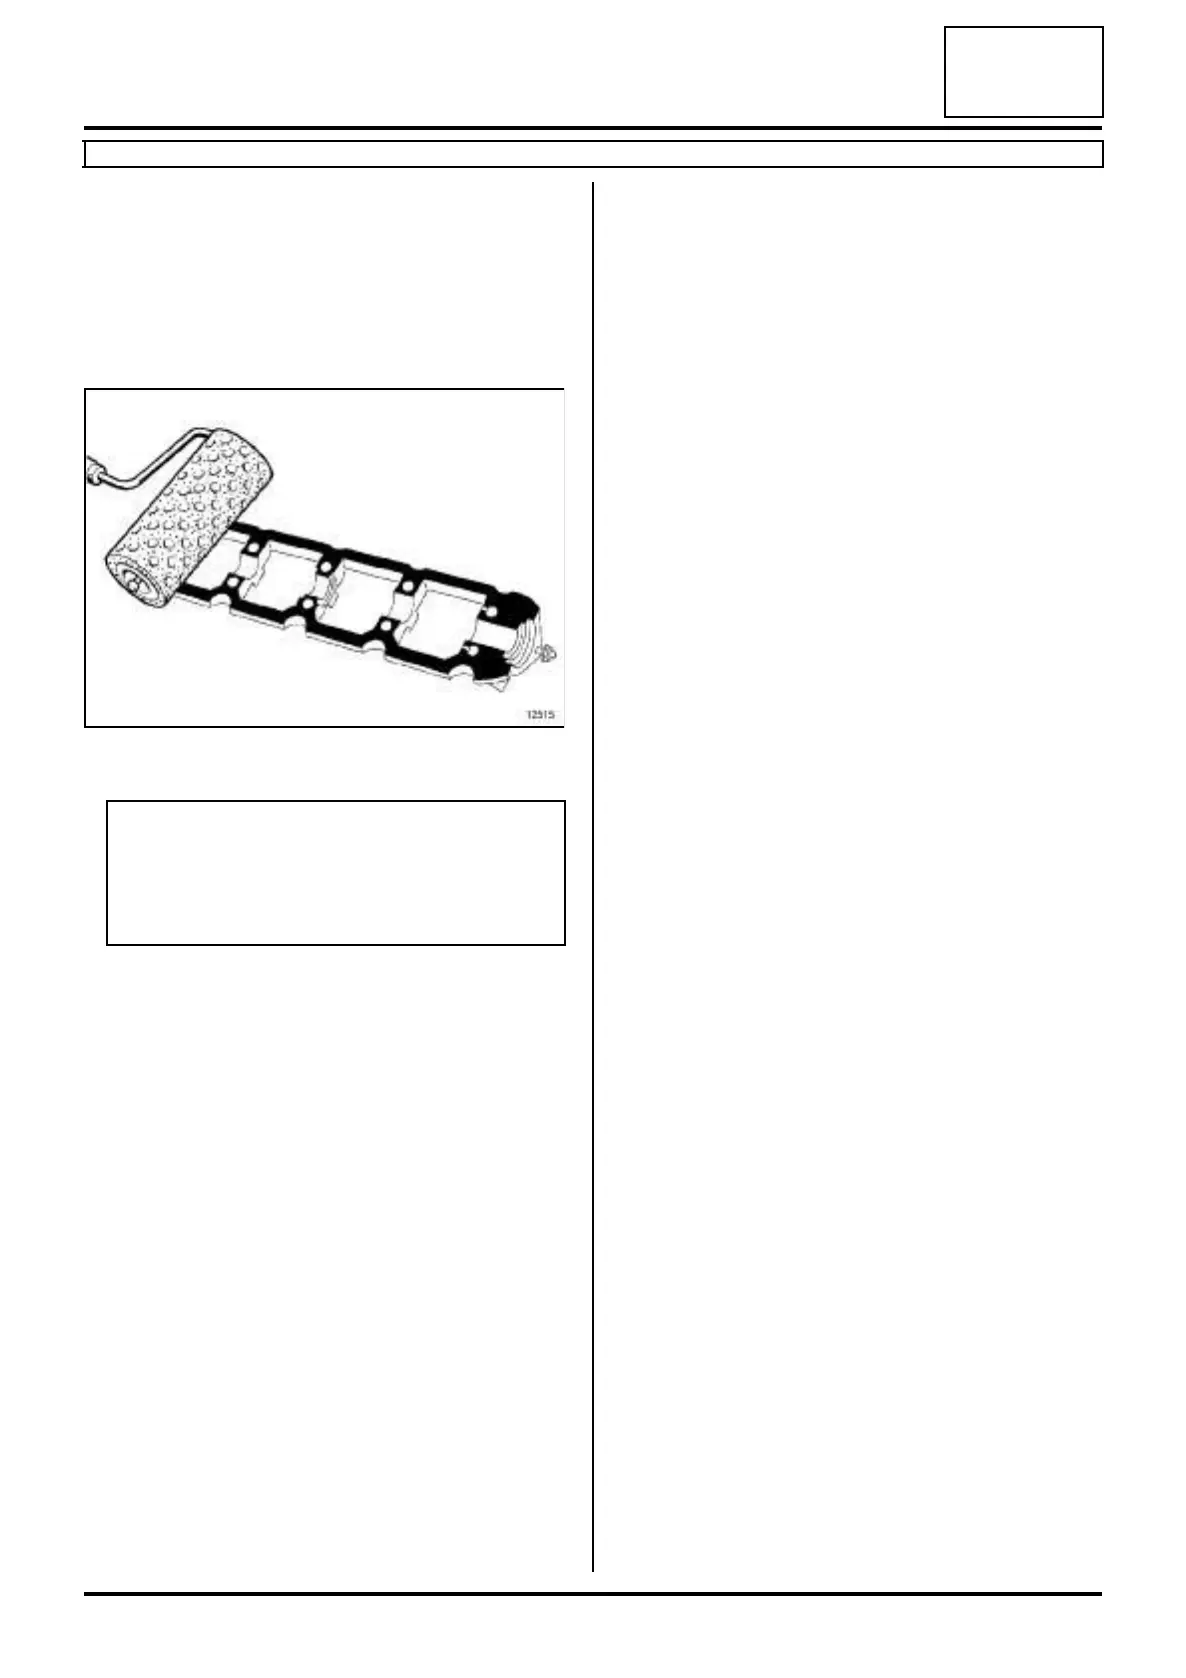
a Apply RESIN ADHESIVE (see Vehicle: Parts and
ingredients for the repairwork) (04B, Consuma-
bles - Products) using a stipple roller on the joint
face of the camshaft bearing cap cover until the joint
face is completely coated.
a Use a cloth to remove any RESIN ADHESIVE in the
camshaft bearing caps.
II - REFITTING OPERATION FOR PART
CONCERNED
a Refit the camshaft.
a Apply a drop of FRENETANCHE (see Vehicle:
Parts and ingredients for the repairwork) (04B,
Consumables - Products) on the bolts of the cams-
haft bearing cap cover.
a Refit the camshaft bearing cap cover.
a Torque tighten the bolts of the camshaft bearing
cap cover (30 N.m).
III - FINAL OPERATION
a Refit:
- the rocker cover (see 11A, Top and front of engi-
ne, Rocker cover: Removal - Refitting, page
11A-88) ,
-a new camshaft seal on the timing end (see 11A,
Top and front of engine, Camshaft seal at timi-
ng end: Removal - Refitting, page 11A-186) ,
- the inner timing cover,
- the camshaft pulley.
a Lock the camshaft pulley using the (Mot. 799-01).
a Torque tighten the camshaft pulley bolt (80 N.m).
a Refit:
- the high pressure pump (see 13B, Diesel injec-
tion, High pressure pump: Removal - Refitting,
page 13B-30) ,
- the high pressure pipe between the pump and the
rail (see 13B, Diesel injection, High-pressure
pipe between the pump and rail: Removal - Re-
fitting, page 13B-71) ,
- the timing belt (see 11A, Top and front of engine,
Timing belt: Removal - Refitting, page 11A-29) ,
- the right-hand suspended engine mounting (see
19D, Engine mounting, Right-hand suspended
engine mounting: Removal - Refitting, page
19D-18) ,
- the camshaft position sensor (see 13B, Diesel in-
jection, Camshaft position sensor: Removal -
Refitting, page 13B-19) ,
- the scoop under the scuttle panel grille (see Scoop
under scuttle panel grille: Removal - Refitting)
(56A, Exterior equipment),
- the scuttle panel grille (see Scuttle panel grille:
Removal - Refitting) (56A, Exterior equipment),
-the windscreen wiper arms (see Windscreen wi-
per arm: Removal - Refitting) (85A, Wiping -
Washing),
- the engine tie-bar (see 19D, Engine mounting,
Lower engine tie-bar: Removal - Refitting, page
19D-33) ,
- the crankshaft accessories pulley (see 11A, Top
and front of engine, Crankshaft accessories
pulley: Removal - Refitting, page 11A-15) ,
- the accessories belt (see 11A, Top and front of
engine, Accessories belt: Removal - Refitting,
page 11A-7) ,
12515
WARNING
Applying excess sealant could cause it to be
squeezed out when parts are tightened. A mix-
ture of sealant and fluid could damage certain
components (engine, radiator, etc.).