10A-55
ENGINE AND CYLINDER BLOCK ASSEMBLY
Exchanger: Removal - Refitting
K9K
10A
REMOVAL
I - REMOVAL PREPARATION OPERATION
a Position the vehicle on a two-post lift (see Vehicle:
Towing and lifting) (02A, Lifting equipment).
a Remove:
- the engine cover,
- the front wheels (see Wheel: Removal - Refitting)
(35A, Wheels and tyres),
- the front section of the front wheel arch liners (see
Front wheel arch liner: Removal - Refitting)
(55A, Exterior protection),
- the engine undertray bolts,
- the engine undertray,
- the front bumper (see Front bumper: Removal -
Refitting) (55A, Exterior protection).
a Drain:
- the cooling system (see 19A, Cooling, Cooling
circuit: Draining - Refilling, page 19A-17) ,
- the refrigerant fluid circuit using the refrigerant
charging station (see Coolant circuit Draining -
Refilling) (62A, Air conditioning).
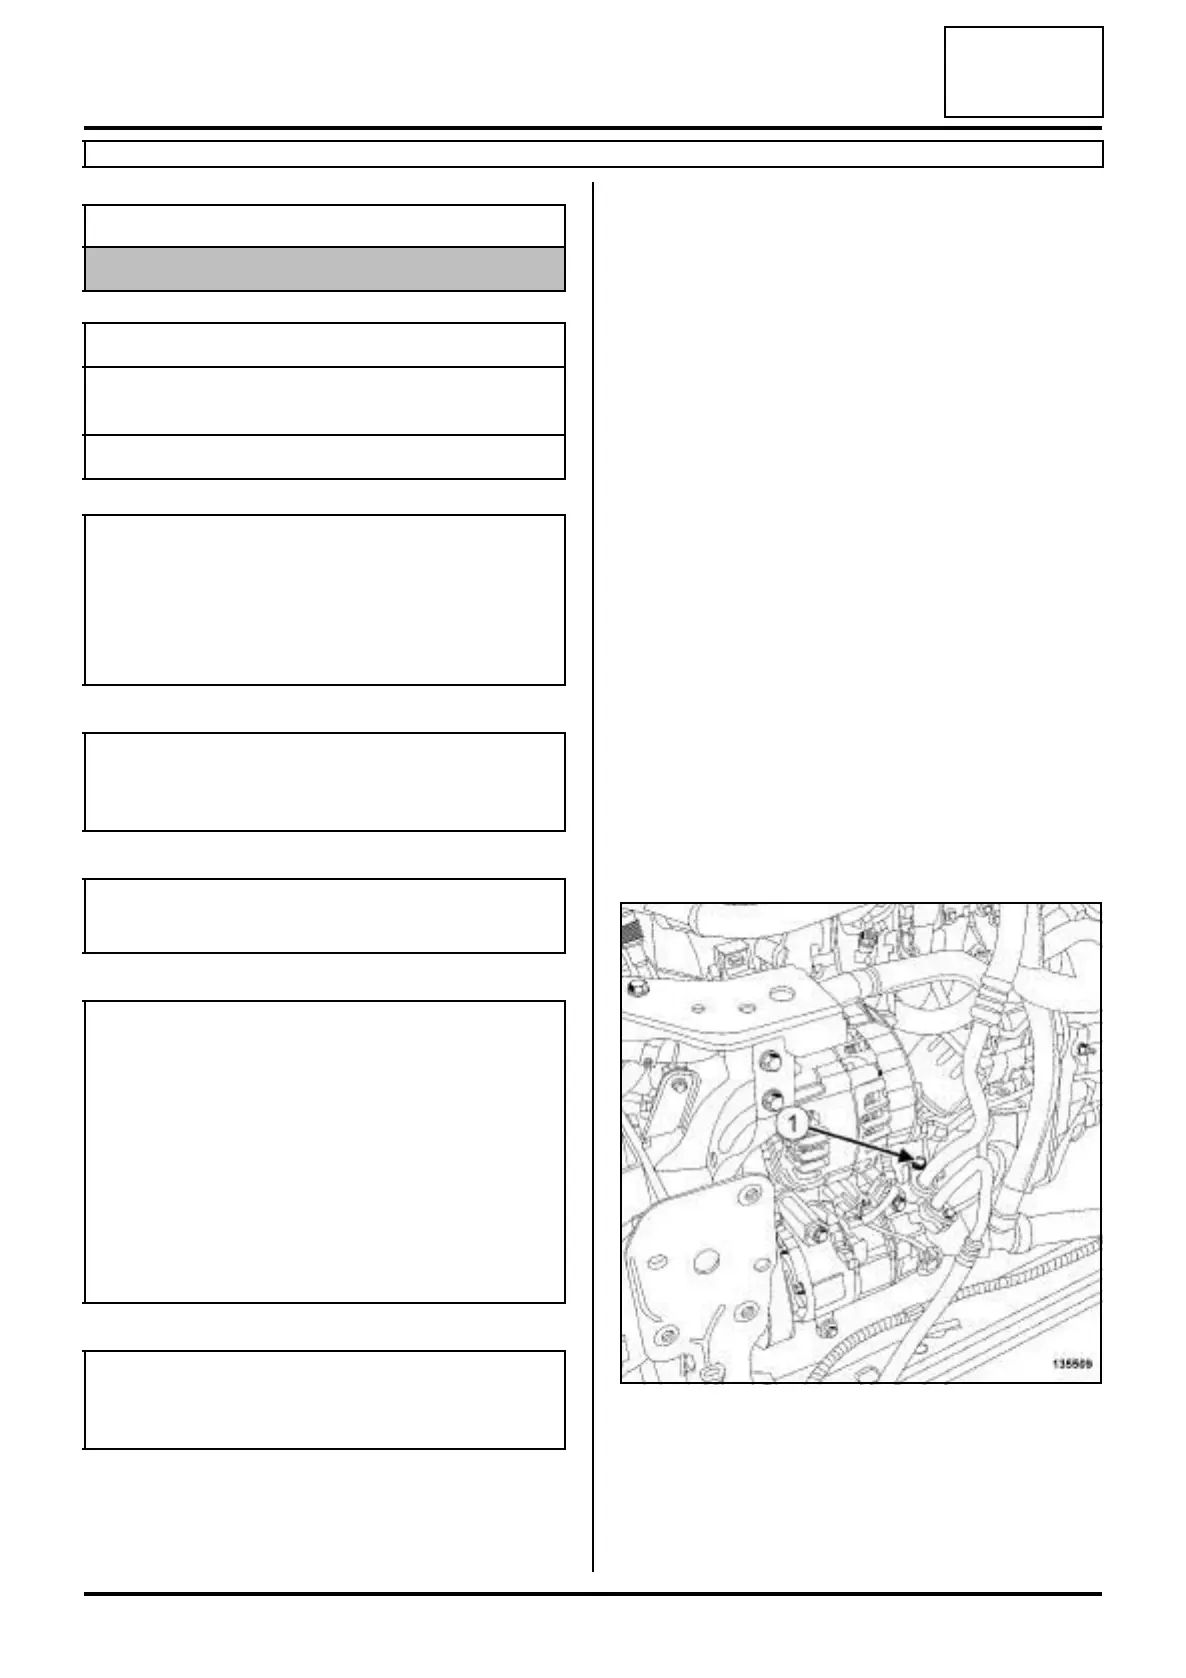
a Remove the bolt (1) for the "intermediate pipe - com-
pressor" connecting pipe from the air conditioning
compressor.
a Disconnect the "intermediate pipe - compressor"
connecting pipe from the air conditioning compres-
sor.
Essential equipment
refrigerant charging station
Tightening torquesm
oil-water heat exchan-
ger bolt
39 N.m
the oil filter support bolt 28 N.m
IMPORTANT
To avoid all risk of damage to the systems, apply
the safety and cleanliness instructions and opera-
tion recommendations before carrying out any
repair (see Air conditioning: Precautions for
repair) .
IMPORTANT
Wear leaktight gloves (Nitrile type) for this opera-
tion.
IMPORTANT
Wear heat protective gloves during the operation.
IMPORTANT
The circuits are designed to be pressurised, so be
careful at high temperatures (risk of serious burns).
Do not remove the cap from the expansion bottle
while the engine is hot.
Take care when carrying out a repair under the bon-
net, as the radiator fan(s) may start to operate
without warning.
Do not open the bleed screw(s) with the engine run-
ning.
WARNING
Prepare for the flow of fluid, and protect the sur-
rounding components.
135509