and Adjustment
4.10.10 NIP BAND WIDTH ADJUSTMENT
Do this adjustment when the fusing unit is at its operating temperature. The size of the OHP sheet
must be A4/LT LEF. Any other sizes may cause a paper jam.
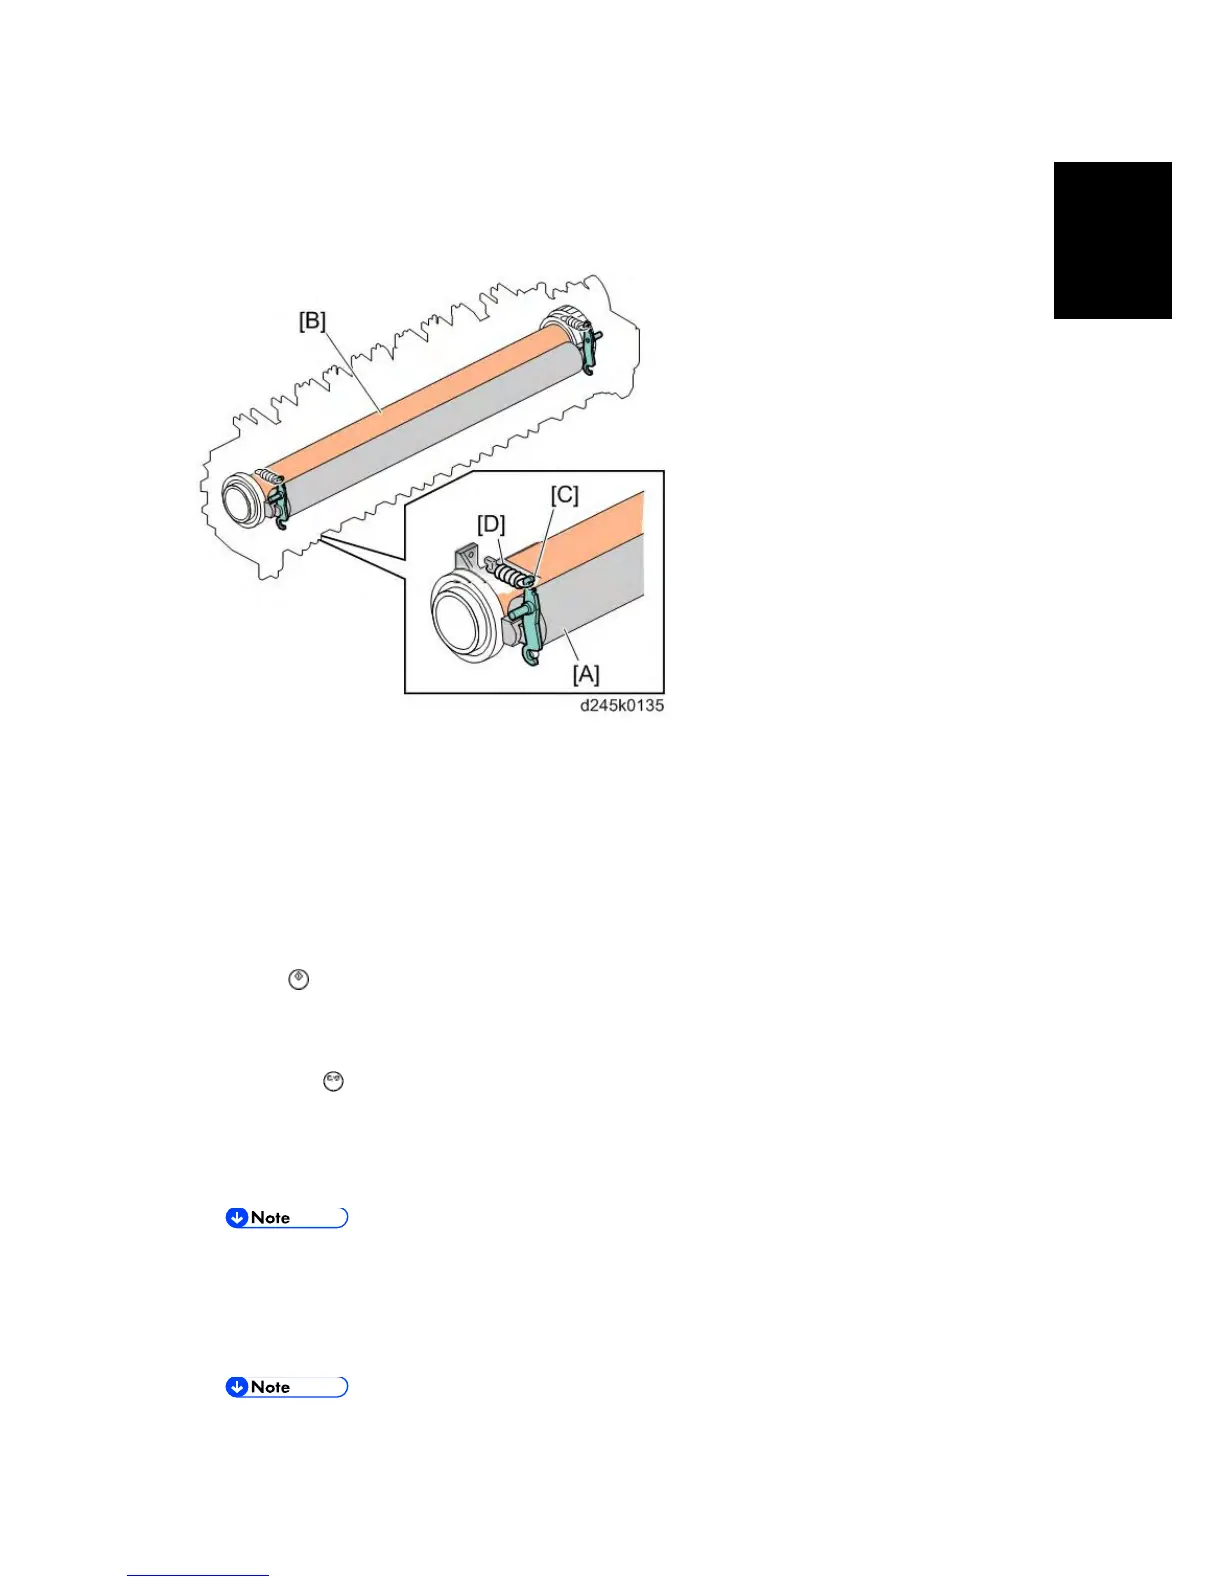
[A] Pressure roller
[B] Hot roller
[C] Spring hook
[D] Spring
1. Place an OHP sheet on the by-pass feed table.
2. Enter SP mode, and run SP 1-152-001 (Fusing Nip Band Check).
3. Press ‘1’ (Yes), or “Execute”.
4. Press
twice. The machine feeds the OHP sheet into the by-pass feed, stops it at the
registration roller for 300 seconds, then 20 seconds in the fusing unit.
5. Check that the OHP sheet is ejected to the copy tray.
6. Press the
key.
7. Quit the SP mode.
8. Check that the nip band (the opaque stripe) across the ejected OHP sheet is
symmetrical, with both ends slightly thicker than the center.
There is no standard value for the nip band on this machine. Make the adjustment
based on the band's appearance.
9. If the band is not as described above, change the position of the spring hooks [C] (one
on each side), and then check the band again.
The higher hook position produces greater tension.