Setup and Connection
26
2
Connecting the Network Cable
The procedures here show how to connect a network cable to the equipment.
Important
❒ Connect the equipment and the network by the supplied Network Interface
Cable. If you do not use the supplied cable, use a 10BASE-T or 100BASE-TX
network cable. For the 100BASE-TX, use a category-5 product.
❒ The IP address of the LAN2 port is set at 192.168.0.2, and the Subnet mask is
set at 255.255.255.0 as the factory default. If you cannot use 192.168.0.2 as the
IP address of this equipment, change the IP address of the LAN2 port and
then connect to your network. Please refer to p.17 “Changing the IP Address
(LAN2 Port)” for details.
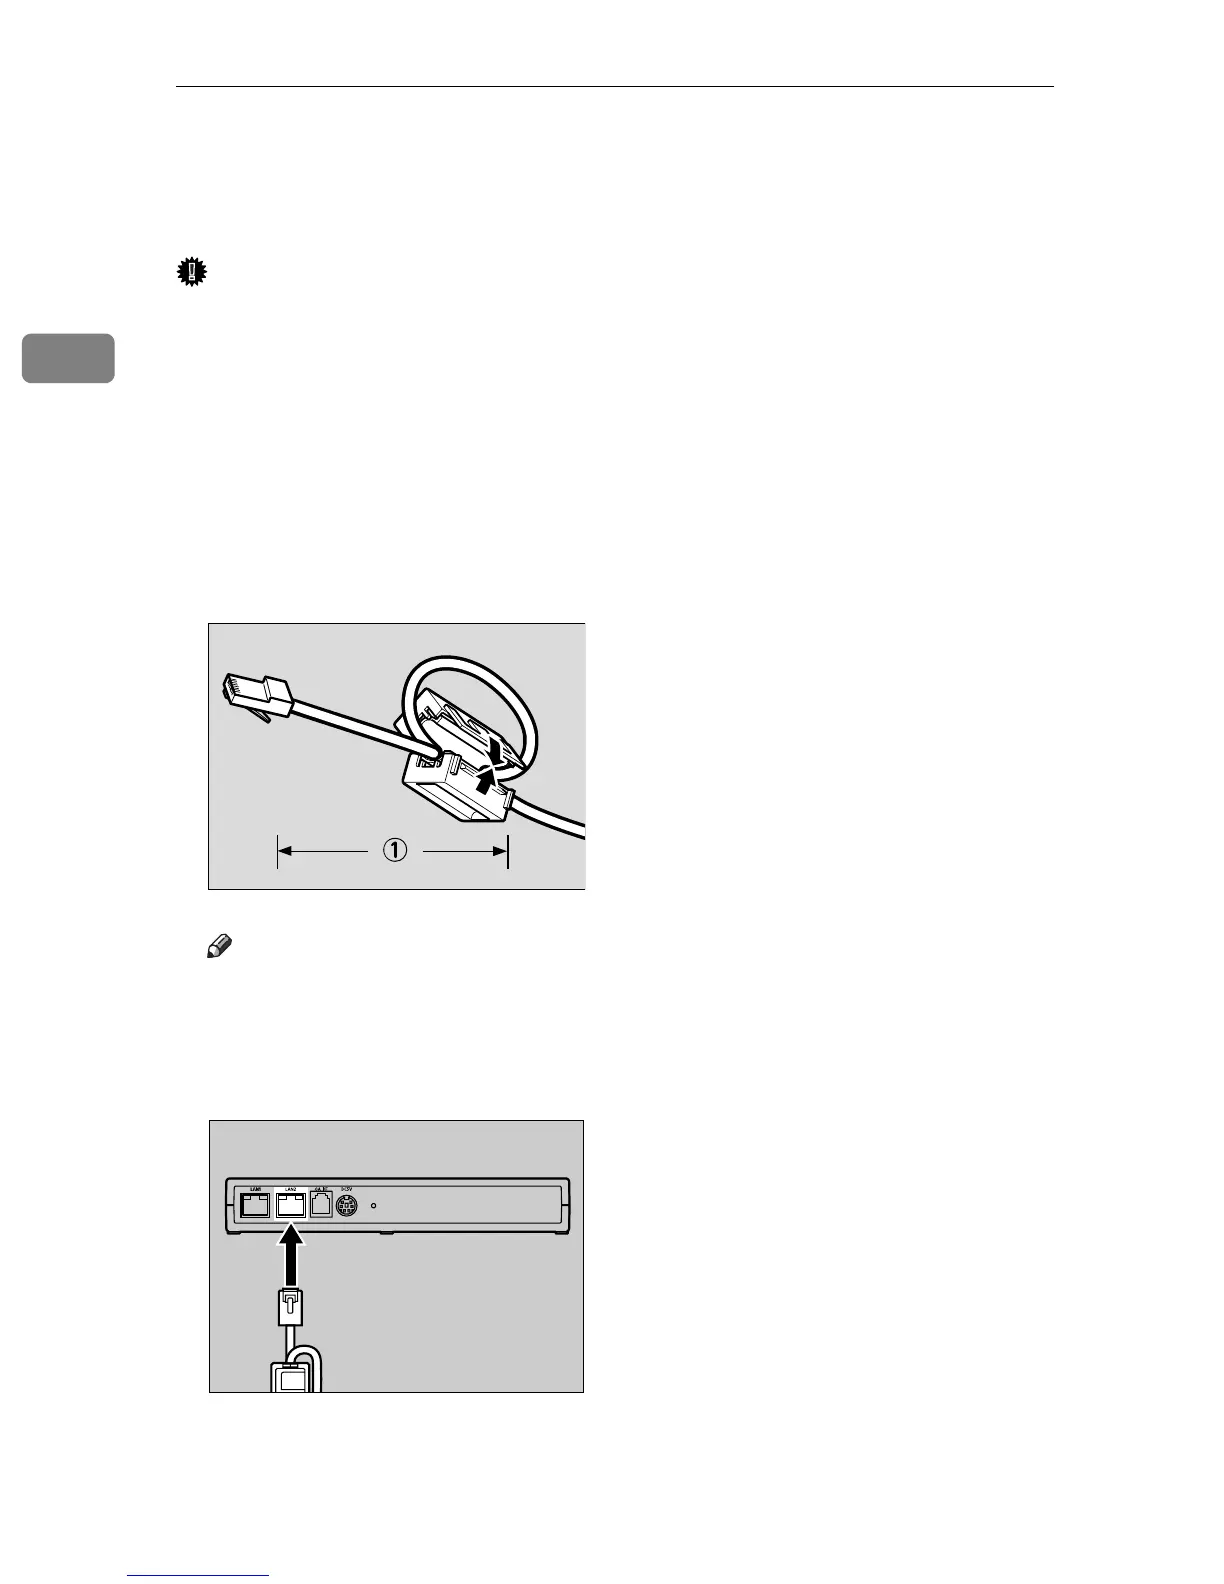
A Twist the cable in a loop and fix the supplied core at about 4inch (10cm, A)
from the end of the cable.
Note
❒ The ferrite core will be clipped when supplied. Open the core before clip-
ping it to the network cable.
B Connect the supplied Network Interface Cable to the LAN2 port of this
equipment.
C Connect the other end of the cable to network devices, such as HUB, etc.
AAA306S
AAA009S