SteelFusion Edge Hardware and Maintenance Guide
51
Replacing power supply units Replacing SteelFusion Edge Components
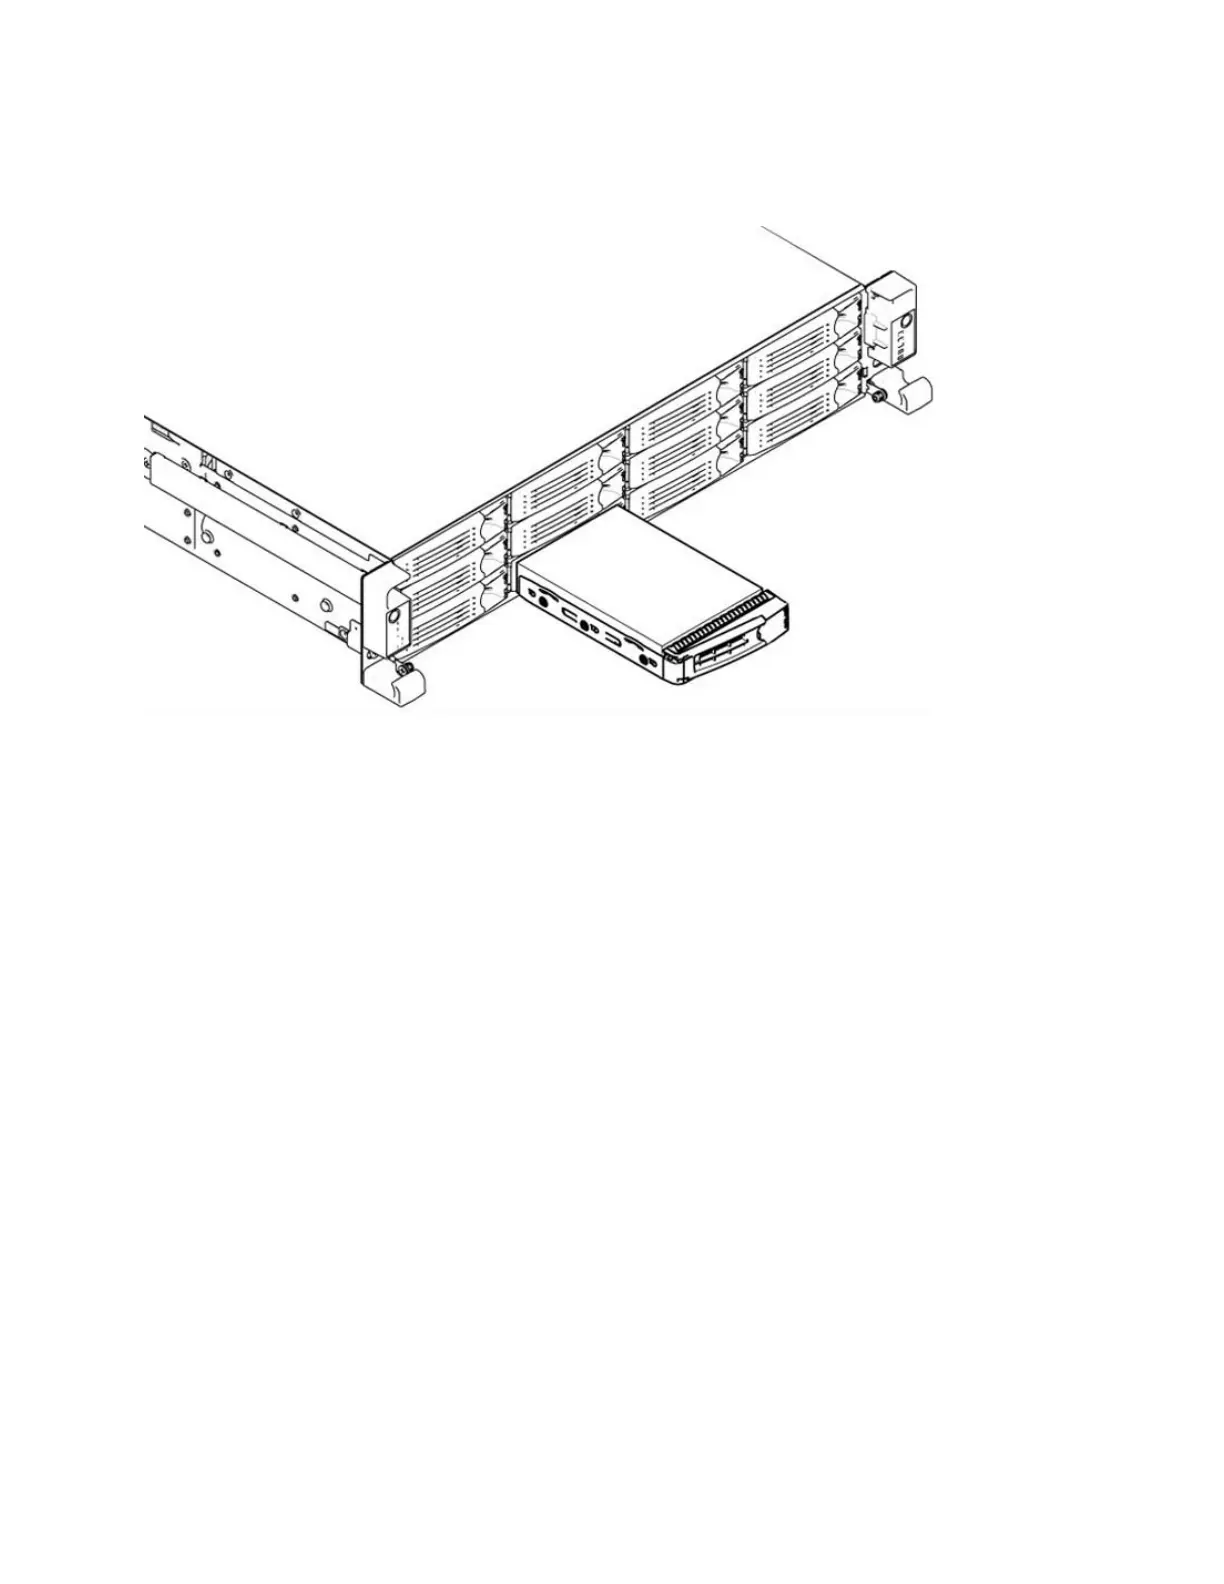
4. Press the orange release button and pull the drive handle toward you to release the disk drive.
(Figure 4-10.)
Figure 4-10. Releasing the disk drive
5. Slide the faulty disk drive out of the slot. Make sure you remove the correct drive.
6. Wait 60 seconds between removing the old drive and adding the new drive.
Waiting ensures the system detects the drive removal so it can rebuild properly after you insert the
new drive. If you insert the new drive before the system detects the removal, data might be
corrupted.
7. Open the new disk-drive handle by pressing the orange release button.
8. Slide in the new disk drive until it mates with the back connectors in the chassis.
The disk drive LED is blue when connected.
9. Press in the disk-drive handle to close.
The new disk drive runs through a self-test automatically and then begins proper operation with the
other disk drives. You do not need to set up or configure the new disk drive.
Replacing power supply units
This section describes how to remove and replace a power supply unit in SteelFusion Edge appliances.
Replacing power supply units in 1U and 2U appliances
This section describes how to replace a power supply in SteelFusion Edge appliances. These appliances
are equipped with replaceable, hot-swappable power supply units.
 Loading...