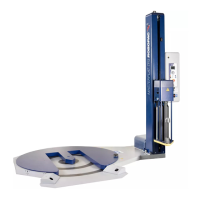
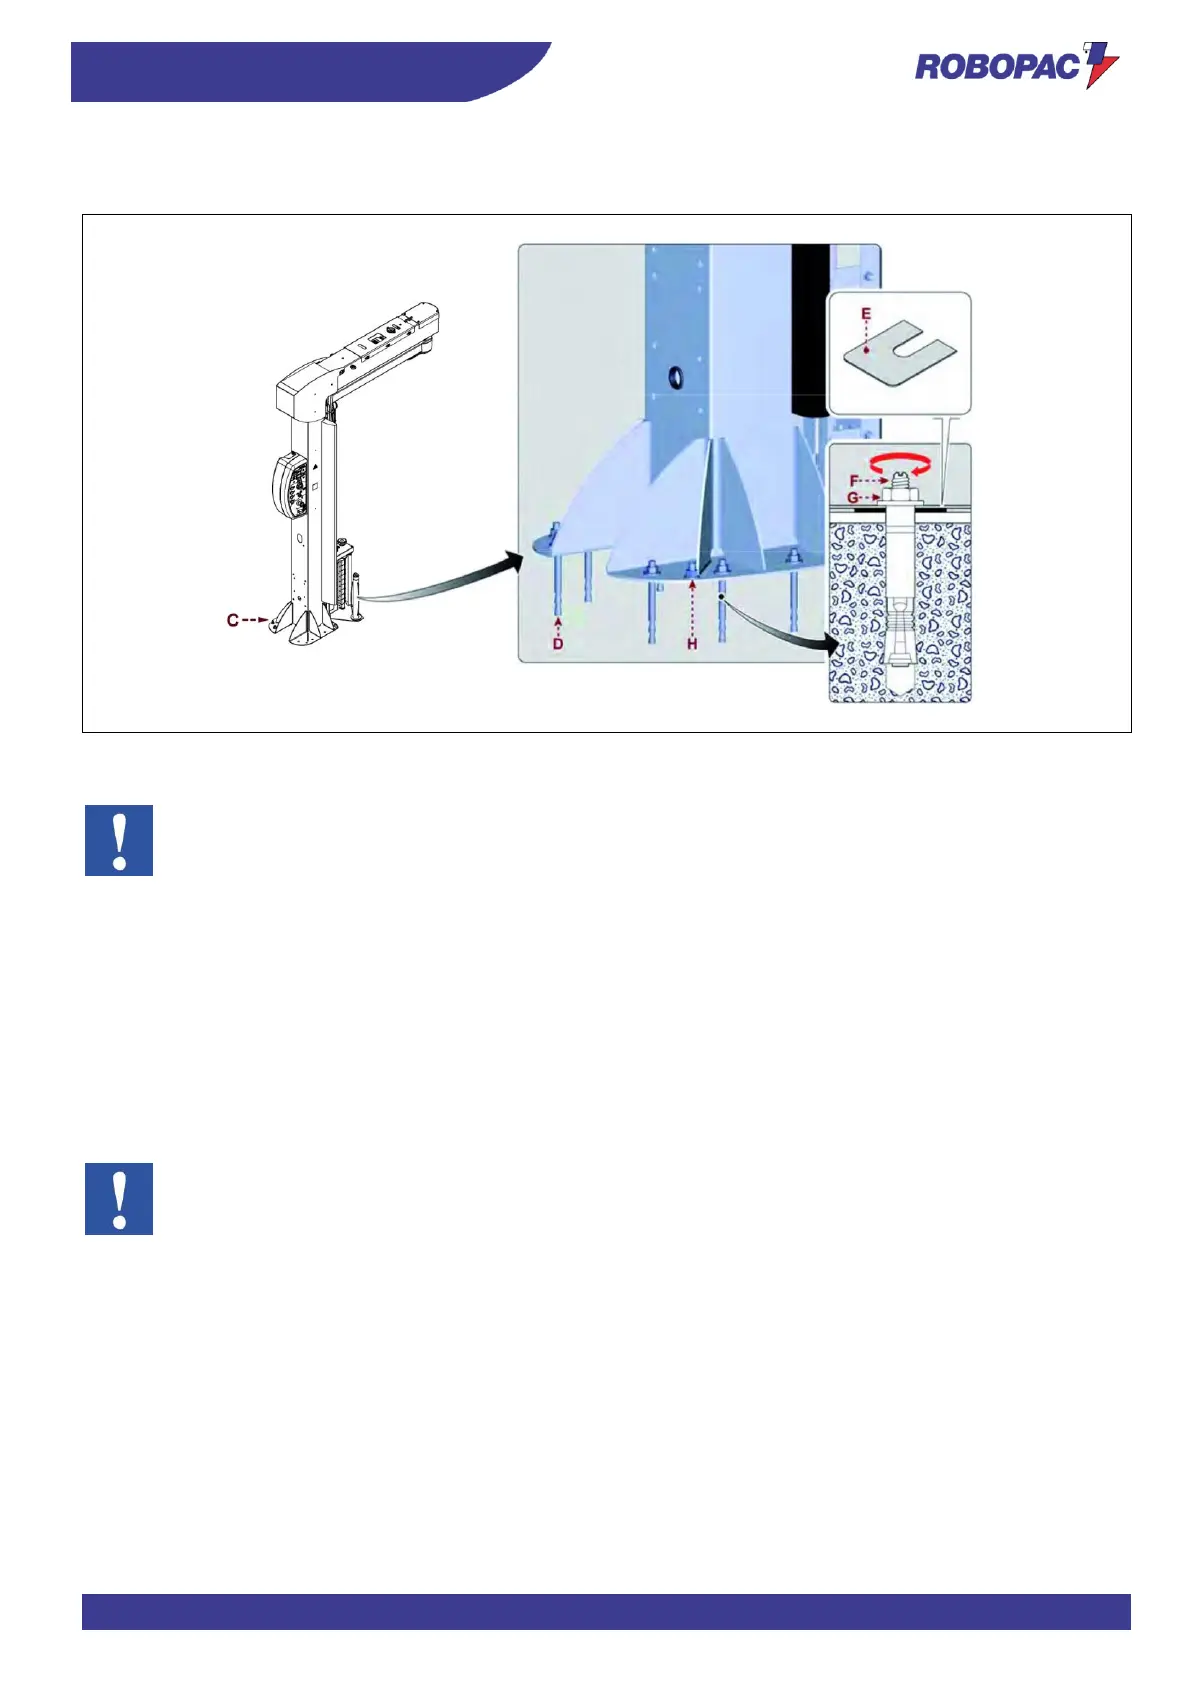
4.
Position the base of the column in the installation point.
Place the machine on the floor and keep it hooked to the lifting device
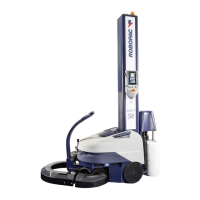
6.
Insert the supplied plugs (D).
7.
Place the machine on the floor.
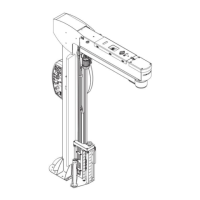
8.
Insert nuts (G) and the relevant washers of each threaded bar (F).
9.
Tighten the two nuts of the threaded bars placed at the end of one of the two diagonals.
10.
Level the machine through the adjuster screws (H).
Slightly loosen the nuts (G), if necessary.
11.
Insert additional shims (E) in correspondence of the threaded bars (F), until there is no more gap between the
frame and the floor, in order not to deform the base of the column during the final tightening.
12.
Loosen the screws (H) and remove them.
13.
Fully tighten the nuts (G) following a criss-crossed or alternated pattern (Tightening torque (65/70 Nm)).