Rockwell Automation Publication 2711R-UM001H-EN-E - April 2021 41
Chapter 2 Configure the Terminal
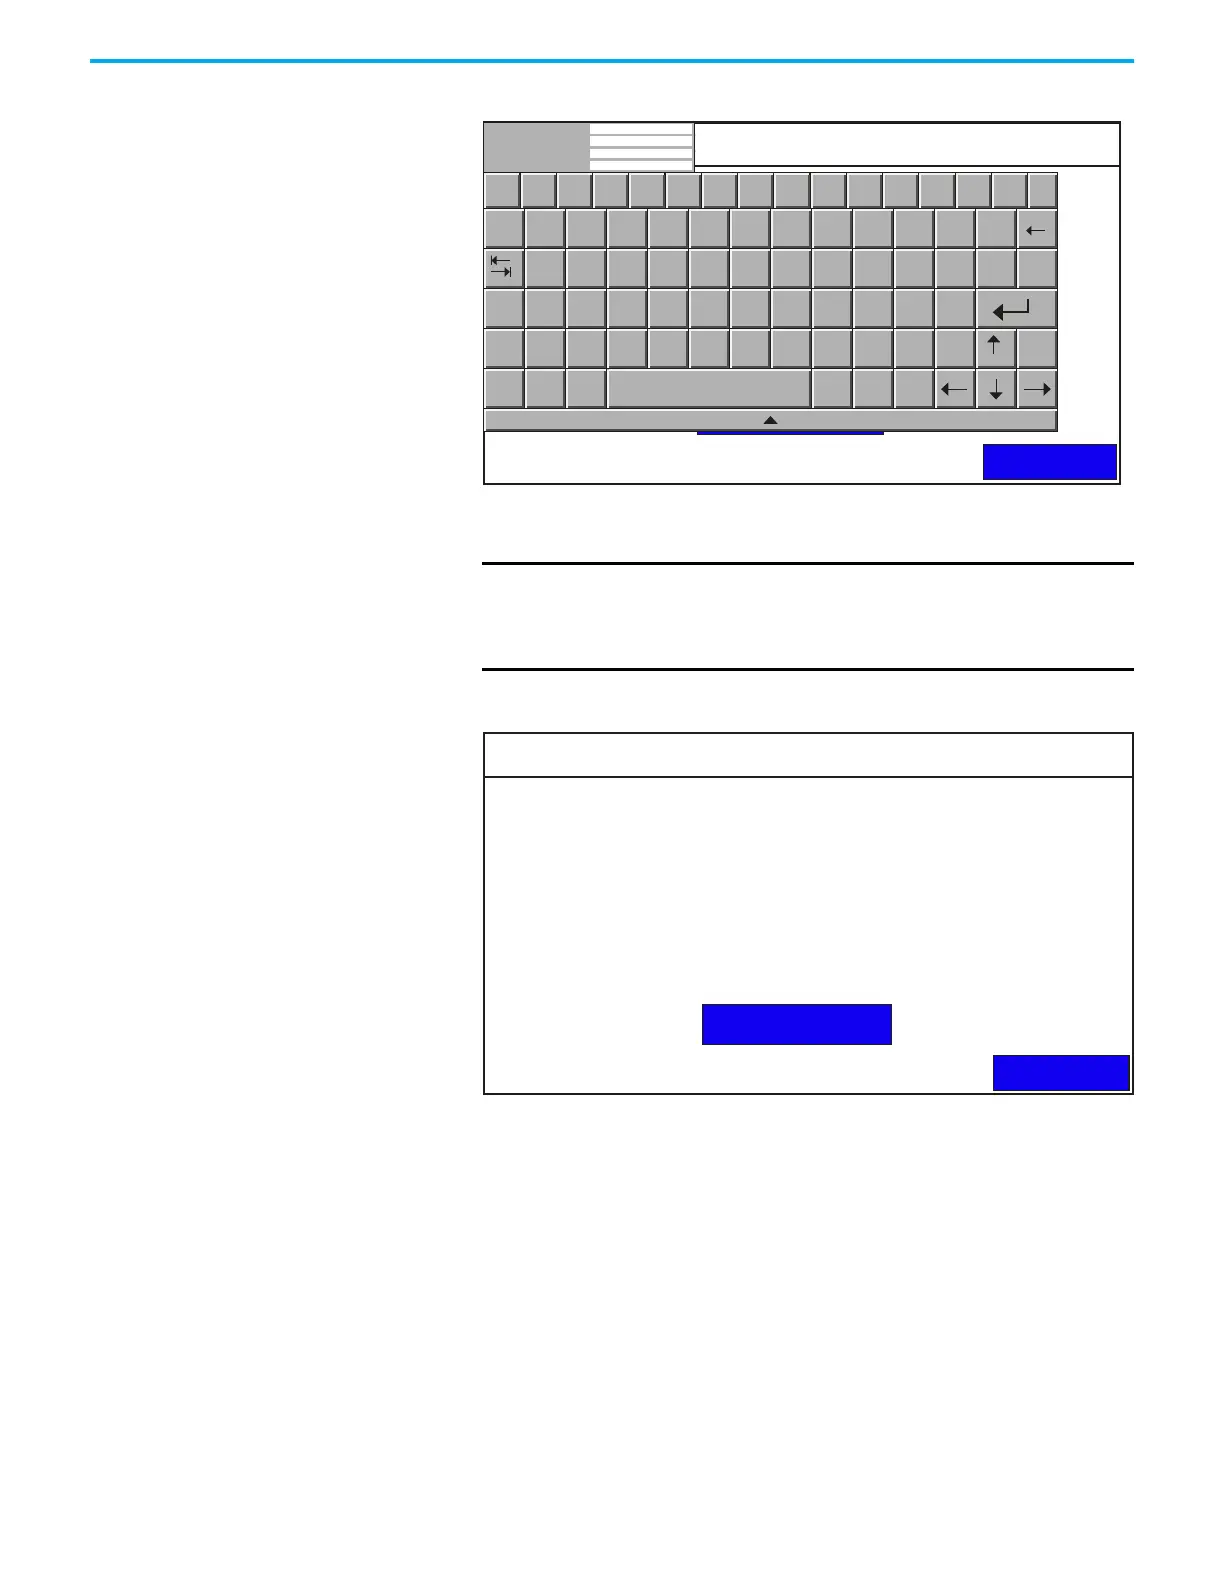
2. Press Enter Credentials.
3. Enter the login credentials for your print server. Then press the Enter
key.
An example is shown below.
Add a print button to your application
After configuring the print settings on your terminal, you have to add a print
button to your application.
1. In Connected Components Workbench software, double-click a screen
for your application where you want to place the Print button.
2. Drag-and-drop a Print button from the Toolbox window to your
application screen.
3. Right-click the Print button and select Properties.
4. In the Properties window, configure the Print Type setting.
IMPORTANT
If your account does not have a password, leave the Password
field blank.
If your PC is not part of a domain or workgroup, enter the name
of your PC in the Domain field.
Ethernet Print Settings
Back
Edit Credentials
Network Share Path:
Domain:
Username:
Password:
`
Esc F1 F2 F3 F4 F5 F6 F7 F8 F9 F10 F11 F12
Home End
1 2 3
4
5 6
7
8
9
0
- =
q w e
r
t y
u
i
o
p
[ ]
\
Network Share Path:
User Name:
Password:
Domain:
Caps
a s d
f
g h
j
k
l
;
’
Shift
z x c
v
b n
m
,
.
/
Ctrl
Win
Alt
ins
del
Ethernet Print Settings
Back
Edit Credentials
Network Share Path: \\My_PC\Printer_1
Administrator
******
My_PCDomain:
Username:
Password:
 Loading...