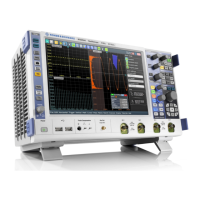
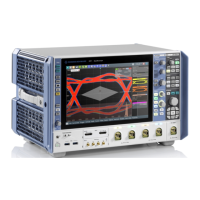
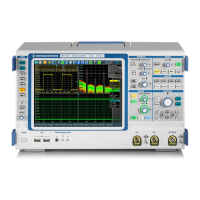
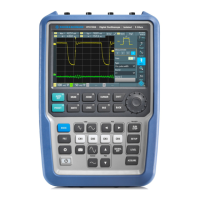
Instrument Tour
R&S
®
RTO
22Getting Started 1316.0833.02 ─ 10
Input box
The input box appears if you adjust a value using one of the rotary knobs, or if you
drag an element on the screen, for example, a cursor line. The input box shows the
current value of the modified parameter. You can enter the exact numerical value,
change the step size, and - if available - autoset the value directly in the input box. The
box title shows the name of the currently adjusted parameter. The input box is helpful
when using the multi-function rotary knobs - POSITION knobs, INTENSITY, and
RESOLUTION/RECORD LENGTH.
See also: chapter 5.8, "Entering Data", on page 90.
3.1.2 SETUP Controls
SETUP keys set the instrument to a defined state, change basic settings, and provide
print and help functions. The intensity rotary knob adjusts the display contrast for sev-
eral display elements.
AUTOSET
The instrument analyzes the enabled channel signals, and adjusts appropriate horizon-
tal, vertical, and trigger settings to display stable waveforms.
PRESET
Resets the instrument to a default state. All measurements, mask tests, zoom, and
most individual settings are deleted, all channels except for channel 1 are disabled.
You can define preset configurations and save them to a file. The PRESET key can be
configured to set either factory defaults or a user-defined preset configuration.
FILE
Opens and closes the "File" dialog box, where you can:
●
Save settings
●
Load settings which were saved before
●
Manage the data: browse, copy, delete, create folders
●
Define a naming pattern for waveform data files
SETUP
Opens and closes the "Setup" dialog box, where you can:
●
Access MS Windows configuration and install firmware updates
●
Configure the touchscreen
●
Check and install option keys for software options
●
Check availability of hardware options
●
Configure LXI and GPIB (if installed)
PRINT
Saves a schreenshot according to the settings in "File" menu > "Print Setup".
Front Panel
 Loading...

