14
Selecting Sounds
Using the Scene Lock Function
By using the scene lock function, you can make a conrmation
screen appear when you change scenes. This helps keep you from
accidentally selecting a dierent scene when you haven’t saved the
scene.
1. Press the [MENU] button.
The setting screen appears.
2. Use the [1] knob to select “SYSTEM,” and then press
the [ENTER] button.
You can also make this selection by using the PAGE [ ] [ ]
buttons instead of the [1] knob.
3. Use the [1] knob to select “Scene Lock,” and then use
the [2] knob to turn it “ON.”
4. To save the setting, press the [WRITE] button.
A conrmation message appears.
If you decide to cancel, press the [EXIT] button.
5. To execute, press the [ENTER] button.
Initializing a Scene
* When you initialize a scene, all settings saved in the scene are erased.
Please note that the data cannot be recovered.
1. Press the [SCENE] button, and then press the [WRITE]
button.
The WRITE MENU screen appears.
2. Use the [1] or [2] knob to select the “SCENE
INITIALIZE,” and then press the [ENTER] button.
The tone of each part will be the rst tone of the presets.
Selecting a Part (Part Select Mode)
On the JUPITER-X, the part you’re editing and the part that you’re
playing from the keyboard can be selected separately.
You can also use the knobs to edit the part that’s playing an
arpeggio, while using the keyboard to play a dierent part.
MEMO
You can select a synthesizer tone for each part 1–4, and a drum
kit tone for part 5. You can select one tone for each part.
* Some sound engines such as RD-PIANO can be selected only for part 1.
Selecting the Part to Edit (Current Part)
Here’s how to select the part whose settings you will edit using the
panel knobs and screen operations.
1. Press the [PART] button.
The [1]–[16] buttons switch to part select mode.
2. Press one of the [1]–[5] buttons to select the current
part.
MEMO
When editing a tone, you can press two or more of the [1]–[5]
buttons simultaneously to edit multiple parts at the same time
as the current part.
&“Editing a Tone
(TONE EDIT)” (p. 26)
Selecting the Parts to Perform
Here’s how to select the parts that you’ll perform from the keyboard.
1. Press the [PART] button.
The [1]–[16] buttons switch to part select mode.
2. Press the [6]–[10] buttons to switch the performance
parts on/o.
When a [6]–[10] button is lit, SCENE ZONE EDIT “KeySw” setting
of the corresponding part turns “ON,” allowing you to play it
from the keyboard.
Assigning Functions to the [1]–[15] Buttons
The JUPITER-X lets you assign the desired functions to the [1]–[15]
buttons in part select mode.
1. Press the [MENU] button.
2. Use the [1] knob to select “SYSTEM,” and then press
the [ENTER] button.
You can also make this selection by using the PAGE [ ] [ ]
buttons instead of the [1] knob.
3. Use the [1] knob to select the “PART Btn Asgn” item,
and use the [2] knob to change the value.
You can assign the functions that occur when you press the
[1]–[5] buttons, the [6]–[10] buttons, or the [11]–[15] buttons,
and the functions that occur when you hold down the [SHIFT]
button and press the [1]–[5] buttons, the [6]–[10] buttons, or
the [11]–[15] buttons.
MEMO
5 Instead of the [SHIFT] button you can also use the [PART] button.
5 If you long-press the [PART] button for two seconds or longer, the state of the
[PART] button being pressed is maintained. To cancel, press the [PART] button
or the [SCENE] button to switch modes, or switch to a dierent scene.
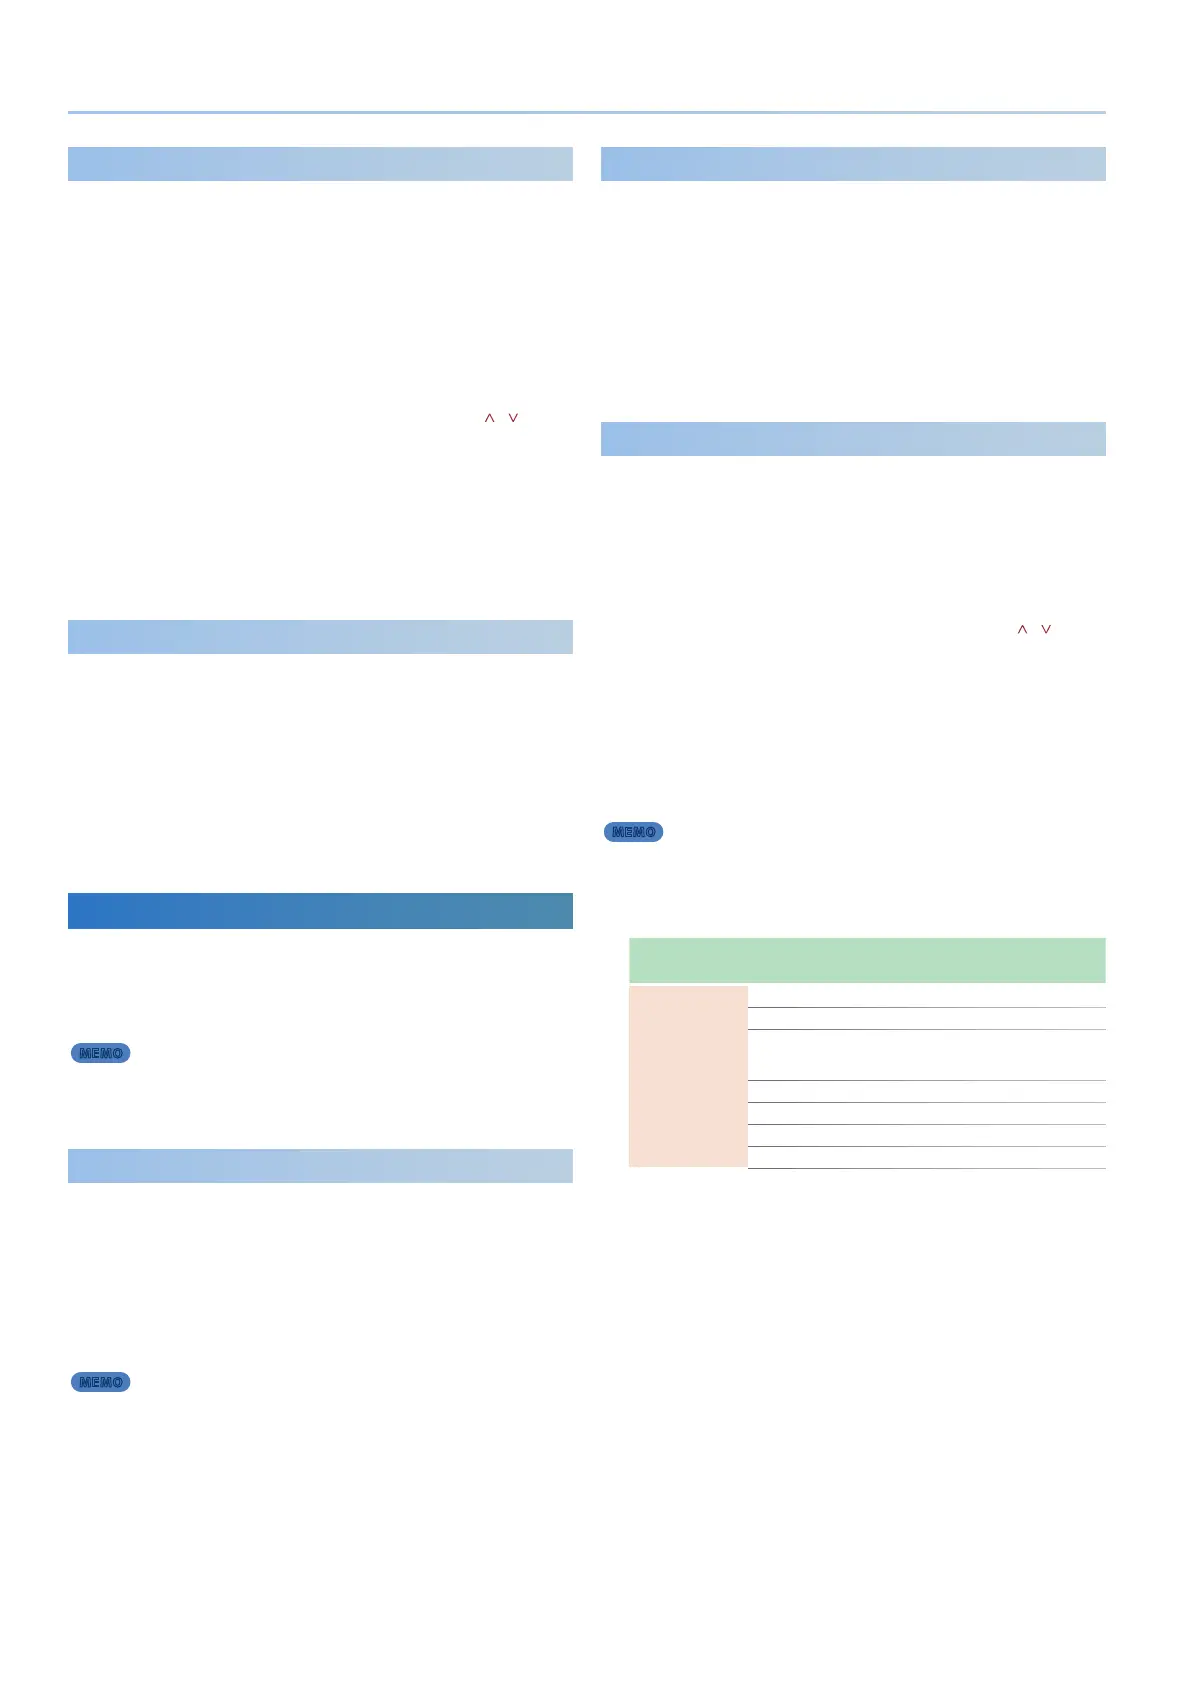
Parameter
[1] knob
Value
[2] knob
Explanation
1-5,
1-5+ (S),
6-10,
6-10+ (S),
10-15,
10-15+ (S)
No Assign Nothing is assigned.
PartSel Select the current part.
Part+KeySw
Simultaneously turn on/o the parts that
play and turn on/o the performance
parts.
KeySw Turn on/o the performance parts.
PartSw Turn on/o the parts that play.
ArpSw Turn on/o arpeggio performance.
EfxSw Turn on/o eects.
* The “+(S)” following the parameter name means “while pressing the
[SHIFT] button.”
4. To save the changes, press the [WRITE] button.
A conrmation message appears.
If you decide to cancel, press the [EXIT] button.
5. To execute, press the [ENTER] button.

 Loading...


