39
Connecting a Computer
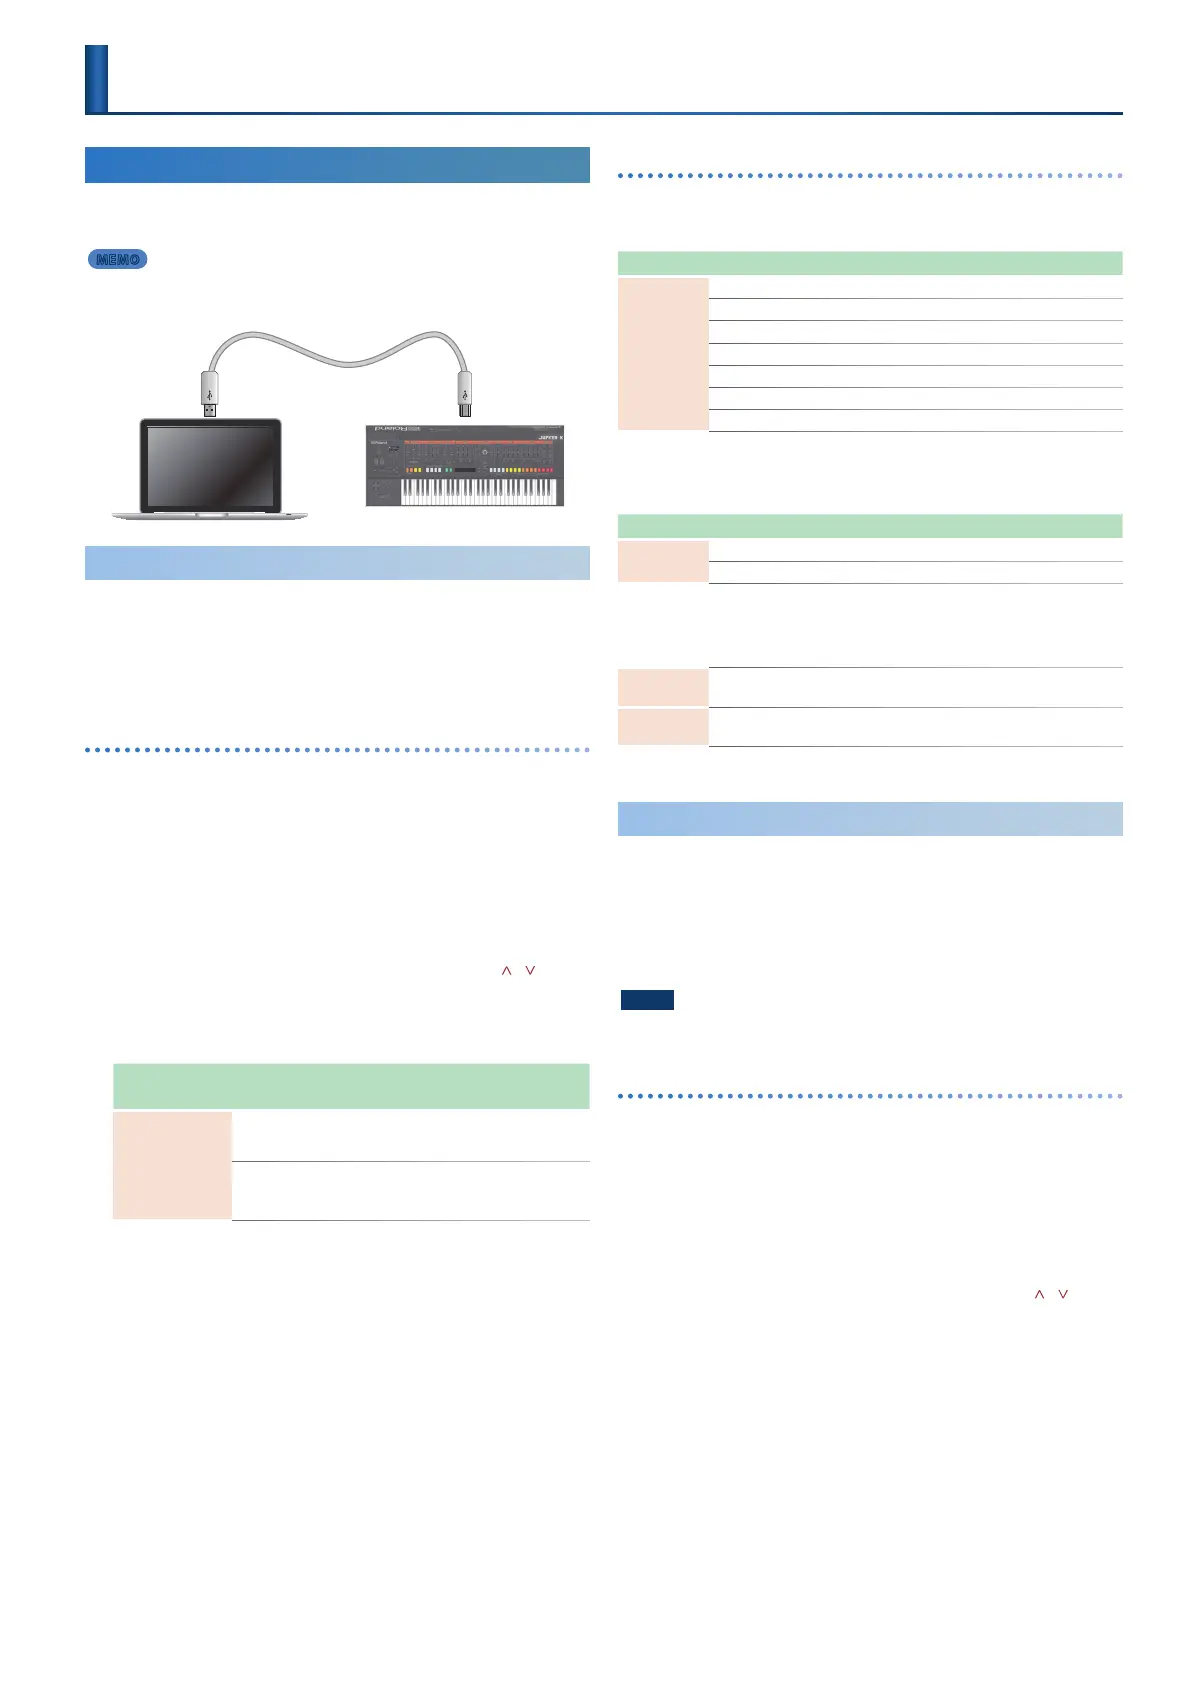
MIDI messages can be exchanged with a computer via the
JUPITER-X’s USB COMPUTER Port.
MEMO
5 For details on operating requirements and supported operating systems, refer
to the Roland website.
USB cable
Installing the Dedicated Driver
In order to use the JUPITER-X, you’ll need to download the driver from
the following URL and install it on your computer.
For details on installation, refer to the Roland website.
& https://www.roland.com/support/
USB driver settings
Here’s how to specify the USB driver that’s used when connecting
the JUPITER-X to your computer via the USB COMPUTER port.
* Changes to the USB driver setting take eect when the unit restarts.
1. Press the [MENU] button.
The setting screen appears.
2. Use the [1] knob to select “SYSTEM,” and then press
the [ENTER] button.
You can also make this selection by using the PAGE [ ] [ ]
buttons instead of the [1] knob.
3. Use the [1] knob to select “USB Driver.”
4. Use the [2] knob to specify “VENDOR.”
Parameter
[1] knob
Value
[2] knob
Explanation
USB Driver
VENDOR
Choose this when using the USB driver
that you downloaded from the Roland
website.
GENERIC
Choose this when using the USB driver
that was provided with your computer.
* Only MIDI can be used.
5. Save the setting.
&“Saving the System Settings (System Write)” (p. 43)
6. Turn the JUPITER-X’s power o and on again.
Port names when using the VENDOR driver
Audio input device
Device Name Port Name
JUPITER-X
IN MIX (mixed output of the JUPITER-X)
IN 1 (output of the JUPITER-X’s part 1)
IN 2 (output of the JUPITER-X’s part 2)
IN 3 (output of the JUPITER-X’s part 3)
IN 4 (output of the JUPITER-X’s part 4)
IN 5 (output of the JUPITER-X’s part 5)
IN MIC (output of the signal that is input from the JUPITER-X’s MIC IN jack)
Audio output device
Device Name Port Name
JUPITER-X
OUT (USB audio input to the JUPITER-X)
OUT MIC (treated as mic input to the JUPITER-X)
MIDI input/output device
MIDI IN
JUPITER-X
JUPITER-X DAW CTRL
MIDI OUT
JUPITER-X
JUPITER-X DAW CTRL
* DAW CTRL is not used for normal MIDI communication.
Using USB Audio
Using the USB driver allows the unit to exchange audio data with a
computer.
For details on how to make settings for your computer, refer to
“Readme.htm” which is in the driver le that you downloaded from
the Roland support page.
& https://www.roland.com/support/
NOTE
Before using USB audio, be sure to make settings so that the USB audio input/
output is not excessively loud.
Adjusting the USB audio input
From your computer or other USB-connected device, adjust the
volume of the audio that is input to the JUPITER-X.
1. Press the [MENU] button.
The setting screen appears.
2. Use the [1] knob to select “SYSTEM,” and then press
the [ENTER] button.
You can also make this selection by using the PAGE [ ] [ ]
buttons instead of the [1] knob.
3. Use the [1] knob to select “USB In Lev.”
4. Use the [2] knob to adjust the volume.
5. To save the setting, perform the system write
operation.
&“Saving the System Settings (System Write)” (p. 43)
Control

 Loading...


