42
Accessing the MENU Screen
1. Press the [MENU] button.
2. Use the [1] knob to select the item that you want to
edit, and press the [ENTER] button.
You can also make this selection by using the PAGE [ ] [ ]
buttons instead of the [1] knob.
3. Use the [1] knob to select the parameter and use the
[2] knob to change the setting.
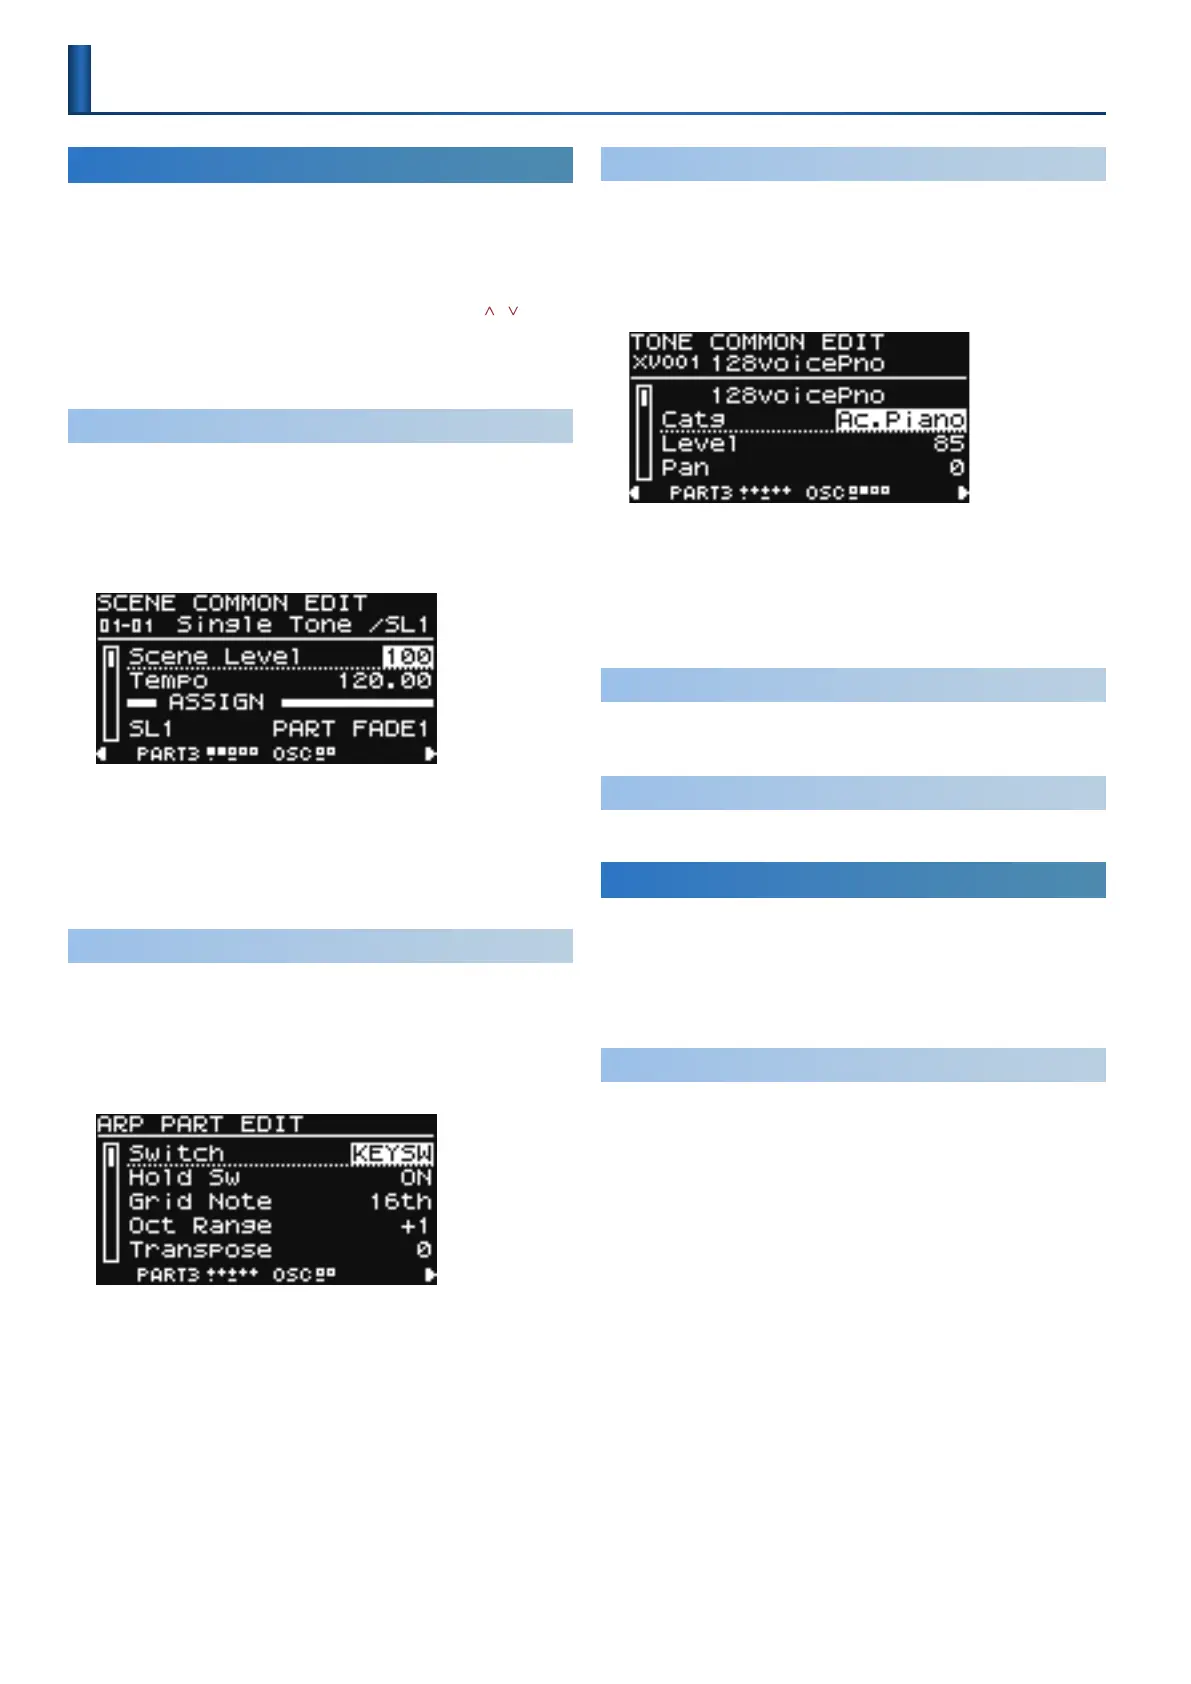
Editing the Scene Settings (SCENE EDIT)
1. Press the [MENU] button.
2. Use the [1] knob to select “SCENE EDIT,” and then
press the [ENTER] button.
The SCENE COMMON EDIT screen appears.
This is the same screen as when you press the PAGE [>] button
once from the SCENE/MODEL BANK top screen.
To edit other scene settings, press the PAGE [>] button several
times.
3. Use the [1] knob to select the parameter and use the
[2] knob to change the setting.
Editing the I-ARPEGGIO Settings (ARPEGGIO EDIT)
1. Press the [MENU] button.
2. Use the [1] knob to select “ARPEGGIO EDIT,” and then
press the [ENTER] button.
The ARPEGGIO PART EDIT screen appears.
This is the same screen as when you press the PAGE [<] button
twice from the SCENE/MODEL BANK top screen.
Use the [PART] button to select the part whose arpeggio
parameters you want to edit, and then edit the parameters.
If you want to edit the ARPEGGIO COMMON EDIT settings, press
the PAGE [>] button once.
3. Use the [1] knob to select the parameter and use the
[2] knob to change the setting.
Editing the Tone Settings (TONE EDIT)
1. Press the [MENU] button.
2. Use the [1] knob to select “TONE EDIT,” and then press
the [ENTER] button.
The TONE COMMON EDIT screen appears.
This is the same screen as when you press the PAGE [>] button
nine times from the SCENE/MODEL BANK top screen.
To edit other tone settings, press the PAGE [>] button several
times.
3. Use the [1] knob to select the parameter and use the
[2] knob to change the setting.
Using Convenient Functions (UTILITY)
Execute convenient functions.
& “Convenient Functions
(UTILITY Screen)” (p. 48)
Viewing the Software Version (INFORMATION)
View the software version.
Accessing the WRITE Screen
1. Press the [SCENE] button, and then press the [WRITE]
button.
2. Use the [1] knob to select the item that you want to
edit, and press the [ENTER] button.
Saving a Scene (SCENE)
Here’s how to save the scene settings. If saving is needed, the screen
indicates “EDITED.”
If the PART 1–4 tones are indicated as “EDITED,” and you want to save
the complete sound, save the tones rst.
1. Press the [SCENE] button, and then press the [WRITE]
button.
2. Use the [1] knob to select “SCENE,” and then press the
[ENTER] button.
3. Use the [2] knob to select the save-destination, and
then press the [ENTER] button.
If you want to rename the scene that you’re saving, use the
PAGE [<] [>] buttons to move the cursor, and use the [2] knob to
specify the character.
4. Press the [ENTER] button.
A conrmation message appears.
If you decide to cancel, press the [EXIT] button.
5. To execute, press the [ENTER] button.
Settings for the Entire Unit

 Loading...


