24
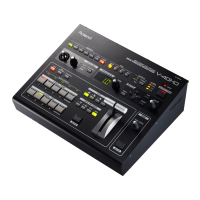
Video Composition Operations
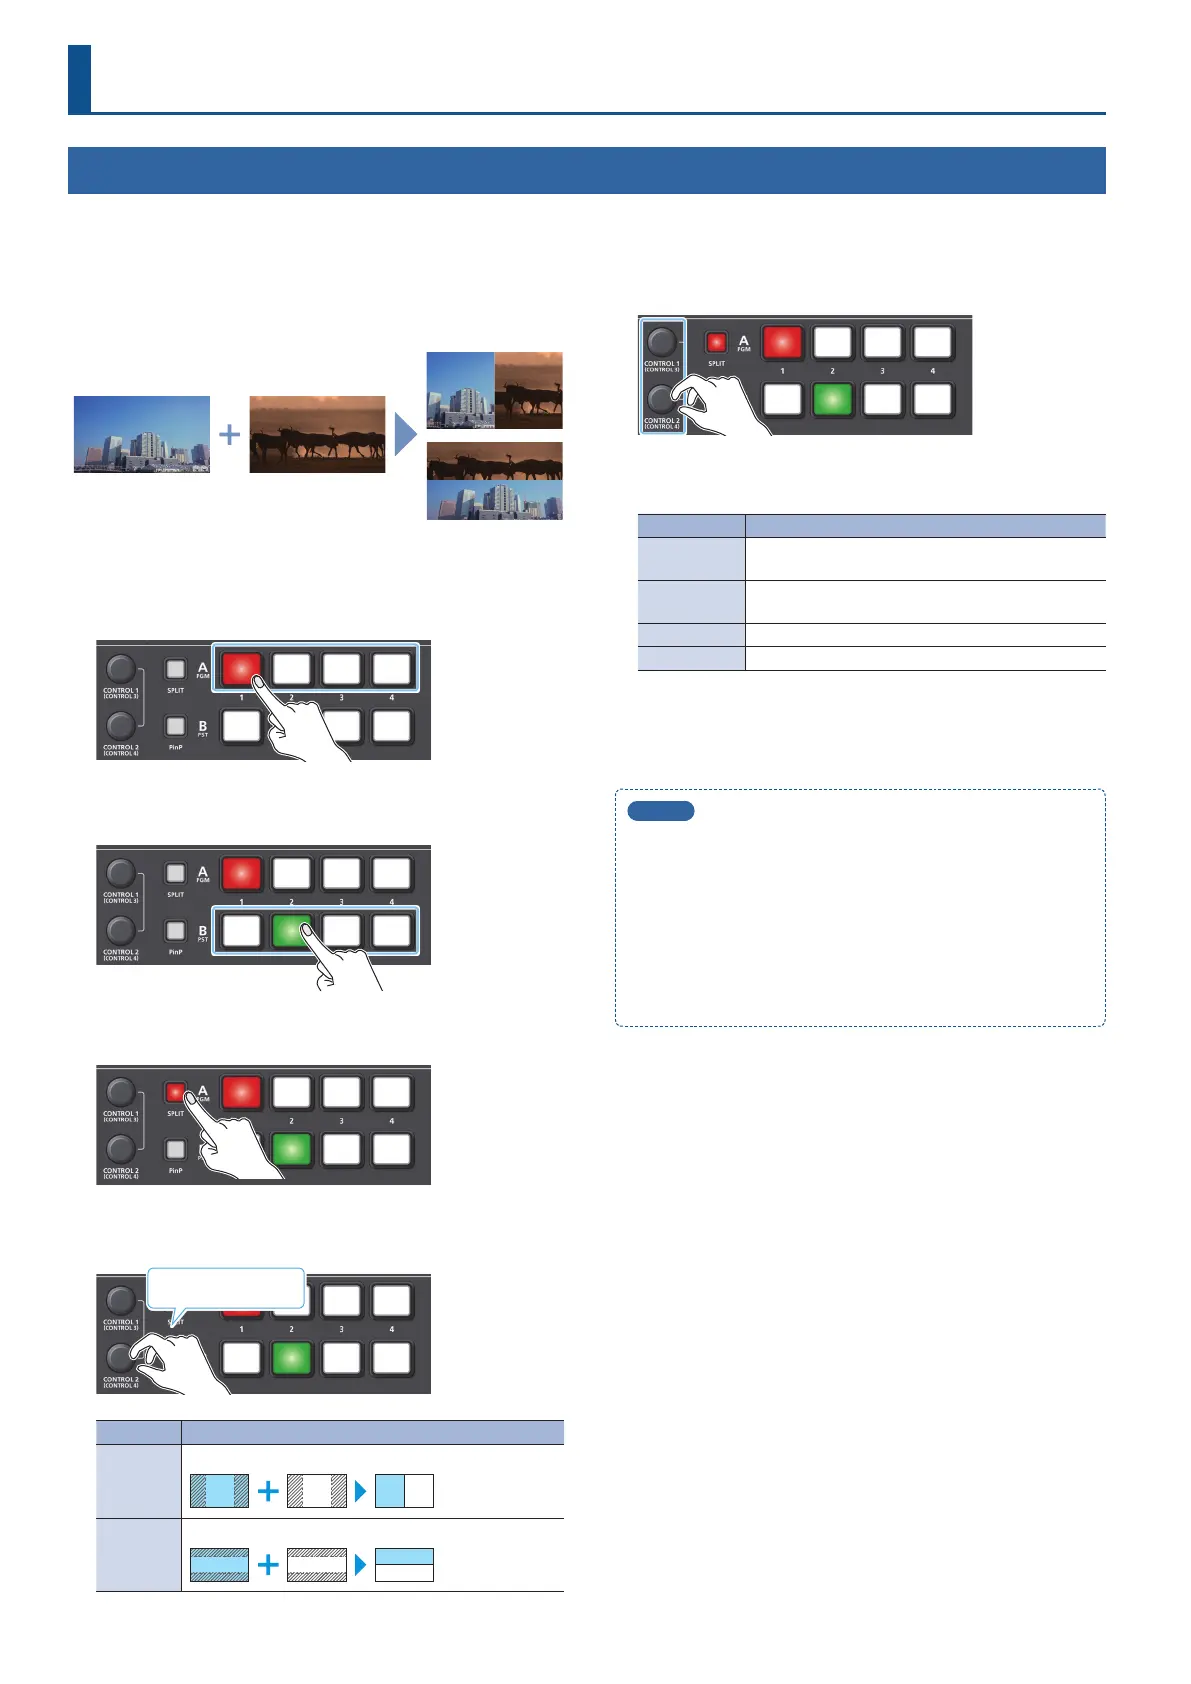
Compositing Video with Split
Here’s how to composite two videos in dividing the screen into left/right or upper/lower.
7 Positioning a video
Left or upper: Video on the A/PGM bus
Right or lower: Video on the B/PST bus
Split left/right
Split upper/lower
1. Press a A/PGM cross-point [1]–[4] button to select the
video you want to display upper or on the left.
2. Press a B/PST cross-point [1]–[4] button to select the
video you want to display lower or on the right.
3. Press the [SPLIT] button to turn on split compositing, (lit).
The video you selected in steps 1 and 2 is composited.
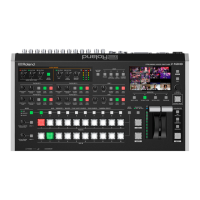
4. Press and turn the [CONTROL 2] knob to select the
composition type.
Turn while pressing
Value Explanation
SPLIT V
This vertically crops the center section of the video.
A B
A B
SPLIT H
This horizontally crops the center section of the video.
A
B
5. Use the [CONTROL 1] and [CONTROL 2] knob to adjust
the position of the video or boundary.
If you turn a knob while pressing it, these knobs function as
[CONTROL 3] [CONTROL 4] knobs.
Knob Explanation
[CONTROL 1]
Adjusts the position of the video that is shown in the
left or upper side.
[CONTROL 2]
Adjusts the position of the video that is shown in the
right or lower side.
[CONTROL 3] Adjusts the position of the boundary.
[CONTROL 4] Selects the split composition types (step 4).
6. To turn o split compositing, press the [SPLIT] button
once again.
MEMO
5
What the [CONTROL 1] and [CONTROL 2] knobs operate
When both split and PinP compositing (p. 25) are on, use the
[CONTROL 1] and [CONTROL 2] knobs to operate either setting.
Set the target of operation from the [MENU] button,
“SYSTEM”
0
“CONTROL KNOB PRIORITY.”
5
You can change the color and width of the boundary.
To make this setting, use the [MENU] button
0
“SPLIT”
0
“BORDER COLOR” and “BORDER WIDTH.”