34
Audio Operations
Applying Eects to Input Audio
You can apply eects to the input audio to adjust the character of the sound. The following table shows the eects that are available.
Input audio High-pass lter Noise gate De-esser Compressor Equalizer Reverb
INPUT 1–4
( (
—
( ( (
AUDIO IN 1, 2
( ( ( ( ( (
LINE IN
( (
—
( ( (
MIC/AUX IN
( ( ( ( ( (
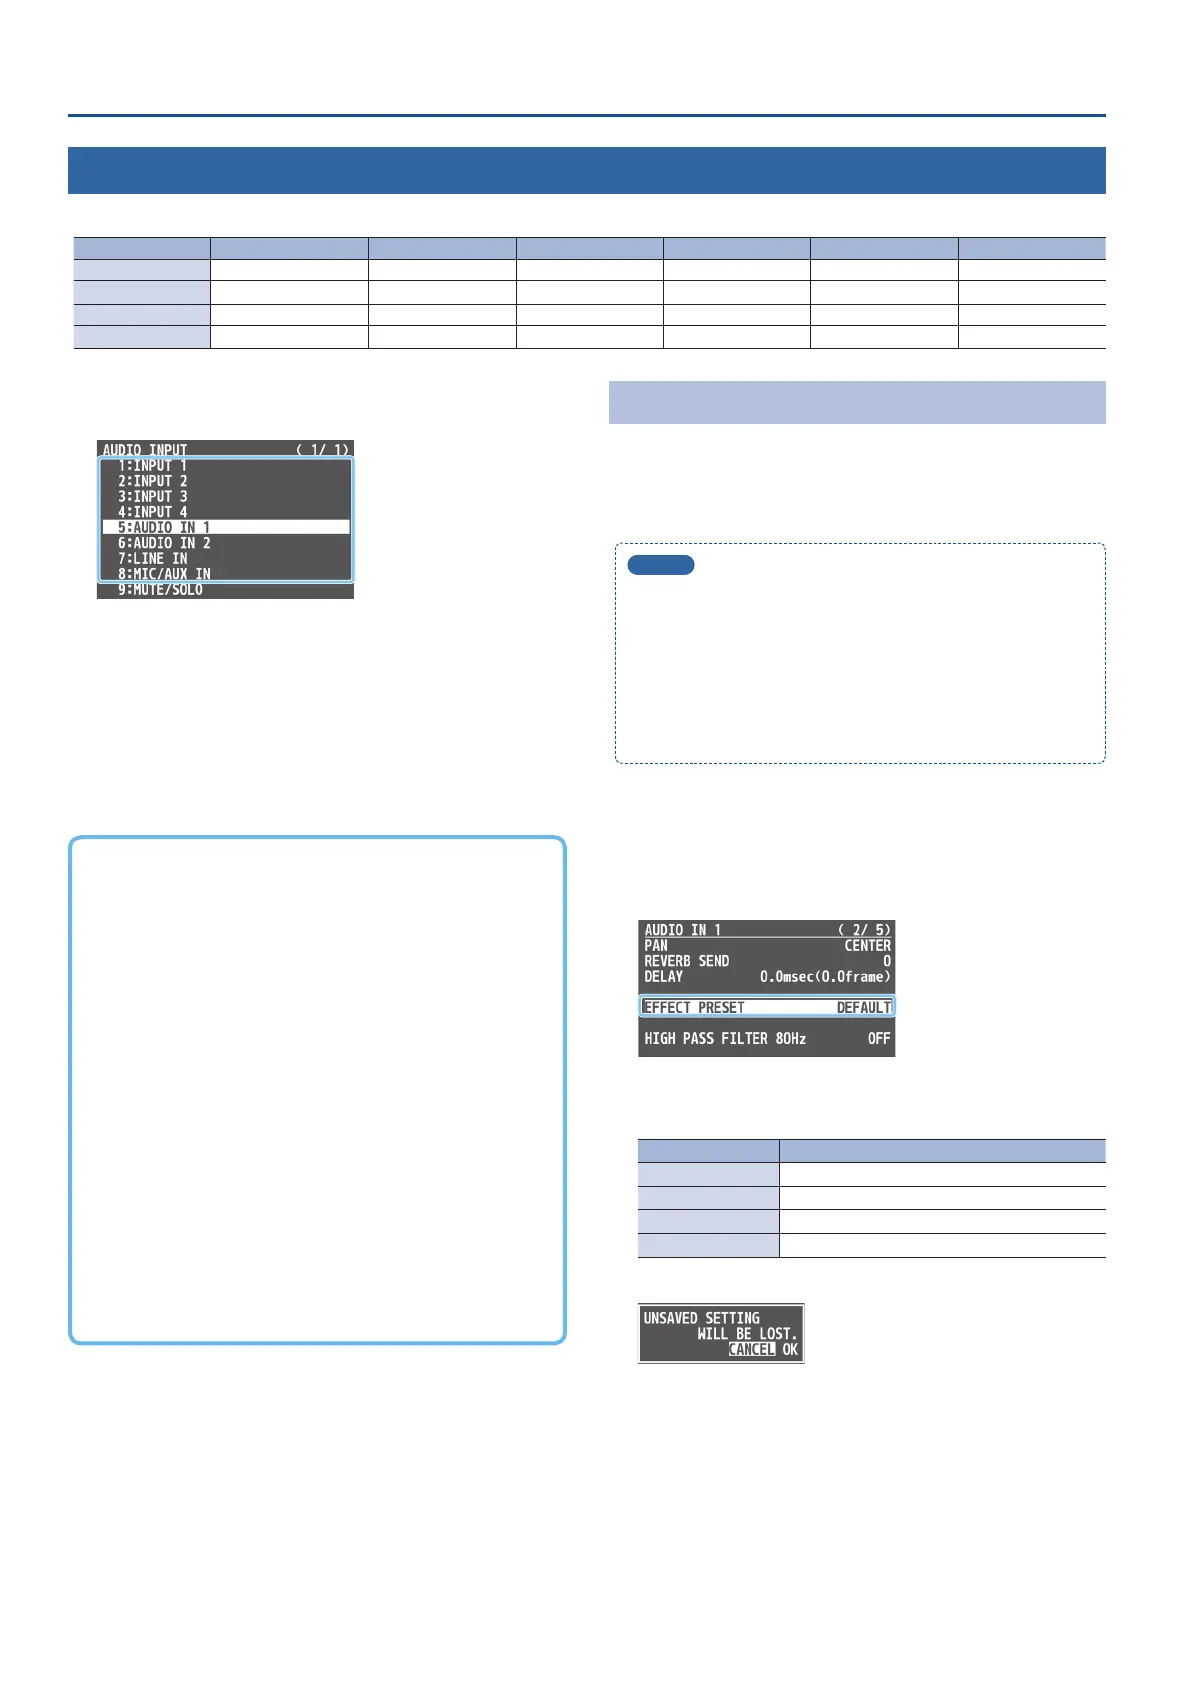
1. [SETUP] button
0
select “INPUT 1”–“MIC/AUX IN,” and
press the [VALUE] knob.
2. Using the [VALUE] knob, select the menu item of the
eect you want to use, and press the [VALUE] knob.
* For details on the menu items, refer to “8: AUDIO INPUT” (p. 50).
3. Use the [VALUE] knob to change the value of the setting.
4. Press the [MENU] button several times to close the menu.
7 High-pass lter
Cuts o unneeded low-band audio. The cuto frequency is 80 Hz.
7 Noise gate
Eliminates audio that is lower than the specied threshold level.
This is eective when the noise that you want to remove is separate
from the audio that you want to keep, and can be used to remove
hiss or other noise that is heard during periods of silence.
7 De-esser
Reduces sibilant noise (the sounds you hear when pronouncing “s”
words and other hissing sounds).
7 Compressor
Audio that exceeds the specied threshold level is compressed.
This reduces the dierence between the maximum volume and
minimum volume, making the audio more comfortable for listening.
7 Equalizer
This is a three-band equalizer. It lets you adjust the volume by
boosting or cutting three frequency regions.
7 Reverb
Adds reverberation to the sound.
Using an Eect Preset
This unit is equipped with eects that are adjusted for specic
environments. These are called “eect presets.”
Simply by selecting an eect preset, you can easily apply an eect
that’s appropriate for your situation.
MEMO
5
Eect presets are combinations of eects besides reverb. To
ne-tune the preset settings, edit the settings for each eect.
For details on the eects, refer to “8: AUDIO INPUT” (p. 50).
5
You cannot overwrite the eect presets. Use the preset
memories to save the settings for presets you’ve edited (p. 38).
5
When you load an eect preset, each preset setting (except for
reverb) is restored to its default setting (factory defaults).
1. [SETUP] button
0
select “INPUT 1”–“MIC/AUX IN,” and
press the [VALUE] knob.
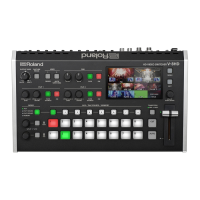
2. Use the [VALUE] knob to select “EFFECT PRESET,” and
press the [VALUE] knob.
3. Use the [VALUE] knob to select an eect preset, and
press the [VALUE] knob.
Value Explanation
DEFAULT For line input (default setting)
MEETING For meetings
INTERVIEW For interviews
AMBIENT MIC For capturing ambient sound
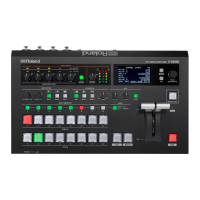
A conrmation message appears.
* If you want to cancel the operation, press the [MENU] button.
4. Use the [VALUE] knob to select “OK,” and press the
[VALUE] knob.
The eect preset is loaded. When the operation is nished, the
message “COMPLETE” appears.
5. Press the [MENU] button several times to close the menu.