4.6
Section 4
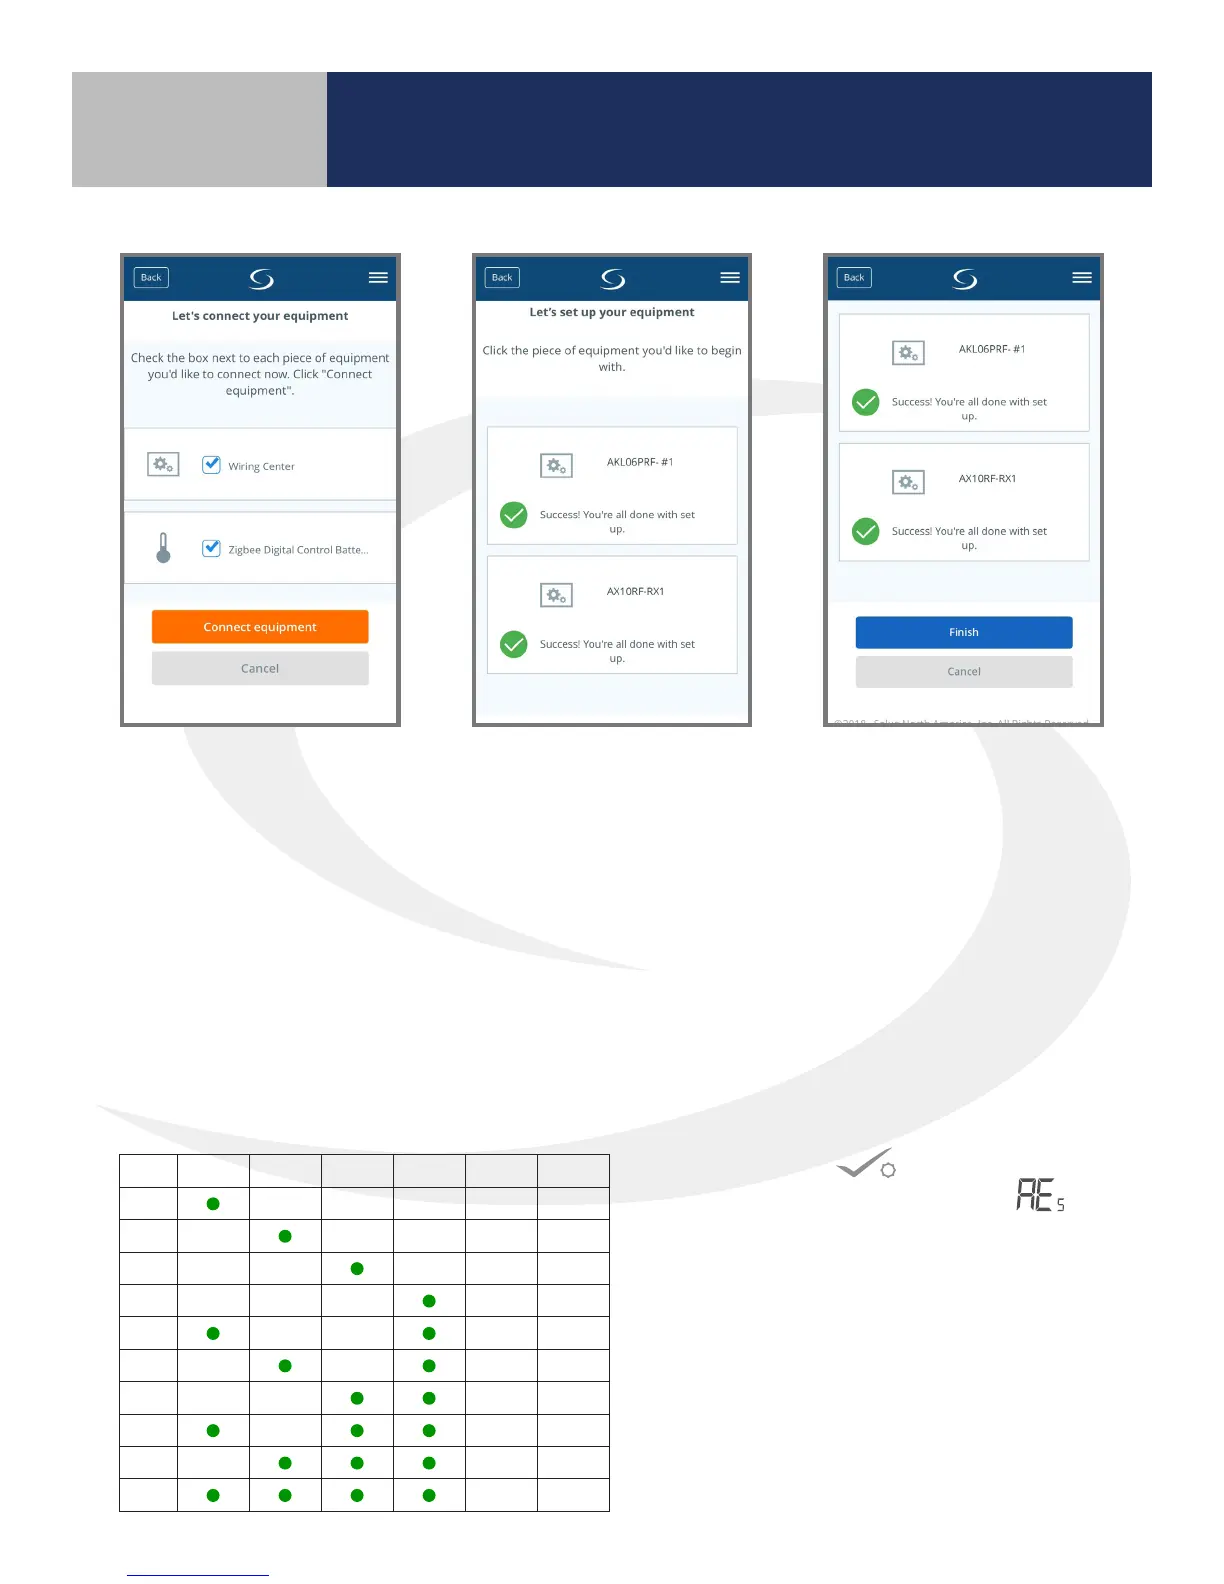
2. Select the check boxes for
both the Wiring Center
and the Zigbee Receiver
on the SALUS Smart Home
application. Then press
the orange “Connect
equipment” button.
3. Give each device a
descriptive name that allows
easy identication. If there
are multiple wiring centers,
identify each with respect to
its location or purpose.
4. Press “Finish” and the
ashing red LED lights on
both devices should stay
solid red. This indicates they
are connected to the system.
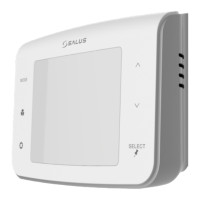
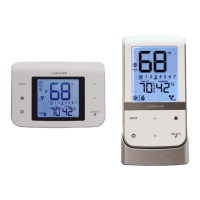
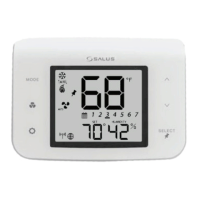
6. Press conrm on the AS20WRF/BRF
Thermostat to advance from the Screen.
The AS20WRF/BRF Thermostat goes through
it’s boot sequence.
7. Again, from the SALUS Smart Home mobile
application and select the drop down menu
from the upper right side of the screen select
Equipment All Equipment Add New
Equipment Scan for Equipment
Device Pairing & Setup
with Internet Connection
5. Once the Wiring Center is connected and the LED on the SG888ZB stops ashing, press the multi button
for two seconds. Zone LED on the AKL Wiring Center will illuminate indicating the ID number of the device.
Use this number when setting up the AS20WRF/BRF Thermostats to address the correct Wiring Center.
ID # Zone 1 Zone 2 Zone 3 Zone 4 Zone 5 Zone 6
1
2
3
4
5
6
7
8
9
0
AKL Wiring Center ID Number Key