4.8
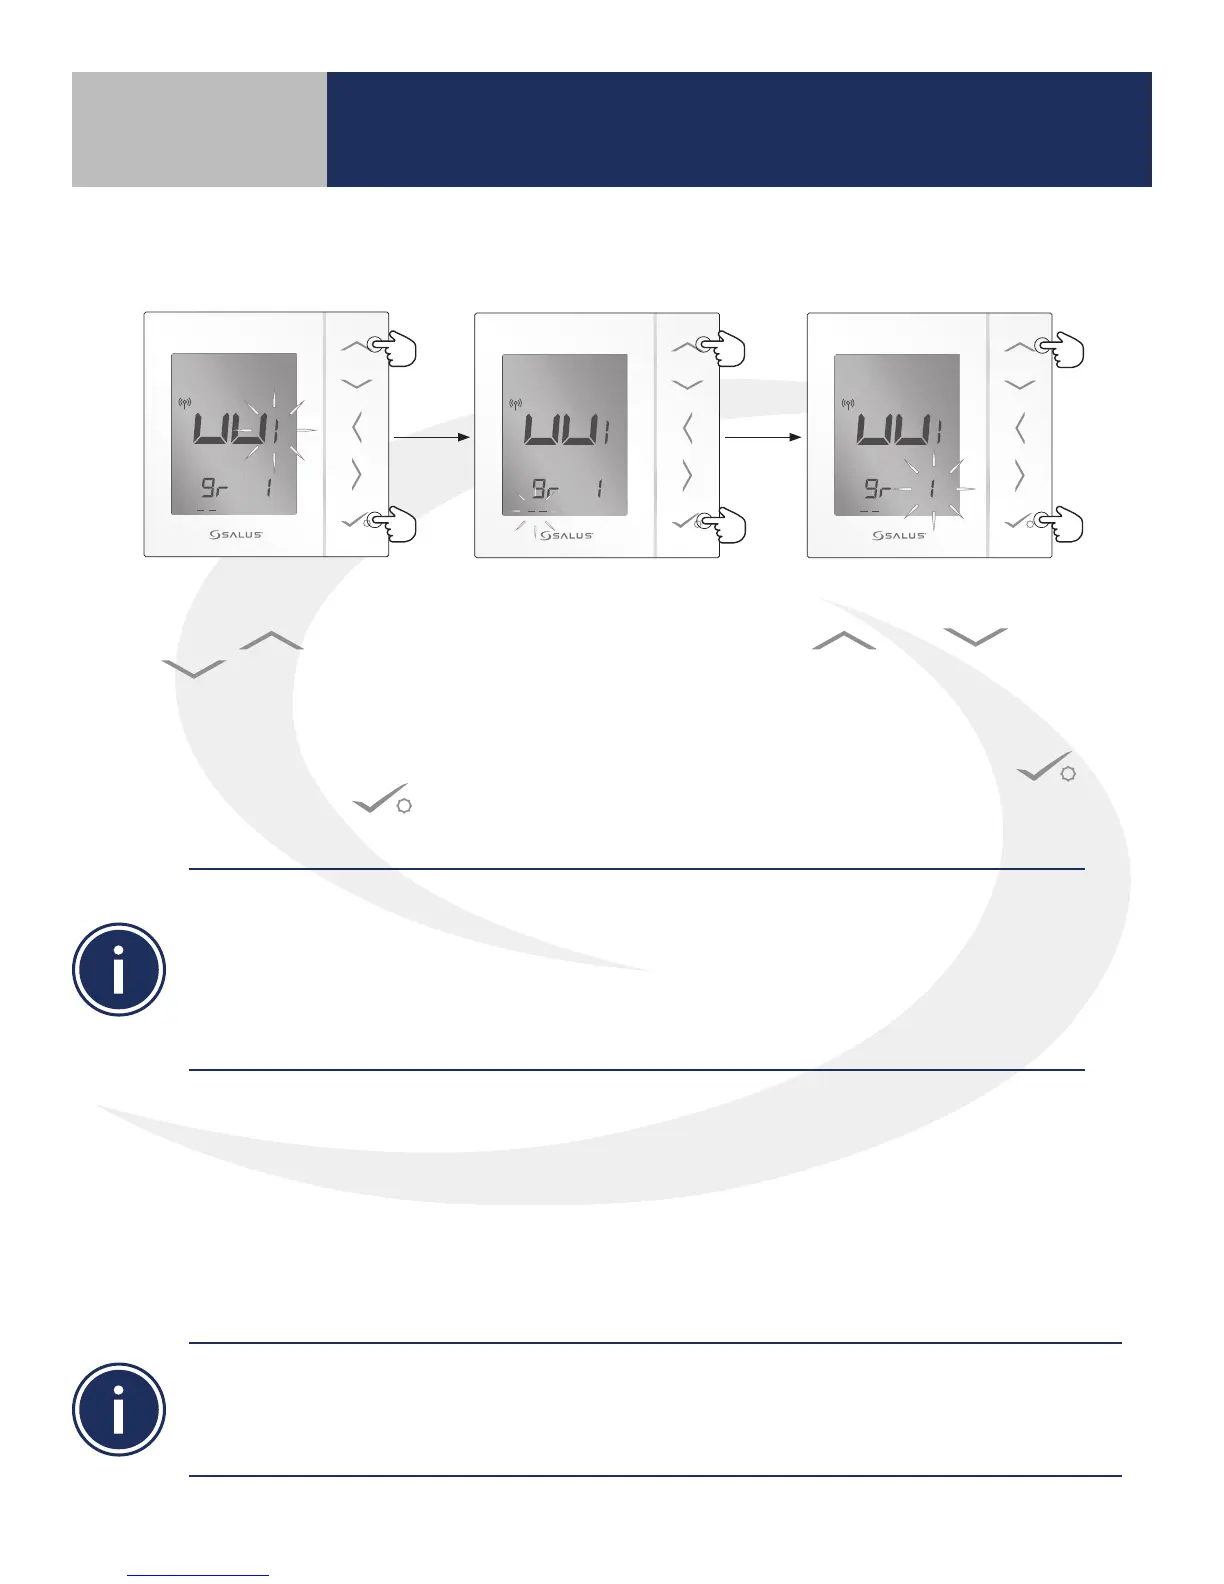
13. Wiring Center Number:
Use the or
buttons to
choose the Wiring Center
number if there are more
than one in the system.
Then press conrm .
14. Group Number: Group
numbers are not applicable
to wireless systems
connected to the internet.
Leave “_ _” blank for this
parameter.
15. Zone Number: Use the
or buttons
to choose the heating zone
to which the AS20WRF/BRF
Thermostat is to be associated.
Then press conrm .
Section 4
Next we will complete the AS20WRF/BRF setup sequence.
The Group setting is not used for wireless systems connected to the internet. For information on
using Groups, see the section entitled “AS20WRF/BRF Pairing without Internet Connection.”
If multiple identical components are used, it is important to give each a unique identication. For
example, if more than one AS20WRF/BRF Thermostat is used, name each one for the zone with
which it is associated. For example, AS20WRF-1st Floor helps to identify which thermostat you are
interacting with when you use the application.
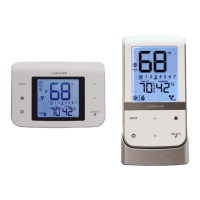
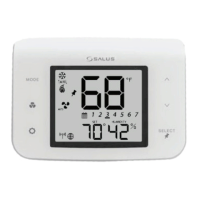
16. Once the pairing is complete, the AS20WRF/BRF Thermostat shows the current time & temperature.
Increase the temperature setpoint above the current temperature to test operation. The zone light
corresponding with the thermostat being tested should come on. If an AX10RF Receiver is used,
the backlight behind the Auto/Manual switch will be solid green, indicating
that a demand signal is going to the boiler. Check to be sure the boiler starts when this demand
is present.
When the thermostat is successfully paired, the screen on the AS20WRF/BRF Thermostat will display
the current time and temperature, the Network Status light on the AKL-RF Series Wiring Center will
be solid green and, if applicable, the LED back light on the AX10RF Receiver’s Auto/Manual switch will
appear solid red. The LED ring on the SG888ZB Gateway will be solid blue.
Device Pairing & Setup
with Internet Connection