5.3
Section 5
Device Pairing & Setup without Internet
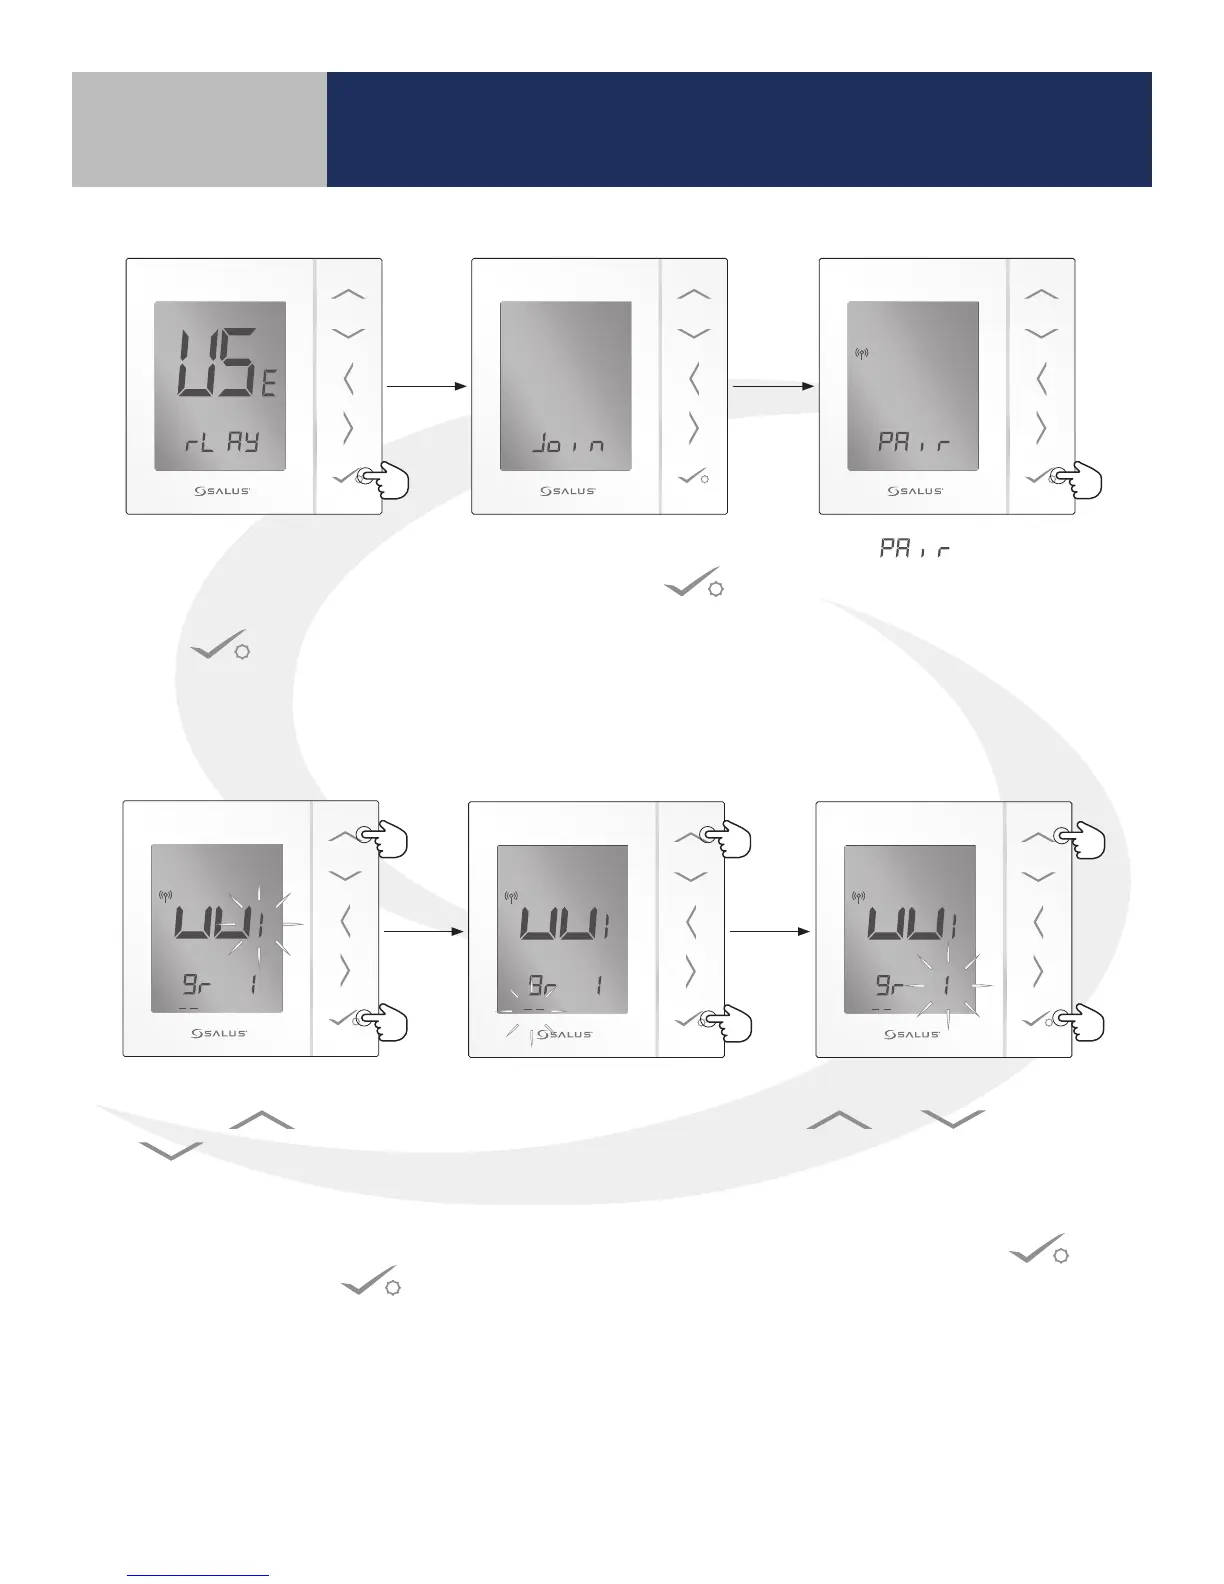
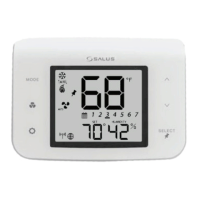
3. After choosing the correct thermostat
conguration, the AS20WRF/BRF Thermostat
displays “rL AY” at the bottom of the screen.
Press to continue. The “rL AY” selection is
used for all AKL Wiring Centers. Note: that older
rmware may display “UF H” instead of “rL AY”
4. When the screen reads , press conrm
to proceed with the AS20WRF/BRF
Thermostat setup.
5. Wiring Center Number:
Use the or
buttons to
choose the Wiring Center
number if there are more
than one in the system.
Then press conrm .
6. Group Number: If grouped
thermostats are used, use
the up arrow to choose
either group 1 or 2. If no
groups are used, leave “_ _”
blank for this parameter.
7. Zone Number: Use the
or buttons
to choose the heating zone
to which the AS20WRF/BRF
Thermostat is to be associated.
Then press conrm .