Section 6 - Service
HV-18 revised 11/18 SCHWARZE HYPERVAC 79
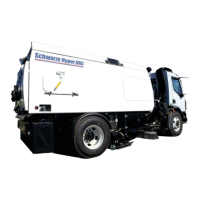
Replacing the Center Broom Bristles
Broom bristles should be replaced when they are worn to
approximately 6 inches in length. When broom bristles are
allowed to wear shorter, the bristles become too stiff and
loose their ability to ick debris.
Never work on or near the center
brooms when the brooms are rotating.
1. Remove the bolt that holds the broom segment in
place and remove worn segments moving around the
broom disc until all worn segments are detached.
2. To install a new broom segment, place the bristles in
place using the locating pin and reinstall hardware.
Important: Take special care to not over tighten the bolts.
6.6 Power Module
Because of the nature and operation of a sweeping
machine, it is recommended that servicing of the lters,
changing oil and other routine preventive maintenance
functions be performed somewhat more frequently than
recommended by the manufacturer of the engine.
Auxiliary Engine Filters
The auxiliary engine has three lters: a fuel lter, an
oil lter and a dual element air lter. At a minimum,
all lters should be changed according to the engine
manufacturer’s warranty recommendations. We
recommend that the oil lter be changed more often if the
sweeper is operated under unusually dusty circumstances.
The air lter has a built-in air restriction indicator. When
the air lter becomes clogged and needs service, a
window on the air restriction indicator changes color.
Depending upon the type of air restriction indicator used,
this color change may be from clear to red, clear to yellow
or yellow to red. The air restriction indicator is normally
located on or near the auxiliary engine’s air lter canister
or optionally by remote in the truck cab on the console.
Do not clean air lter with high
pressure air. Clean or change the
air lter only when the air restriction
indictor’s ‘Need to Service’ window
has changed colors. Serious engine
damage can occur as a result of air
cleaner overservicing.
For air lter change and service information, please see
the Owner’s Manual for the auxiliary engine.
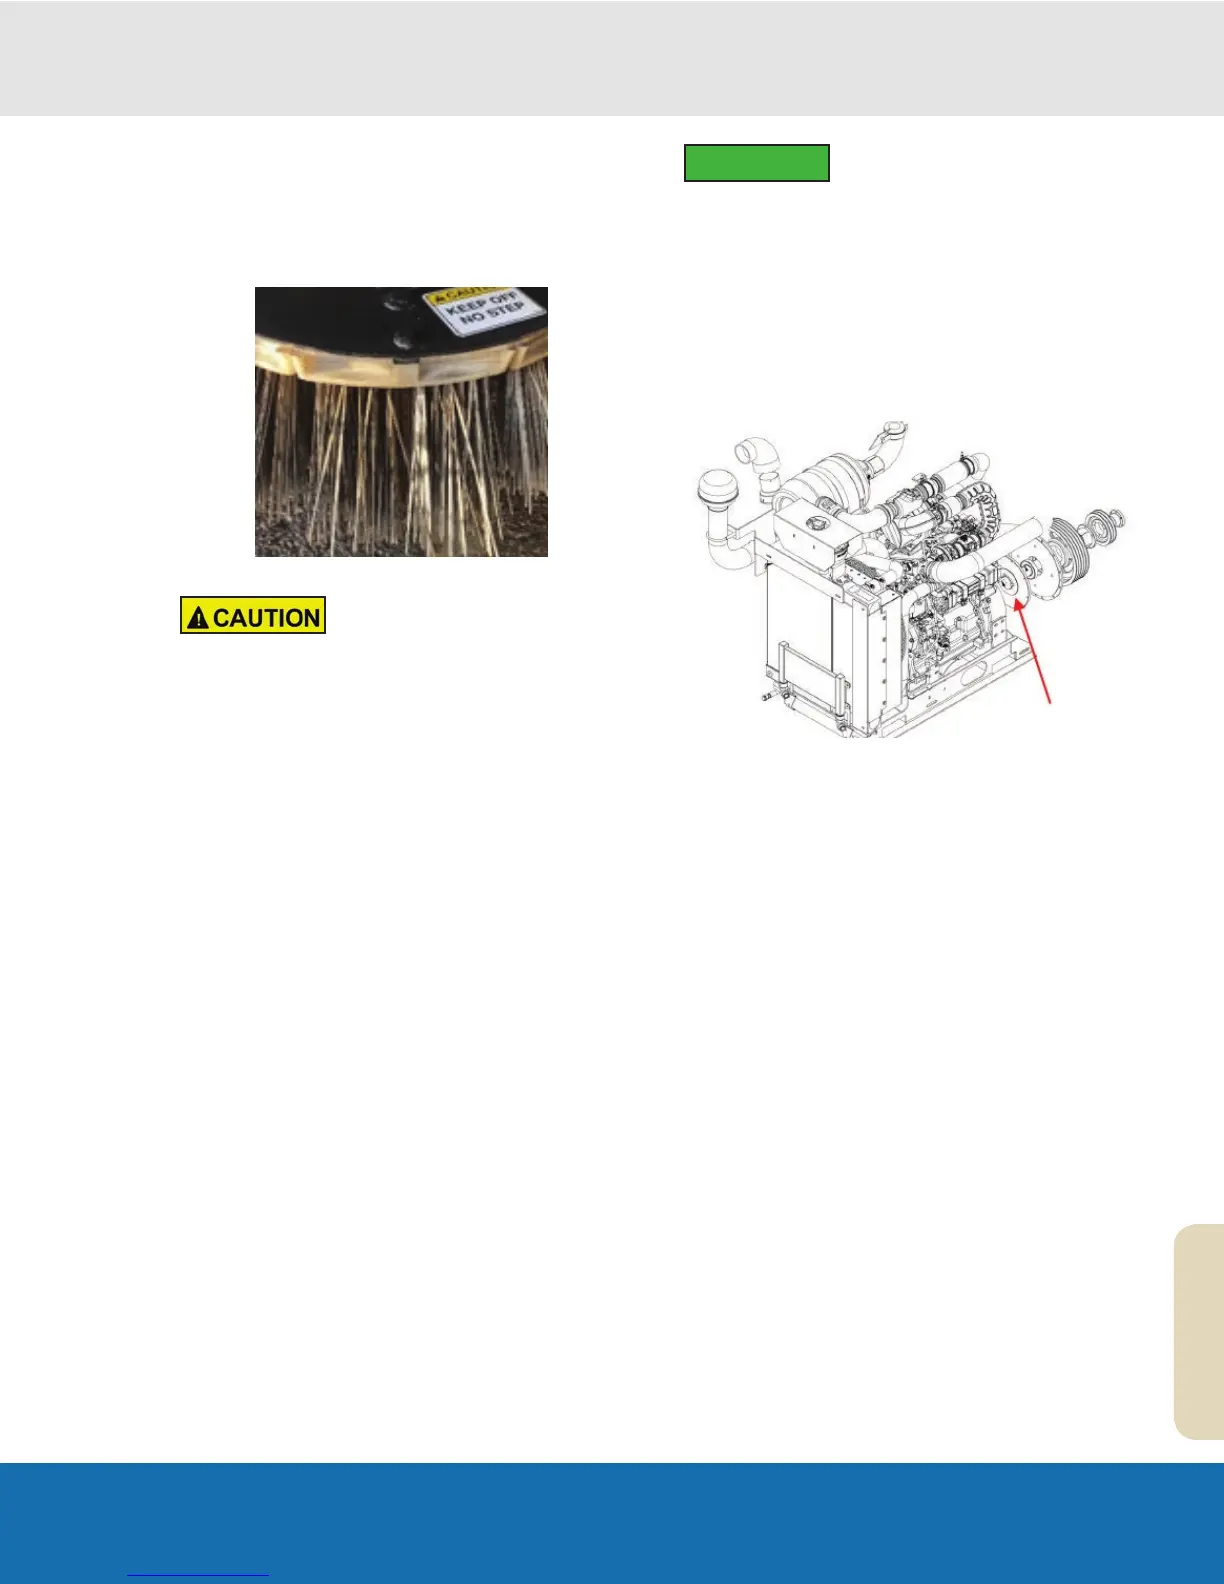
Replacing the Engine Stub Shaft
Stub shaft failures are rare but may, at some point, need
to be replaced. Causes for stub shaft failure include; too
much side-load created by a too tight drive belt, grooving
or warping of the stub shaft by a failed bearing and
stub shaft cracking or warping due to torque created by
the sudden stop of the fan’s drive train. In addition, we
suggest that the stub shaft be replaced whenever the
auxiliary engine is changed.
Replacement
1. Remove the sweeper engine’s keys and/or disconnect
the battery cable to prevent the sweeper engine from
being started accidentally.
2. Loosen the belt tension as outlined in the ‘Drive Belt
Tension Adjustment’ section.
3. Turn the jackscrew nuts so the engine skid is pushed
toward the fan shaft.
4. As the engine skid moves toward the fan shaft, the
drive belt will become loose enough to be slipped
from its pulleys.
5. Remove the three 3/8” bolts and lockwashers from
the stub shaft pulley bushing.
6. Insert two of the 3/8” bolts into the two tapped holes
of the stub shaft pulley bushing.
7. Tighten the bolts evenly, alternating from one to the
other. This will push the pulley off the stub shaft pulley
bushing.
IMPORTANT