8.2
SEL-587Z Instruction Manual Date Code 20020903
Front-Panel Interface
Front-Panel Operation
Front-Panel Operation
Front-Panel
Operation
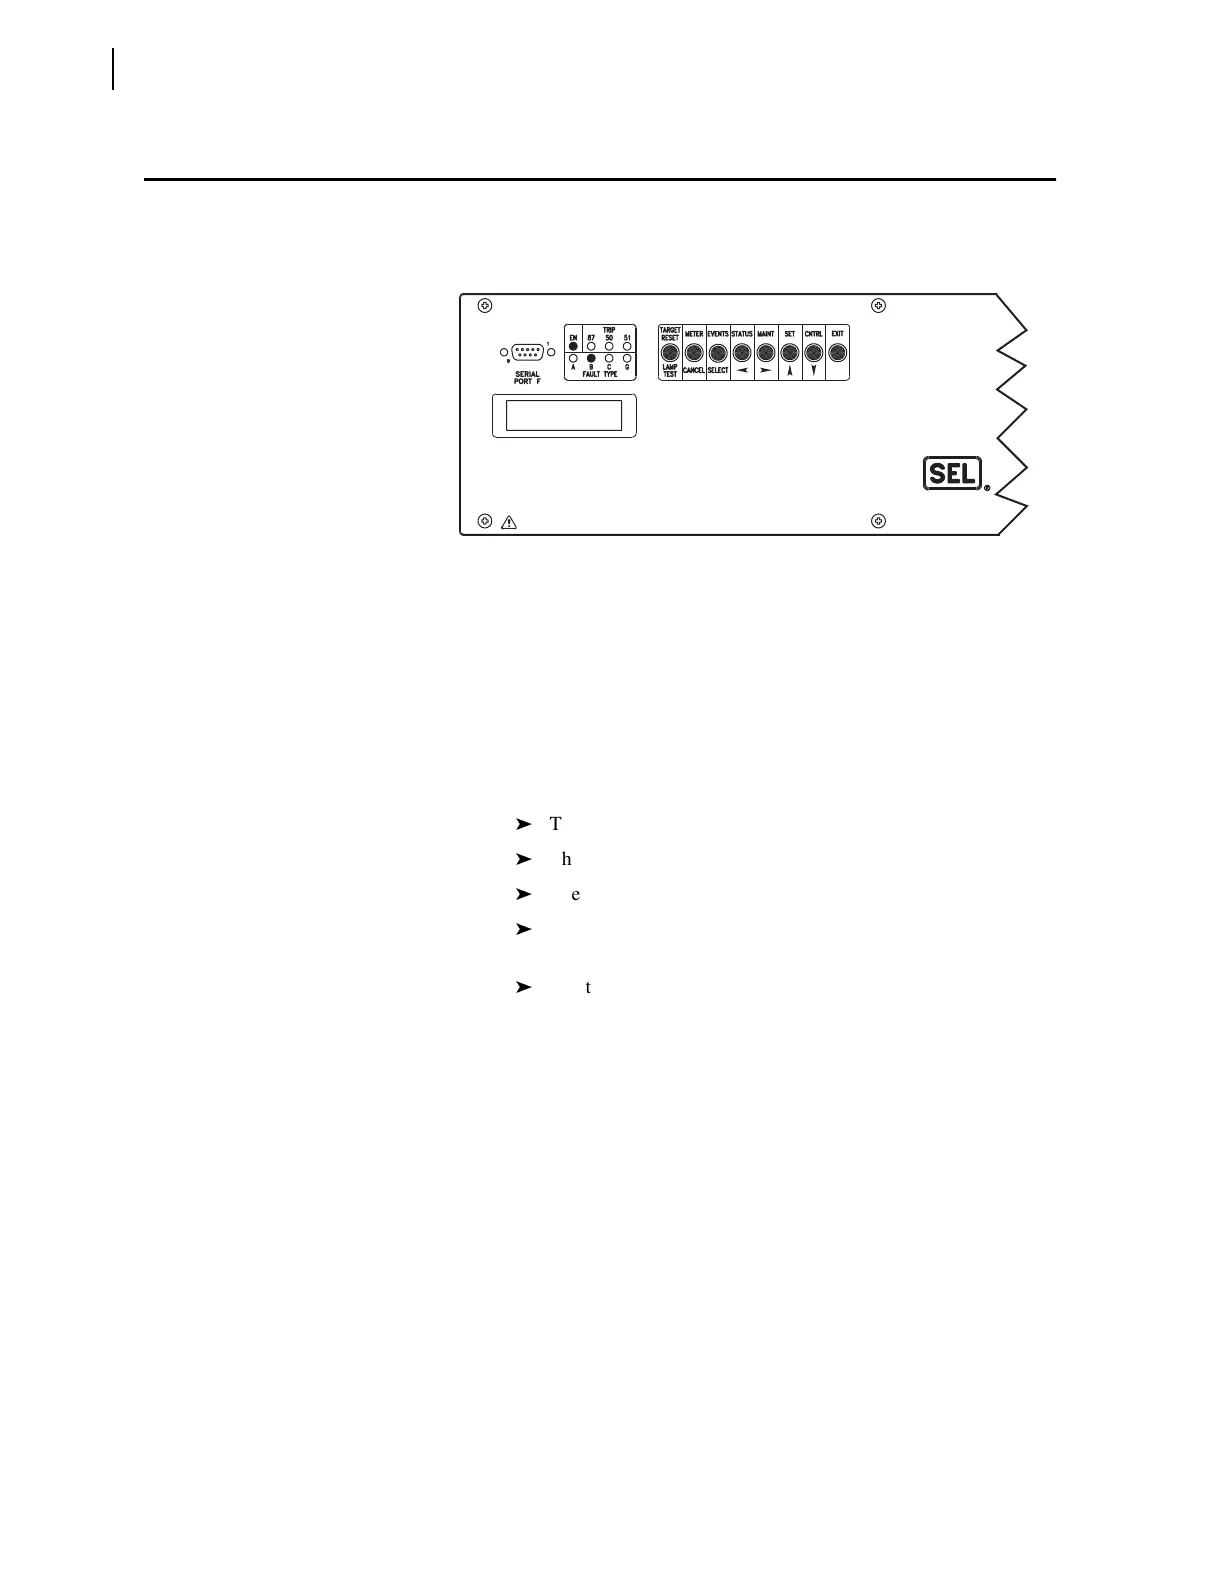
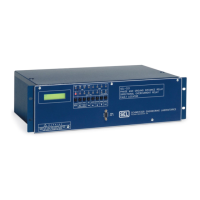
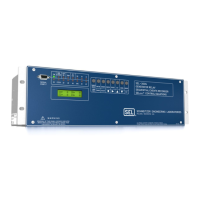
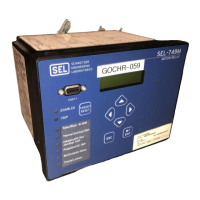
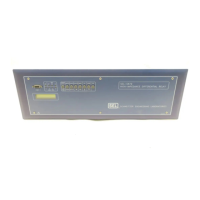
A close-up view of the SEL-587Z Relay front panel is shown in Figure 8.1. It
includes a 2-line, 16-character LCD; 8 LED target indicators; and 8
pushbuttons for local control.
Figure 8.1 Front-Panel User Interface.
The LCD shows event, metering, setting, and relay self-test status
information. The display is controlled with the eight multifunction
pushbuttons. The target LEDs display relay target information as described by
the legend.
Display Time-Out
If no pushbuttons are pressed on the front panel, the relay waits 15 minutes
and then takes the following actions:
The front-panel LCD resets to the default display.
The front-panel access level reverts to Access Level 1.
The LCD backlighting is turned off.
Any routine being executed via a front-panel command is
interrupted.
The target LEDs revert to the default targets.
Liquid Crystal Display (LCD)
The LCD is controlled by the pushbuttons, automatic messages the relay
generates, and programmable Display Points. The relay scrolls through any
active, nonblank Display Points. If none are active, the relay scrolls through
up to four two-line displays of the A-, B-, and C-phase currents in primary
amperes.
Any message generated by the relay due to an alarm condition takes
precedence over the normal default display. The {EXIT} pushbutton returns
the display to the default display, if some other front-panel function is being
performed.
Error messages such as self-test failures are displayed on the LCD in place of
the rotating display when these occur. Do not remove power from the relay if
this occurs; refer to Troubleshooting Procedure on page 10.19 in Section 10:
Testing and Troubleshooting for further instructions.
87A 87B 87C
0 0 0


 To Next Page