SMR2000_036_00A2.FM XI
1. Clean threads (stud and hole) with solvent.
2. Apply Loctite Primer N (P/N 293 800 041) on
threads and allow to dry.
3. Put several drops of proper strength Loctite
threadlocker on female threads and in hole.
4. Apply several drops of proper strength Loctite
on stud threads.
5. Install stud.
6. Install cover, etc.
7. Apply drops of proper strength Loctite on un-
covered threads.
8. Tighten nuts as required.
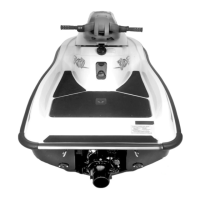
Preassembled Parts
1. Apply here
2. Do not apply
1. Clean bolts and nuts with solvent.
2. Assemble components.
3. Tighten nuts.
4. Apply drops of proper strength Loctite on bolt/nut
contact surfaces.
5. Avoid touching metal with tip of flask.
NOTE: For preventive maintenance on existing
equipment, retighten nuts and apply proper
strength Loctite on bolt/nut contact surfaces.
Adjusting Screw
1. Apply here
2. Plunger
1. Adjust screw to proper setting.
2. Apply drops of proper strength Loctite thread-
locker on screw/body contact surfaces.
3. Avoid touching metal with tip of flask.
NOTE: If it is difficult to readjust, heat screw with
a soldering iron (232°C (450°F)).
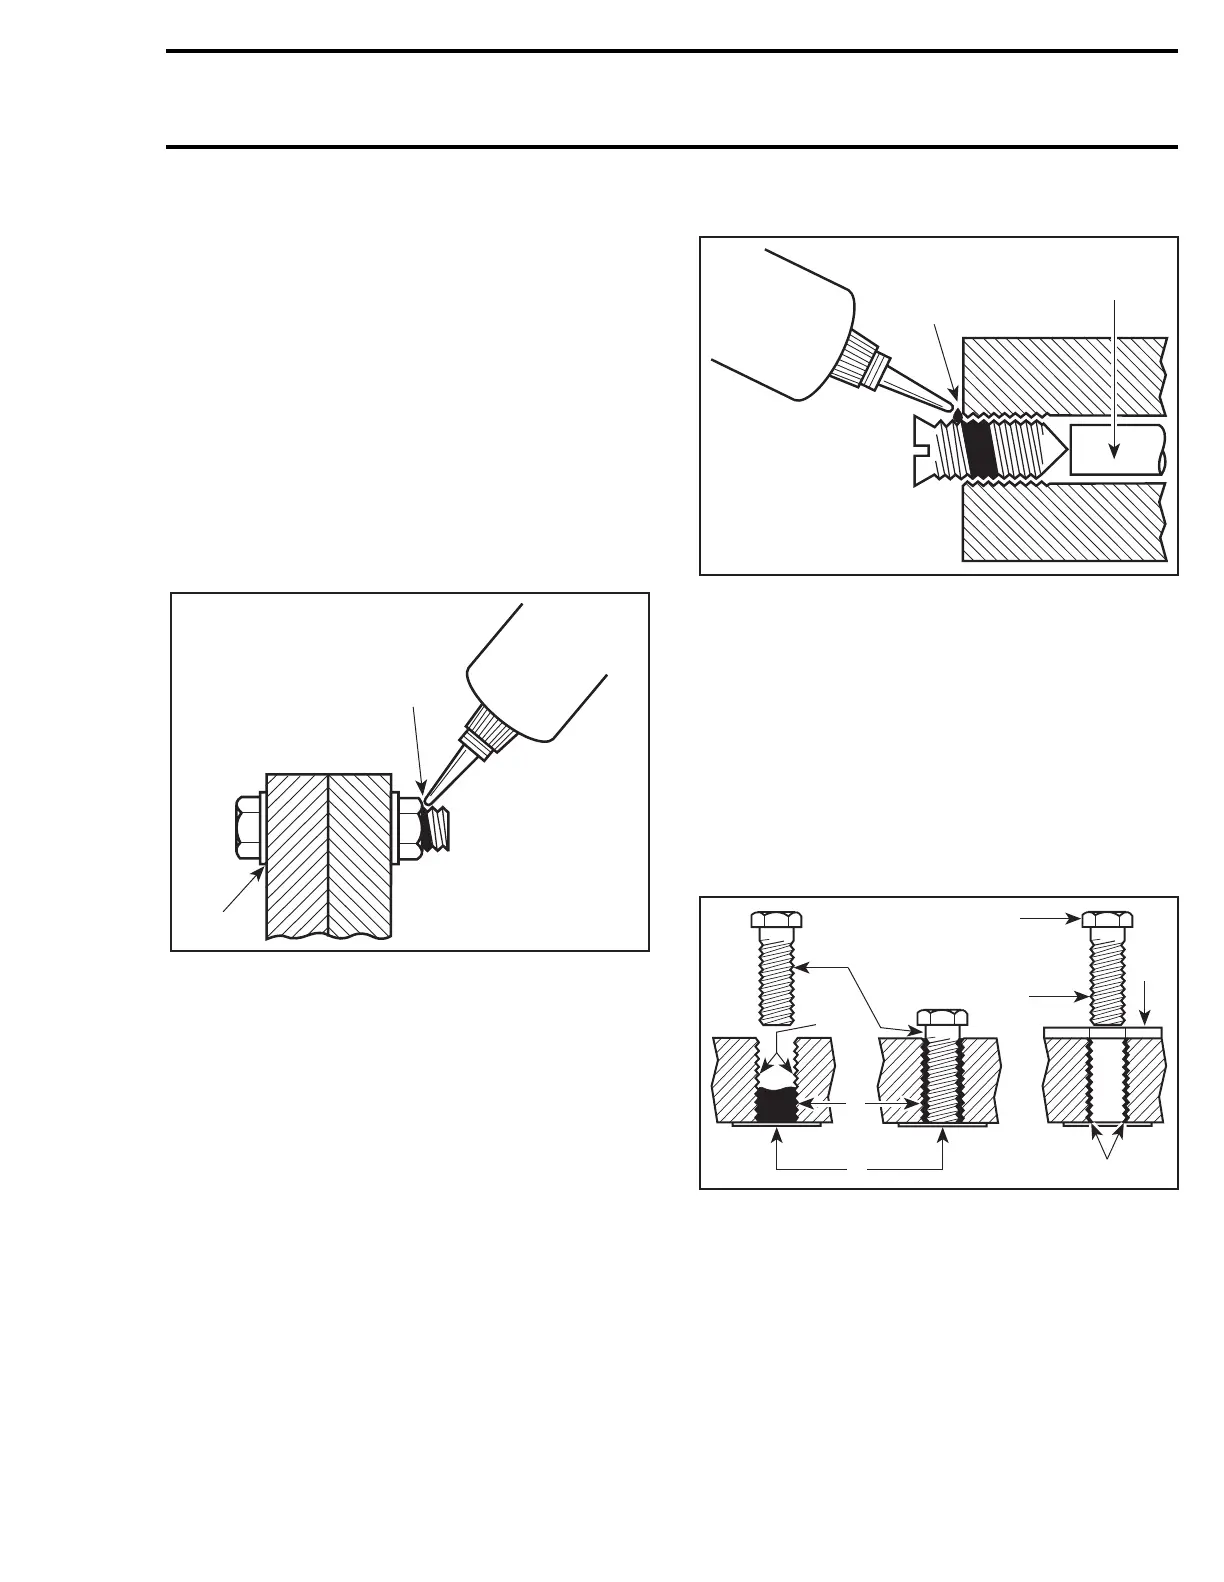
Stripped Thread Repair
Stripped Threads
1. Release agent
2. Stripped threads
3. Form-A-Thread
4. Tape
5. Cleaned bolt
6. Plate
7. New threads
8. Threadlocker
A00A3OA
1
2
A00A3PA
1
2
A00A3QA
5
8
6
7
1
2
3
4
INTRODUCTION