Section 09 ELECTRICAL SYSTEM
Subsection 04 (STARTING SYSTEM)
SMR2000-062_09_04A.FM 09-04-7
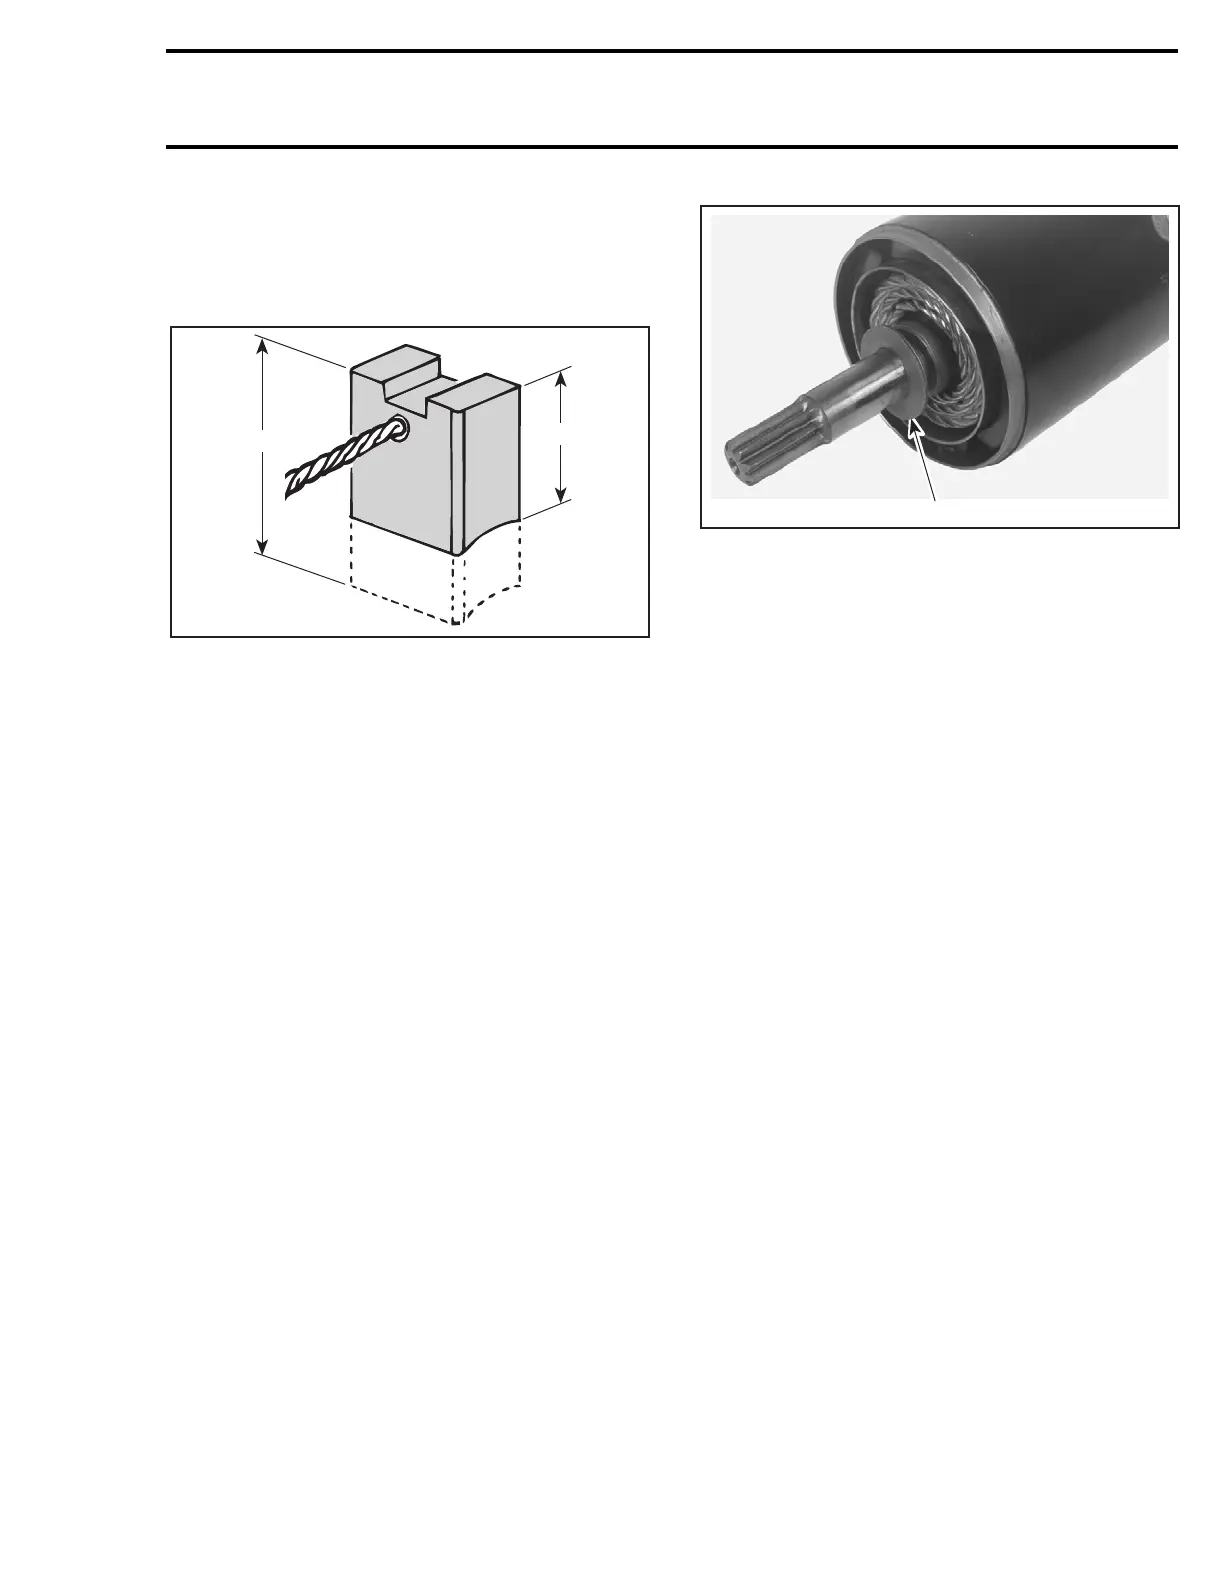
Brush
Measure brush length. If less than 8.5 mm (.335 in),
replace them.
NOTE: New brush length is 12 mm (.472 in).
1. New
2. Wear limit, 8.5 mm (.335 in)
Overrunning Clutch
Pinion of overrunning clutch should turn smoothly
in clockwise direction, and should not slip in a
counterclockwise direction. If defective, replace.
Check pinion teeth for wear and damage. If defec-
tive, replace.
NOTE: Always check engine ring gear teeth for
wear and damage. If defective replace ring gear.
Refer to MAGNETO.
STARTER ASSEMBLY
Reverse the order of disassembly to reassemble
starter. However, attention should be paid to the
following operations.
Install new O-rings and gaskets.
Insert thrust washers no. 19 onto armature shaft.
1. Non metallic surface on the side
Install the 3 washers no. 8 onto armature shaft.
When installing end covers no. 3 and no. 10 to
yoke, align index marks.
Apply Loctite 271 (red) on through bolts no. 5 and
torque to 6 N•m (53 lbf•in).
STARTER INSTALLATION
Installation is essentially the reverse of removal
procedure. However, pay particular attention to
the following.
Make sure that starter and engine mating surfaces
are free of debris. Serious trouble may arise if
starter is not properly aligned.
Screw
Apply Loctite 243 (blue) to Allen screws no. 16 of
starter bracket and torque to 10 N•m (89 lbf•in).
A03E05A
1
2
F06H1HA
1